Making a Bluetooth IBM Model M
· 1727 words · 9 minutesA while ago, I went through one of the most important rites of passage a developer can take. I got into mechanical keyboards.
It started tame. When a highly respected online retailer was shutting down and was selling all of their branded products for cheap, I got a clicky TKL and a silent 96%, both of which I still love using.
Then I heard about the famous IBM Model M with its buckling spring switches, and it was perfect. A keyboard built like no other. It was the missing piece, a keyboard to surpass Metal Gear.
However, it’s old. 1986 old. It used to come with an old DIN cable for the IBM PC or a PS/2 cable, and if you want to use it with something modern, you need an adapter.
Now, if I’m going to get nerd sniped, I might as well get balls deep and do it properly by making it wireless. Remember: Never half ass your procrastination. If you’re going to waste time, waste time on something worth wasting time on.
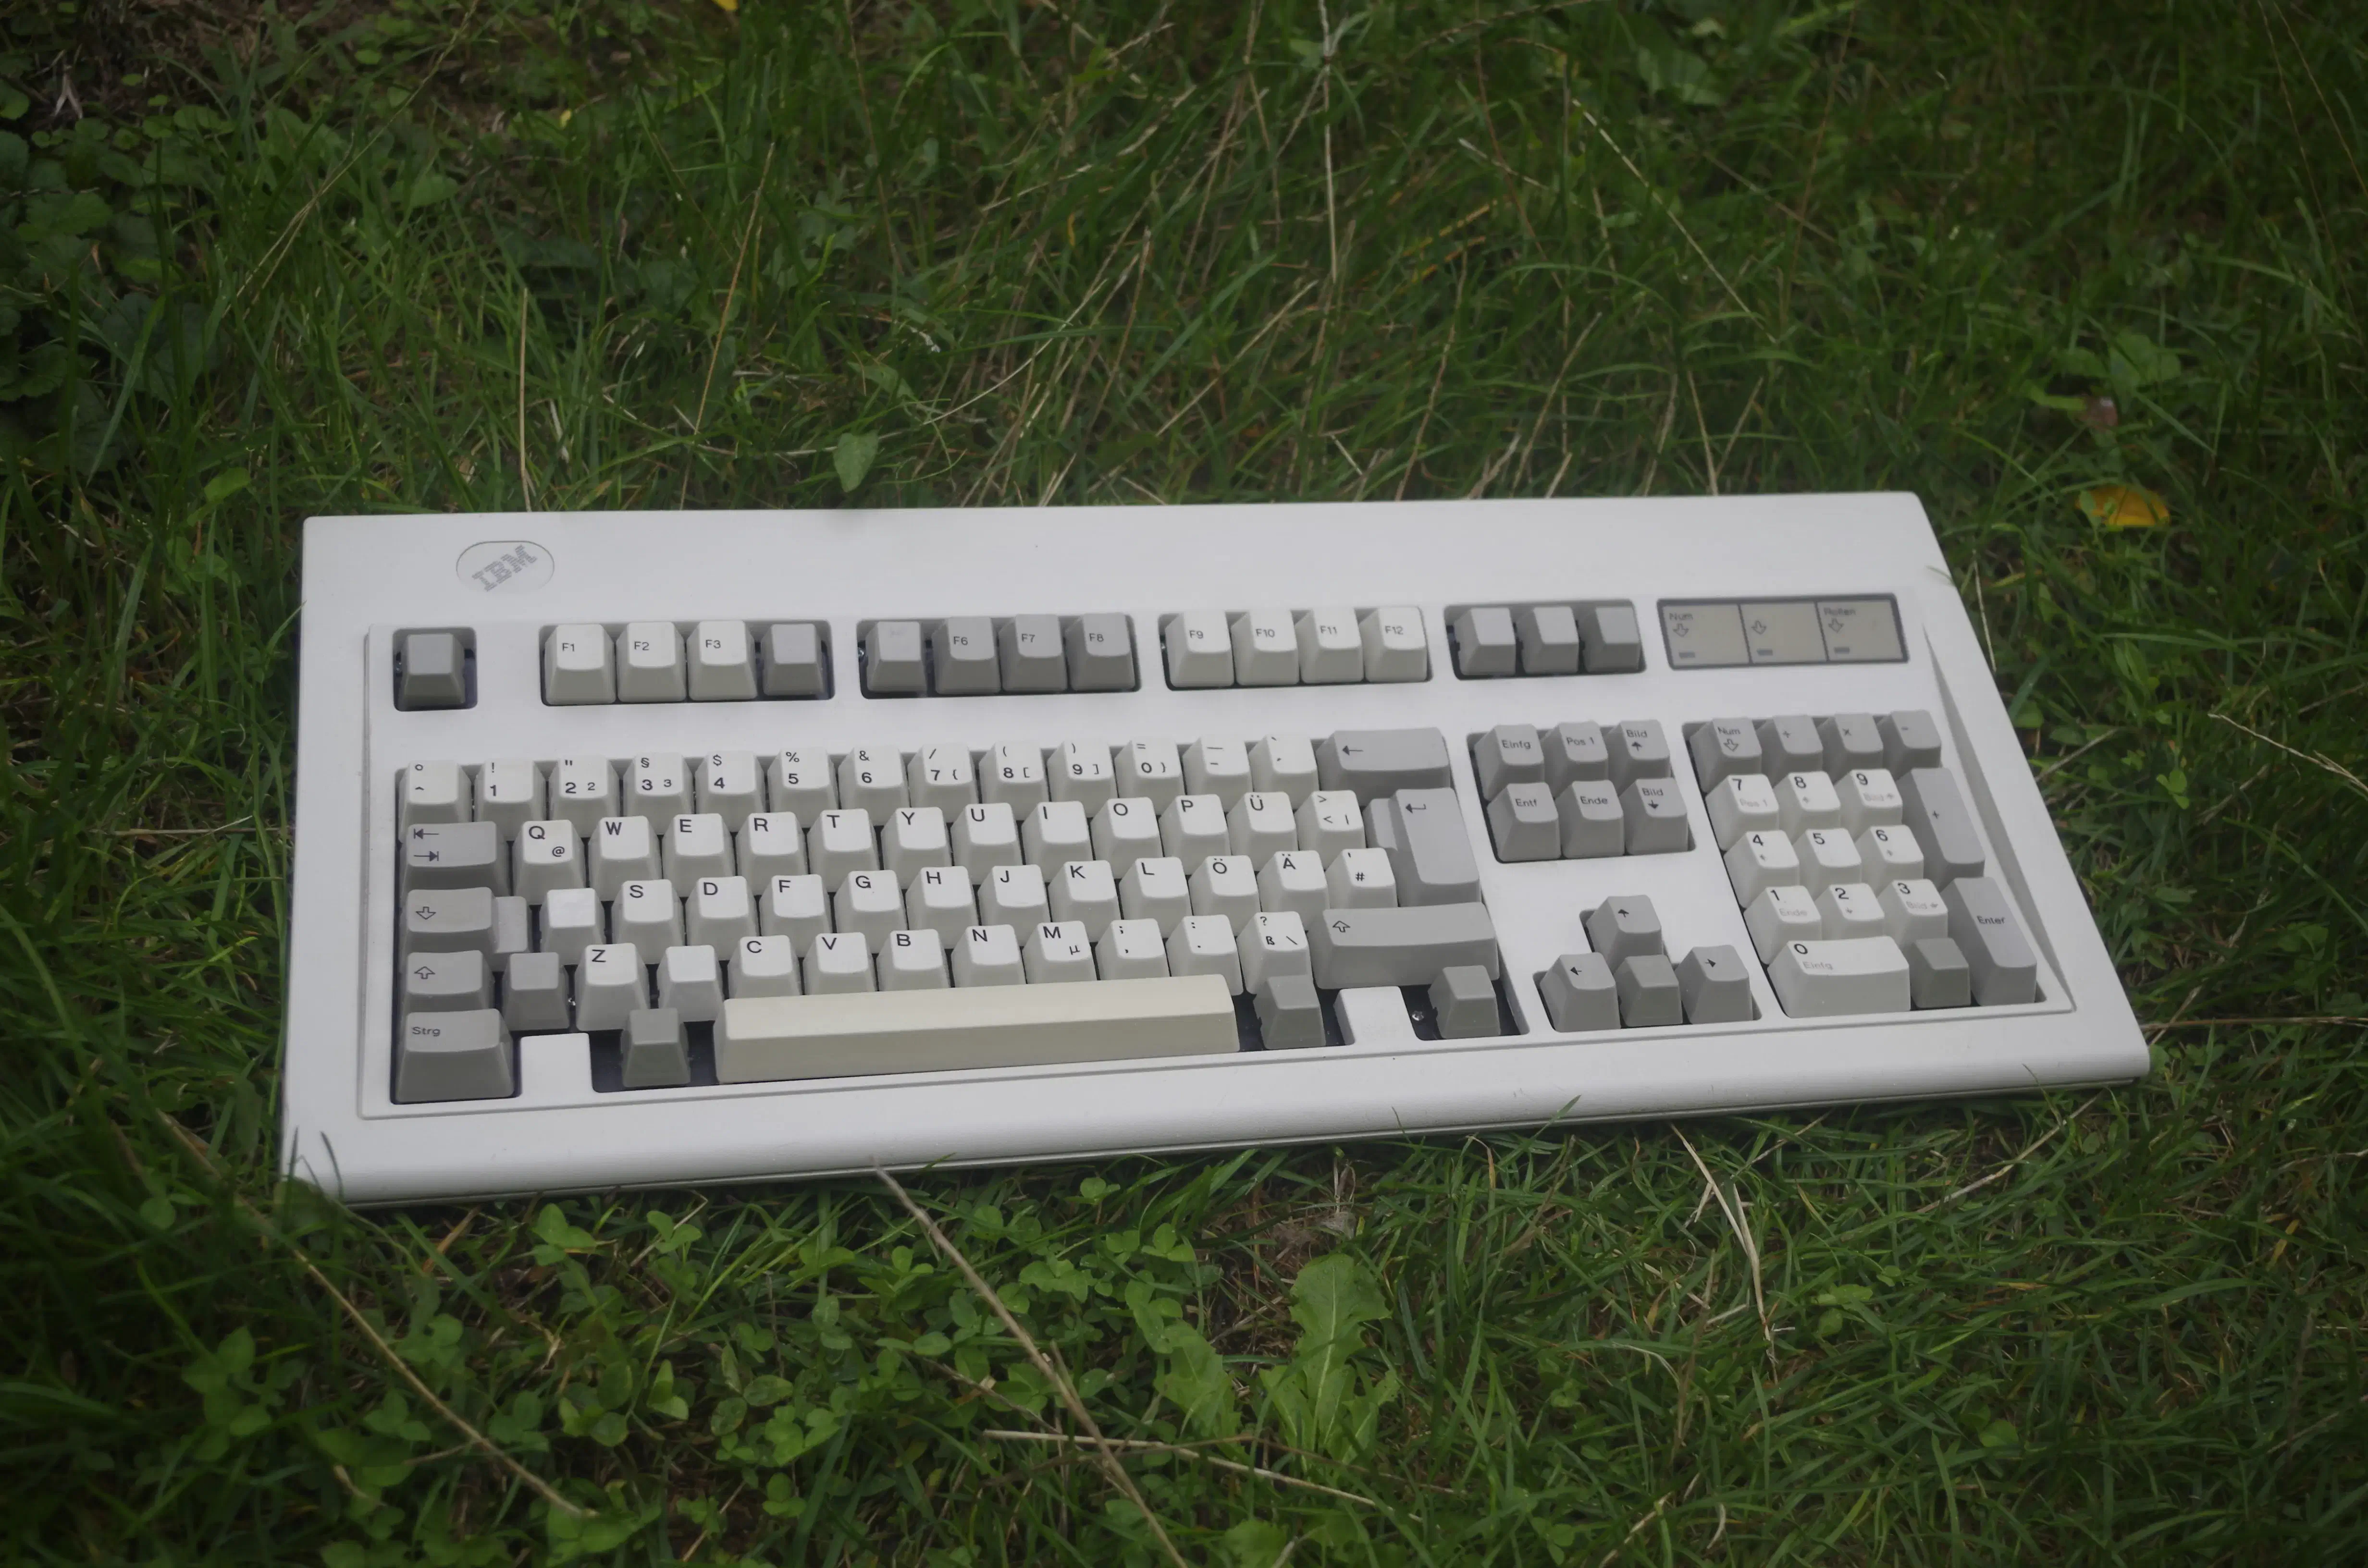 view full res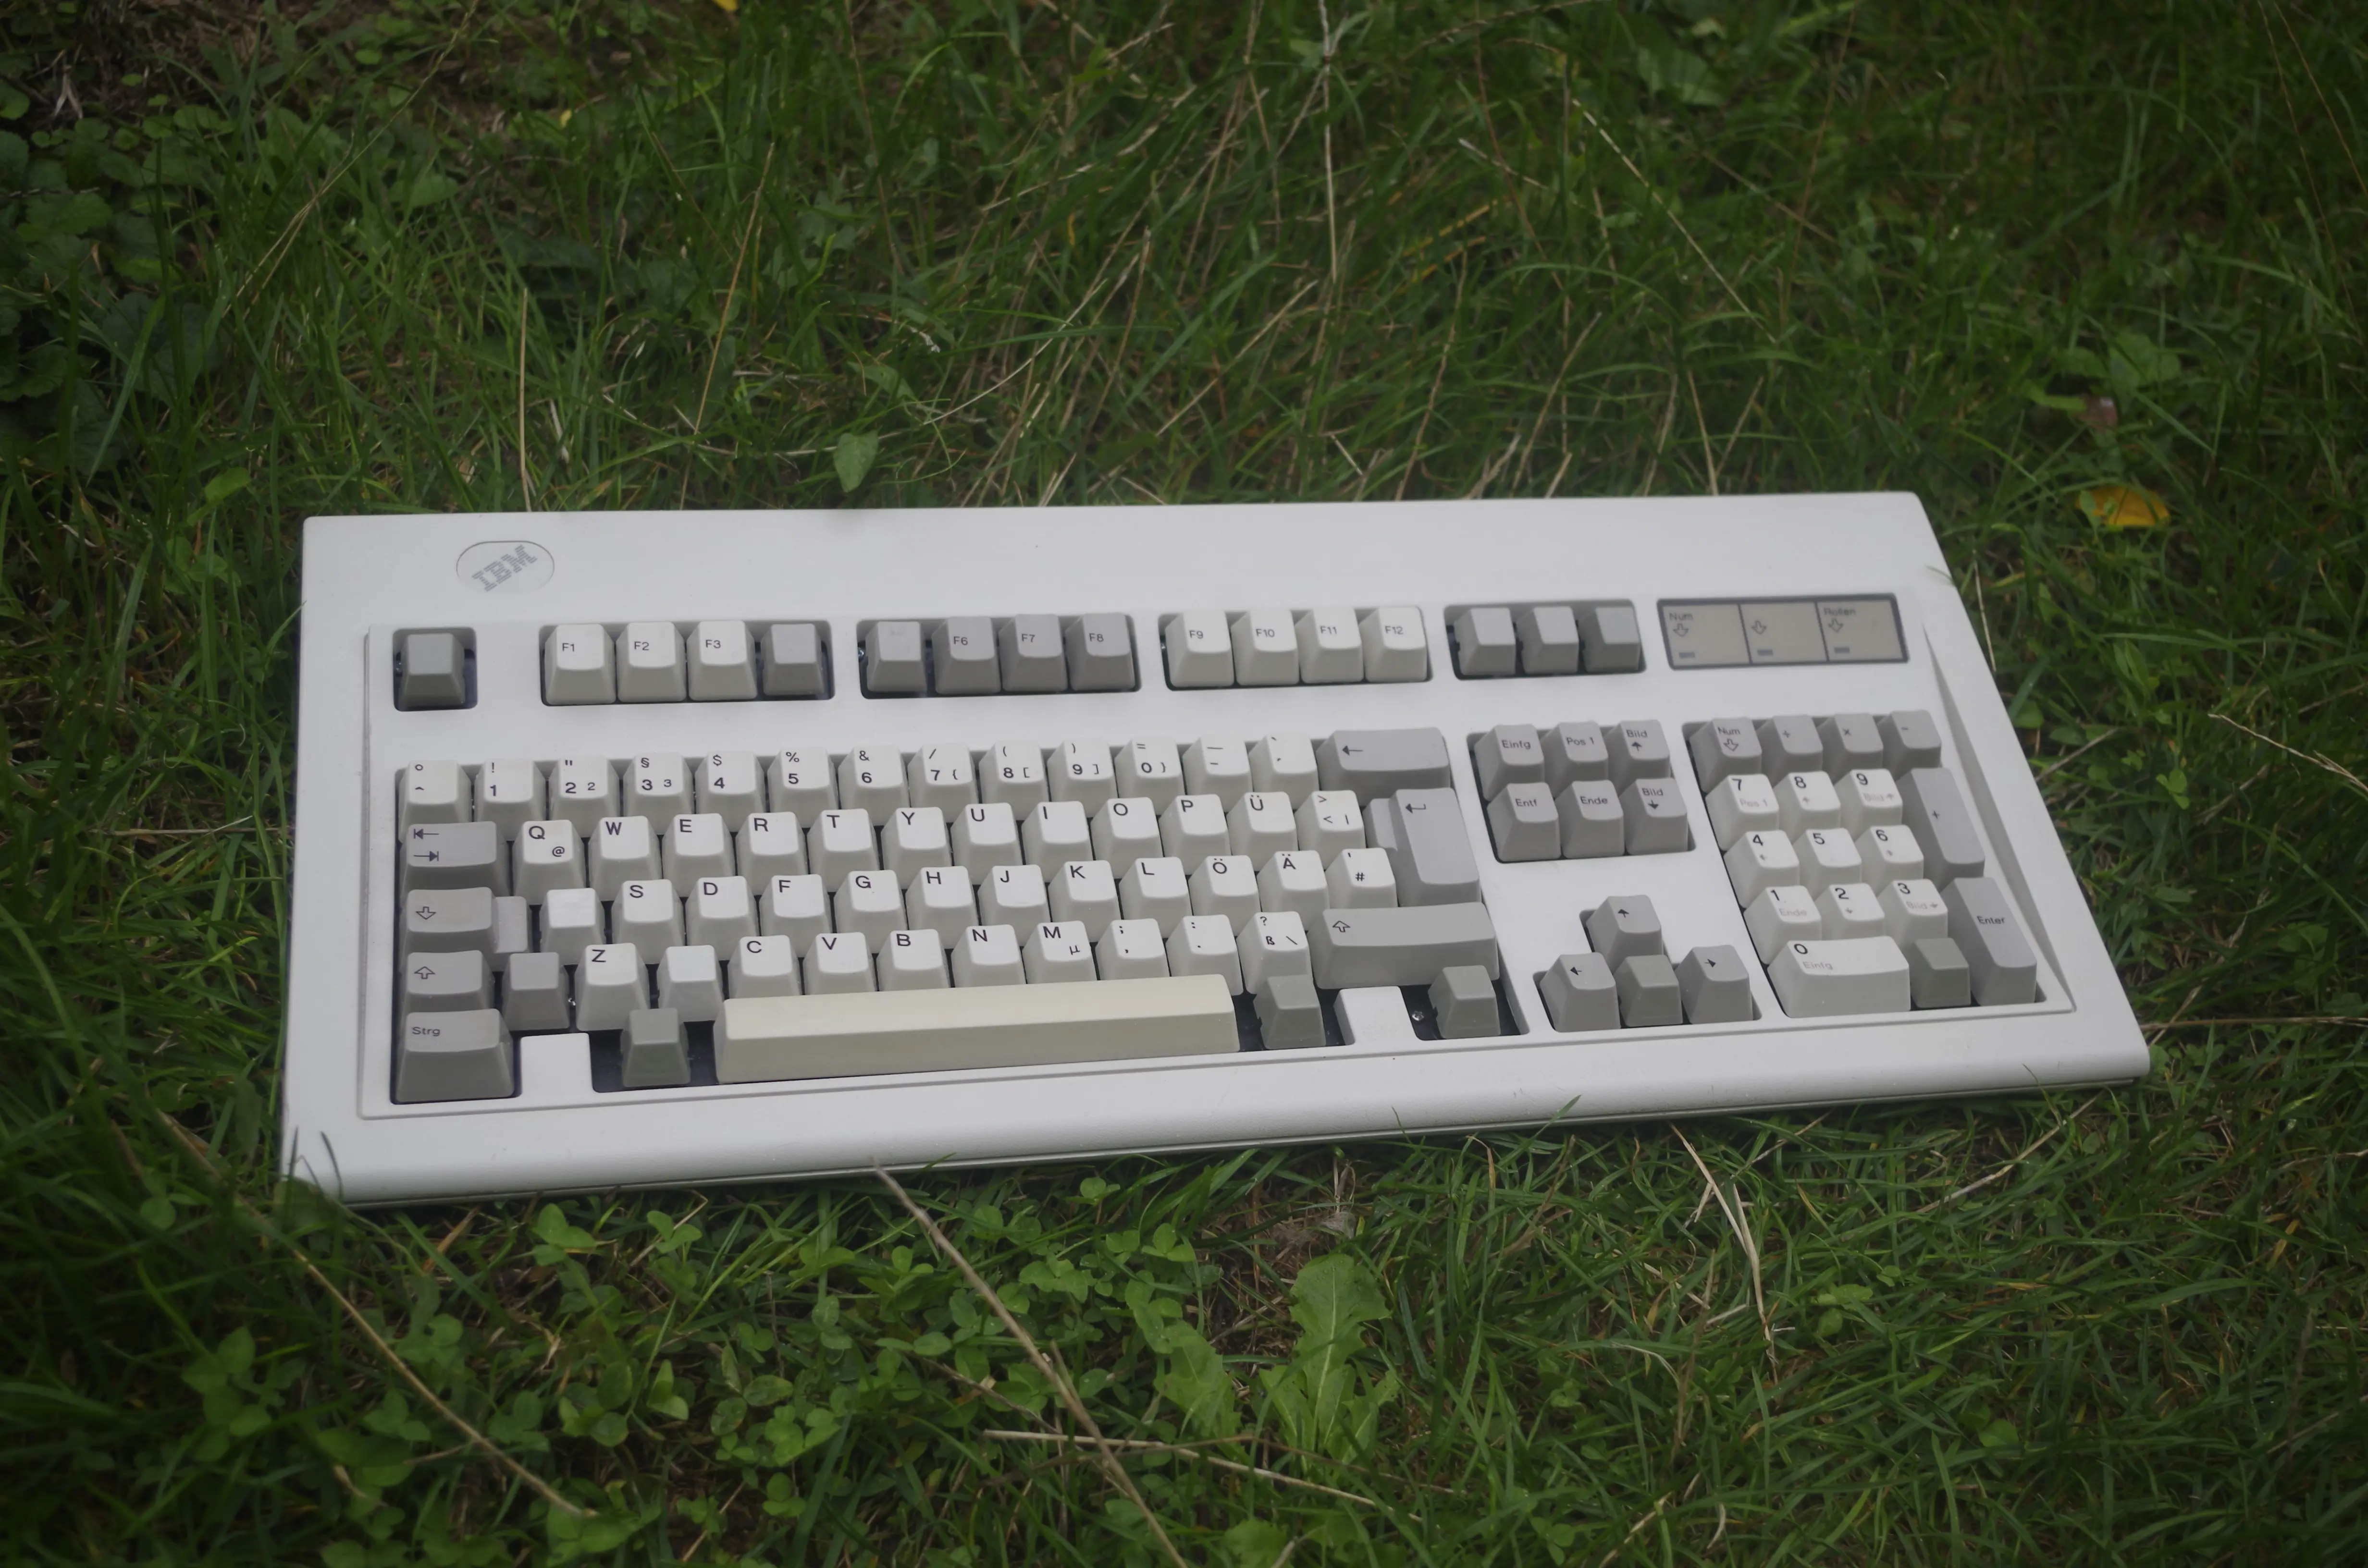
Getting My Hands on a Legend
##See, the Model M doesn’t work like the keyboards of today. IBM developed and patented their own switch mechanism - the buckling spring.
Each key is connected to a flapper through a spring, and when the key depresses to a certain point, the spring cannot hold upright and collapses (or buckles), which moves the flapper that completes an electrical connection.


This results in a key press that you can physically feel, and it sounds sooo good. And loud. Because the loudness war has ended, and loudness won.
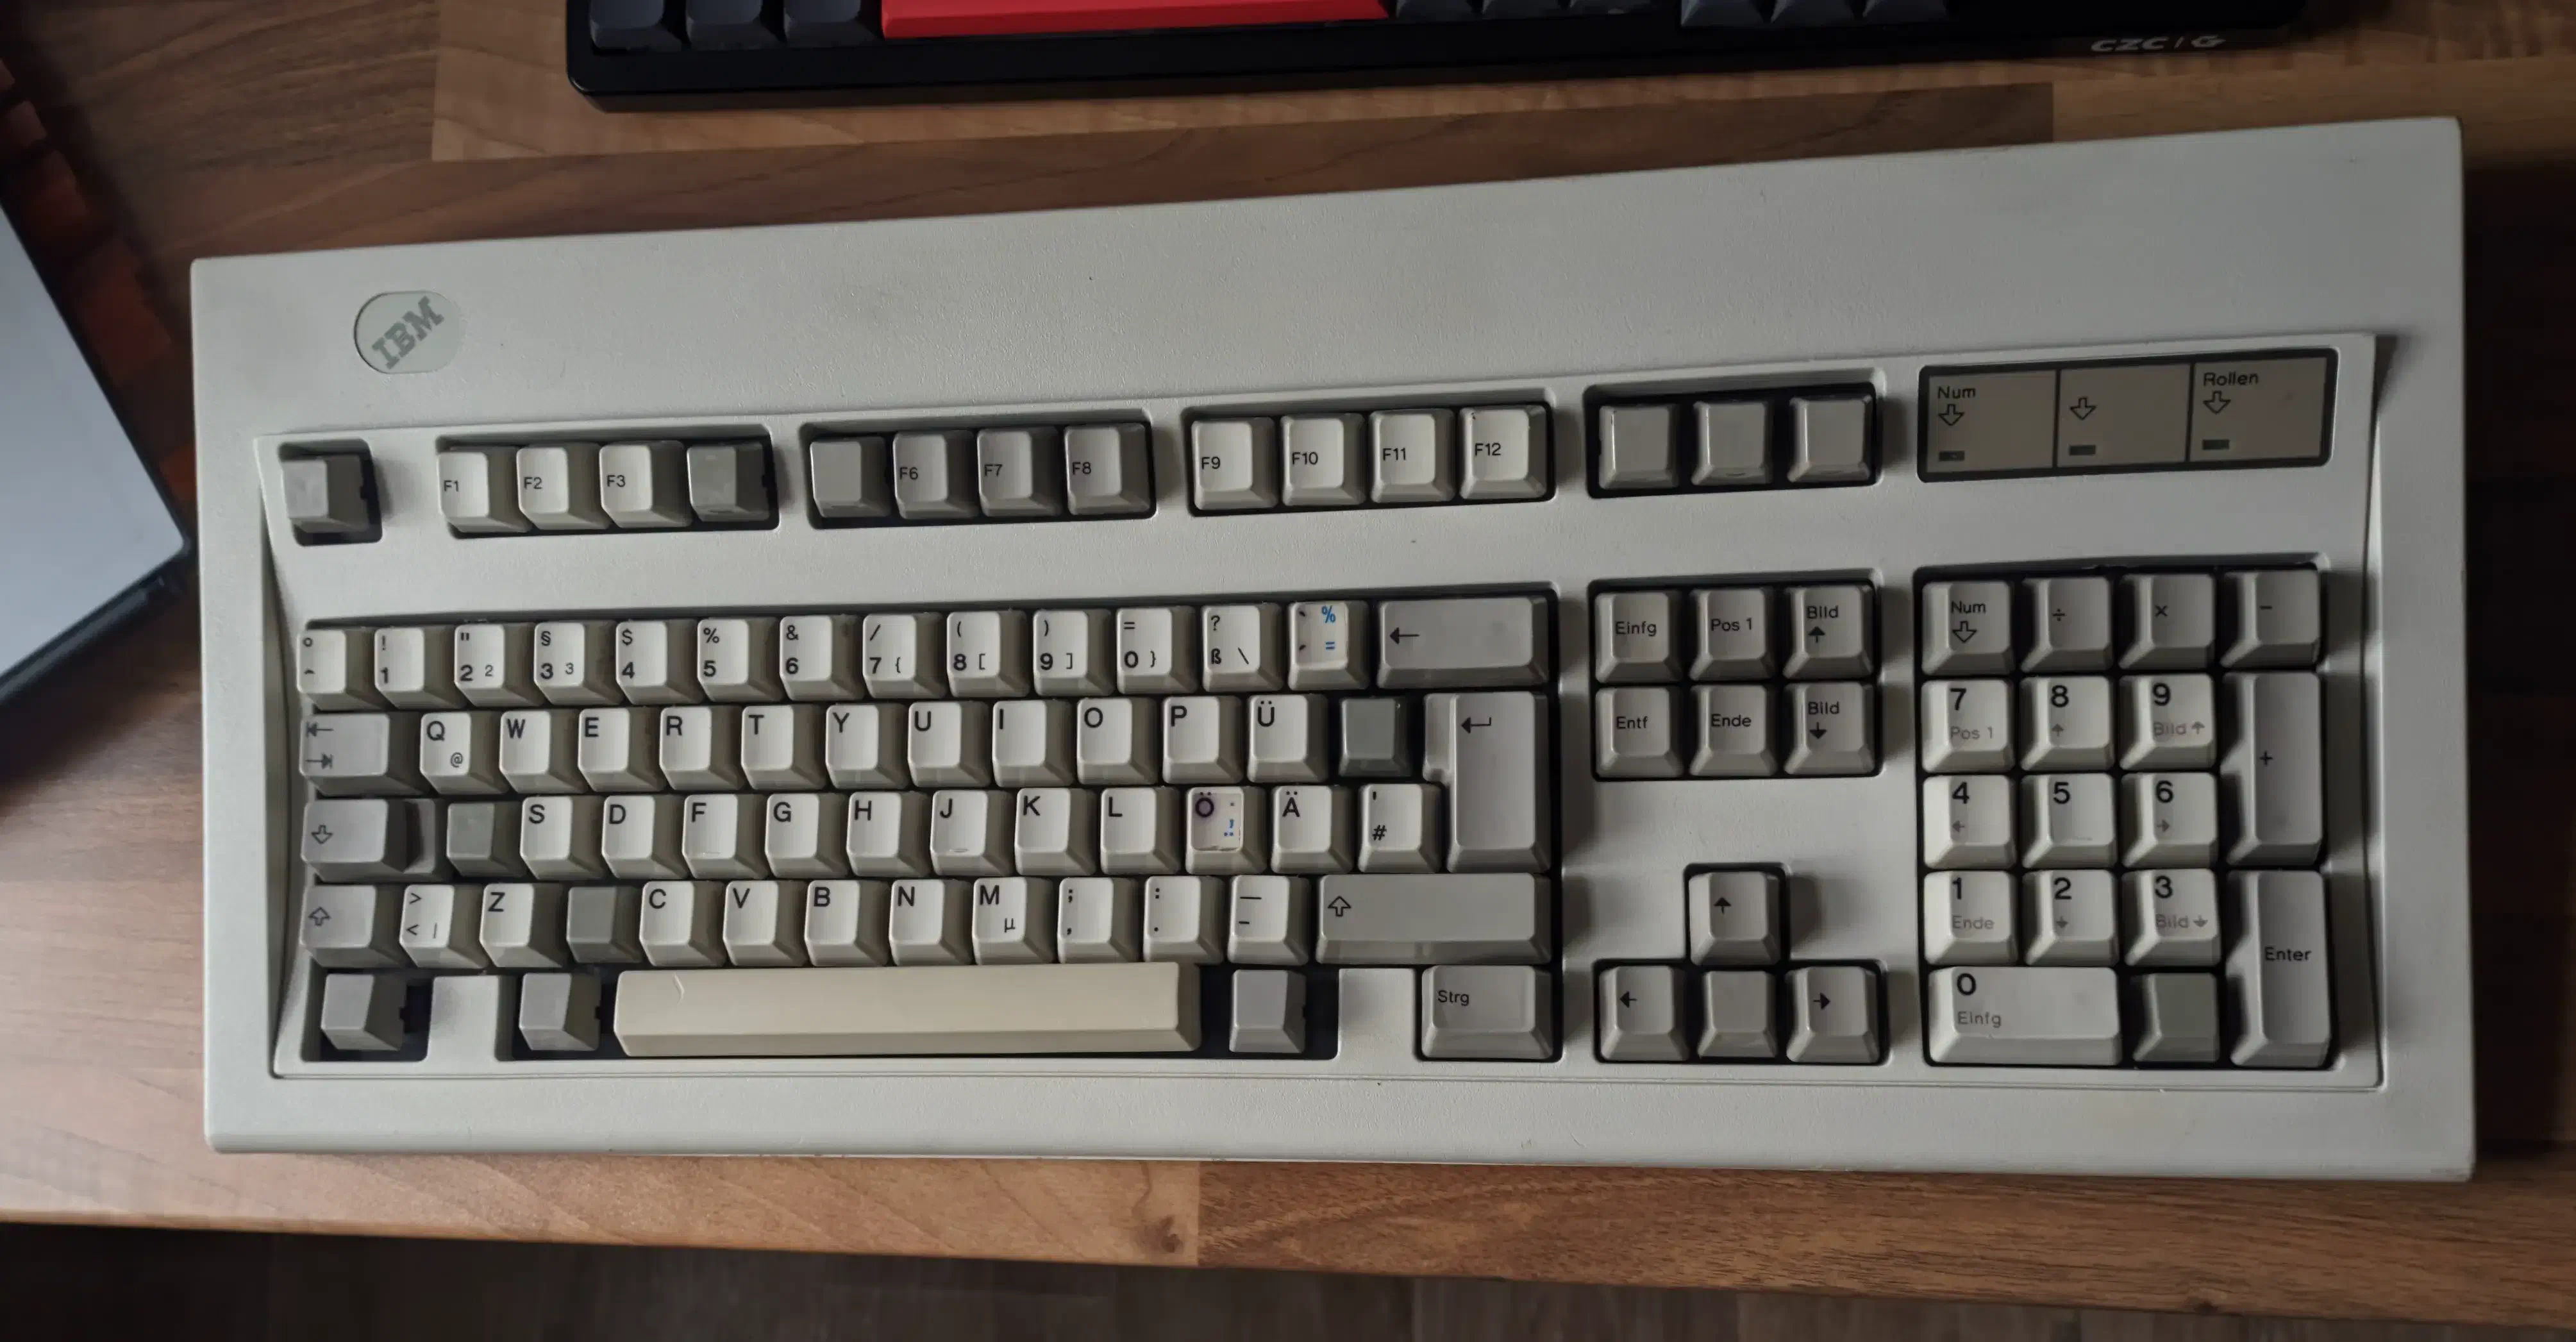
Obviously I wanted one. After scouting websites for about a month, I got one surprisingly cheap.
 view full res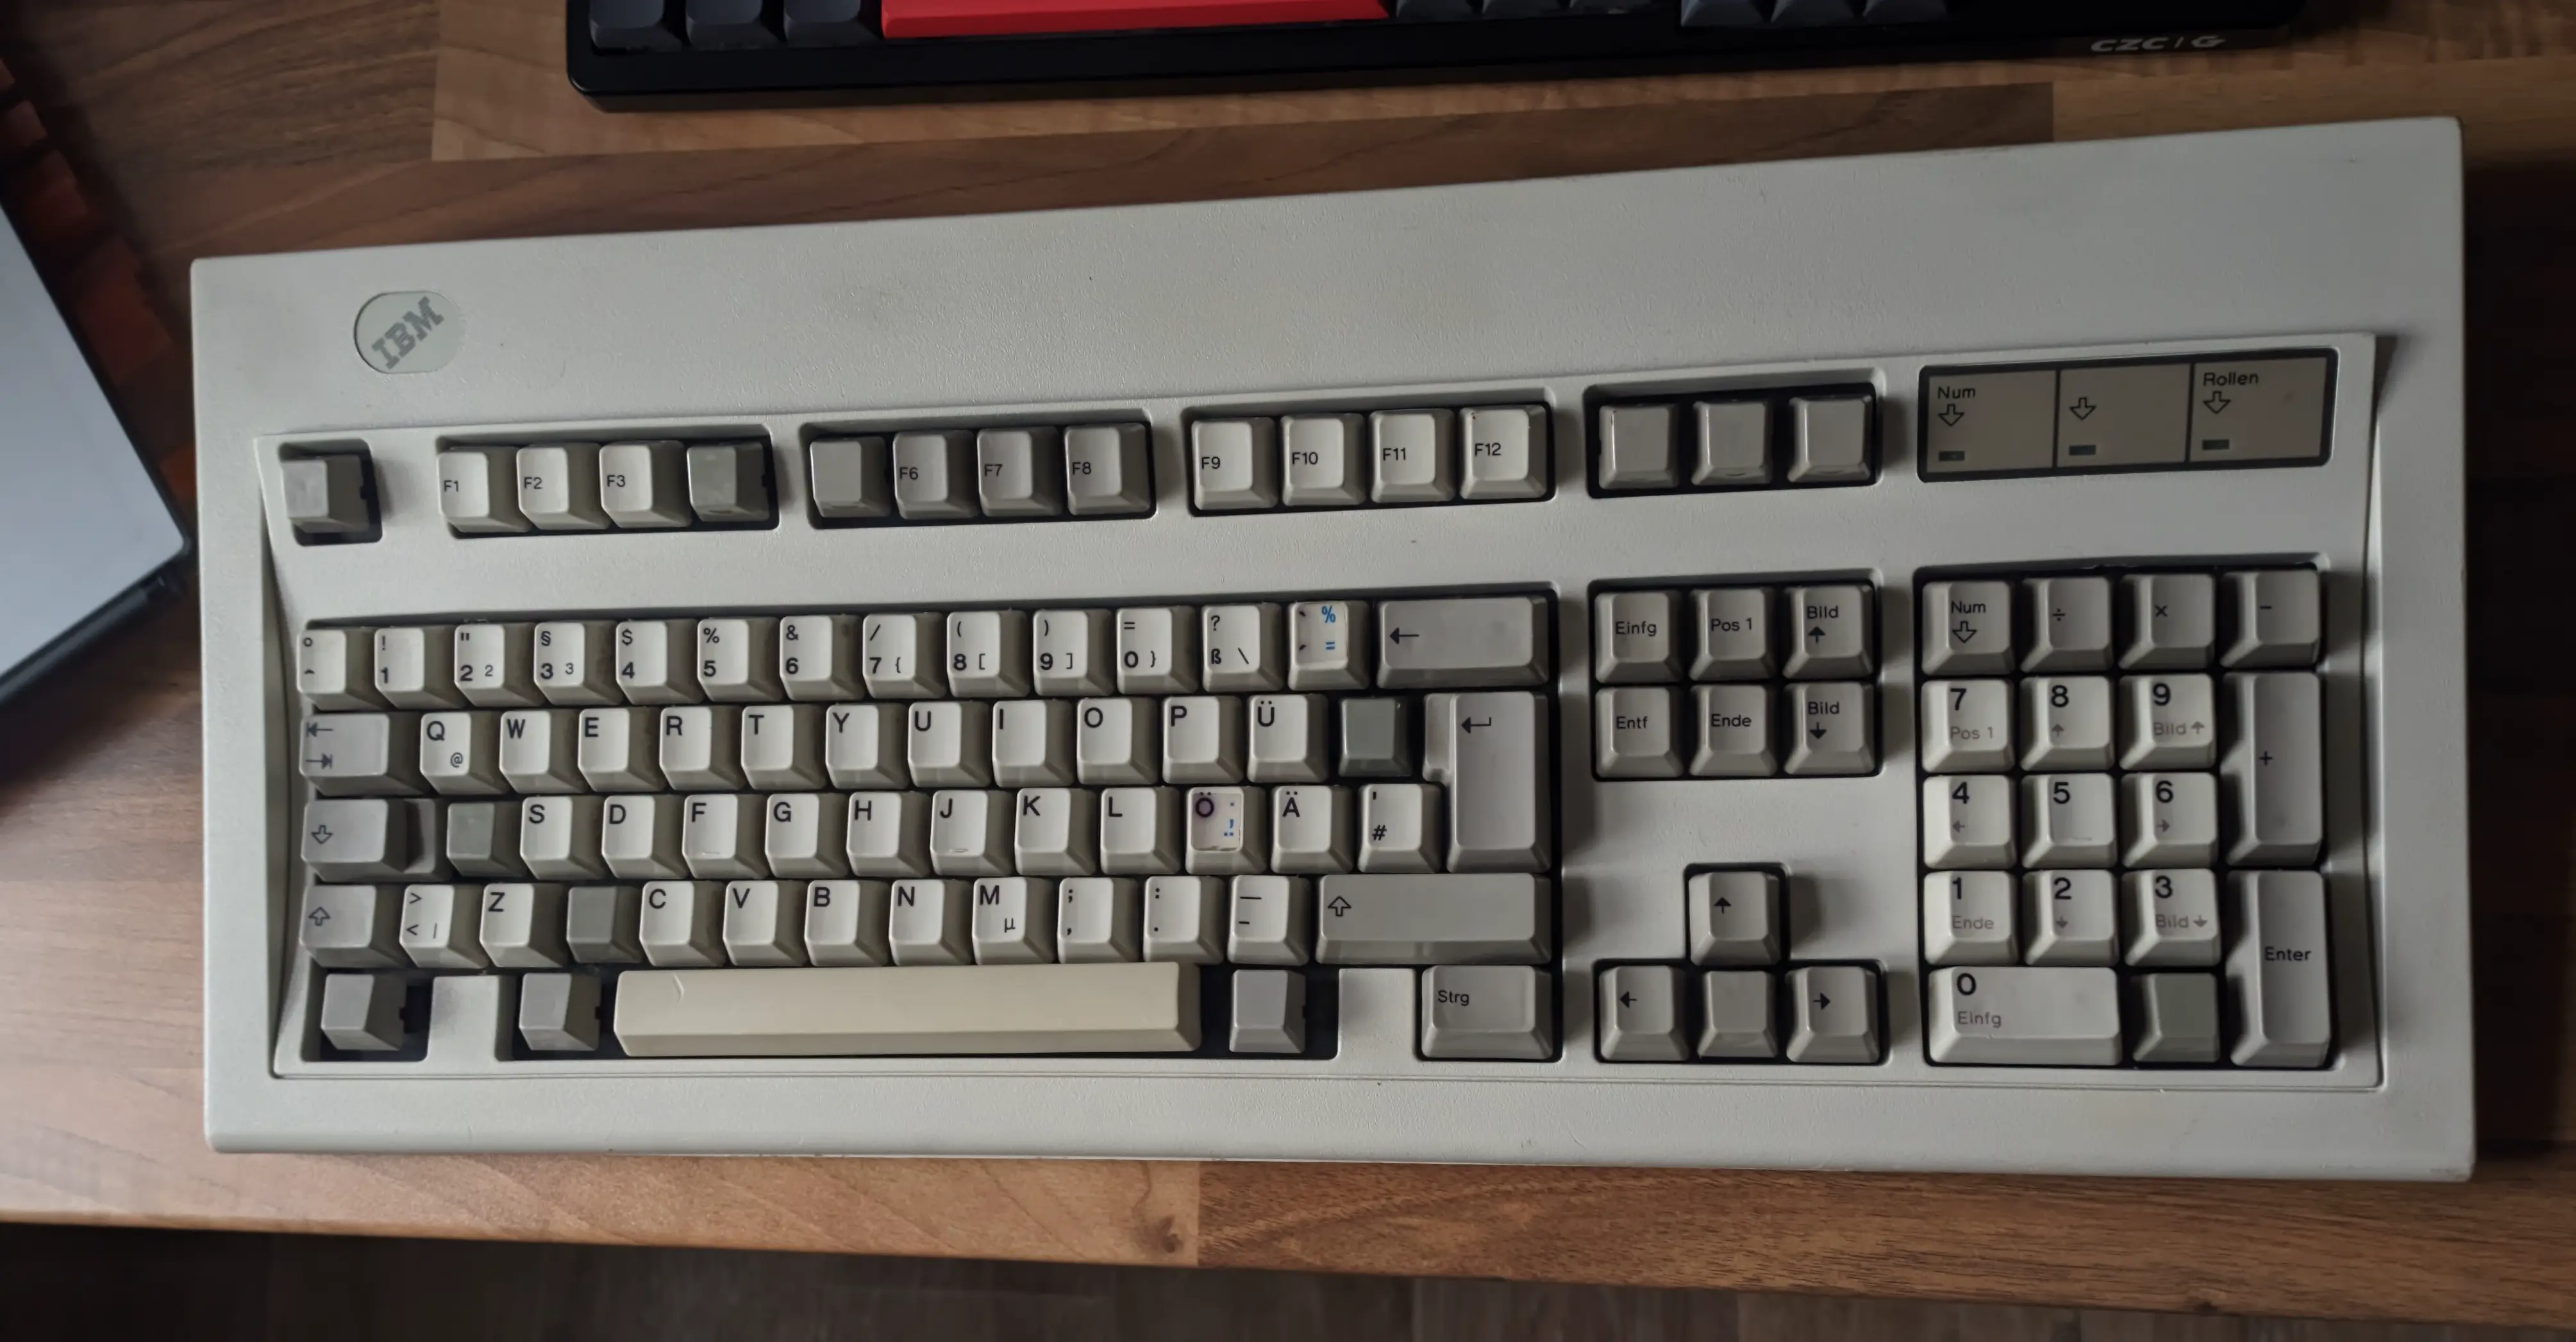
My newly acquired keyboard, other than being dirty and needing a good clean, was in good condition considering its age.
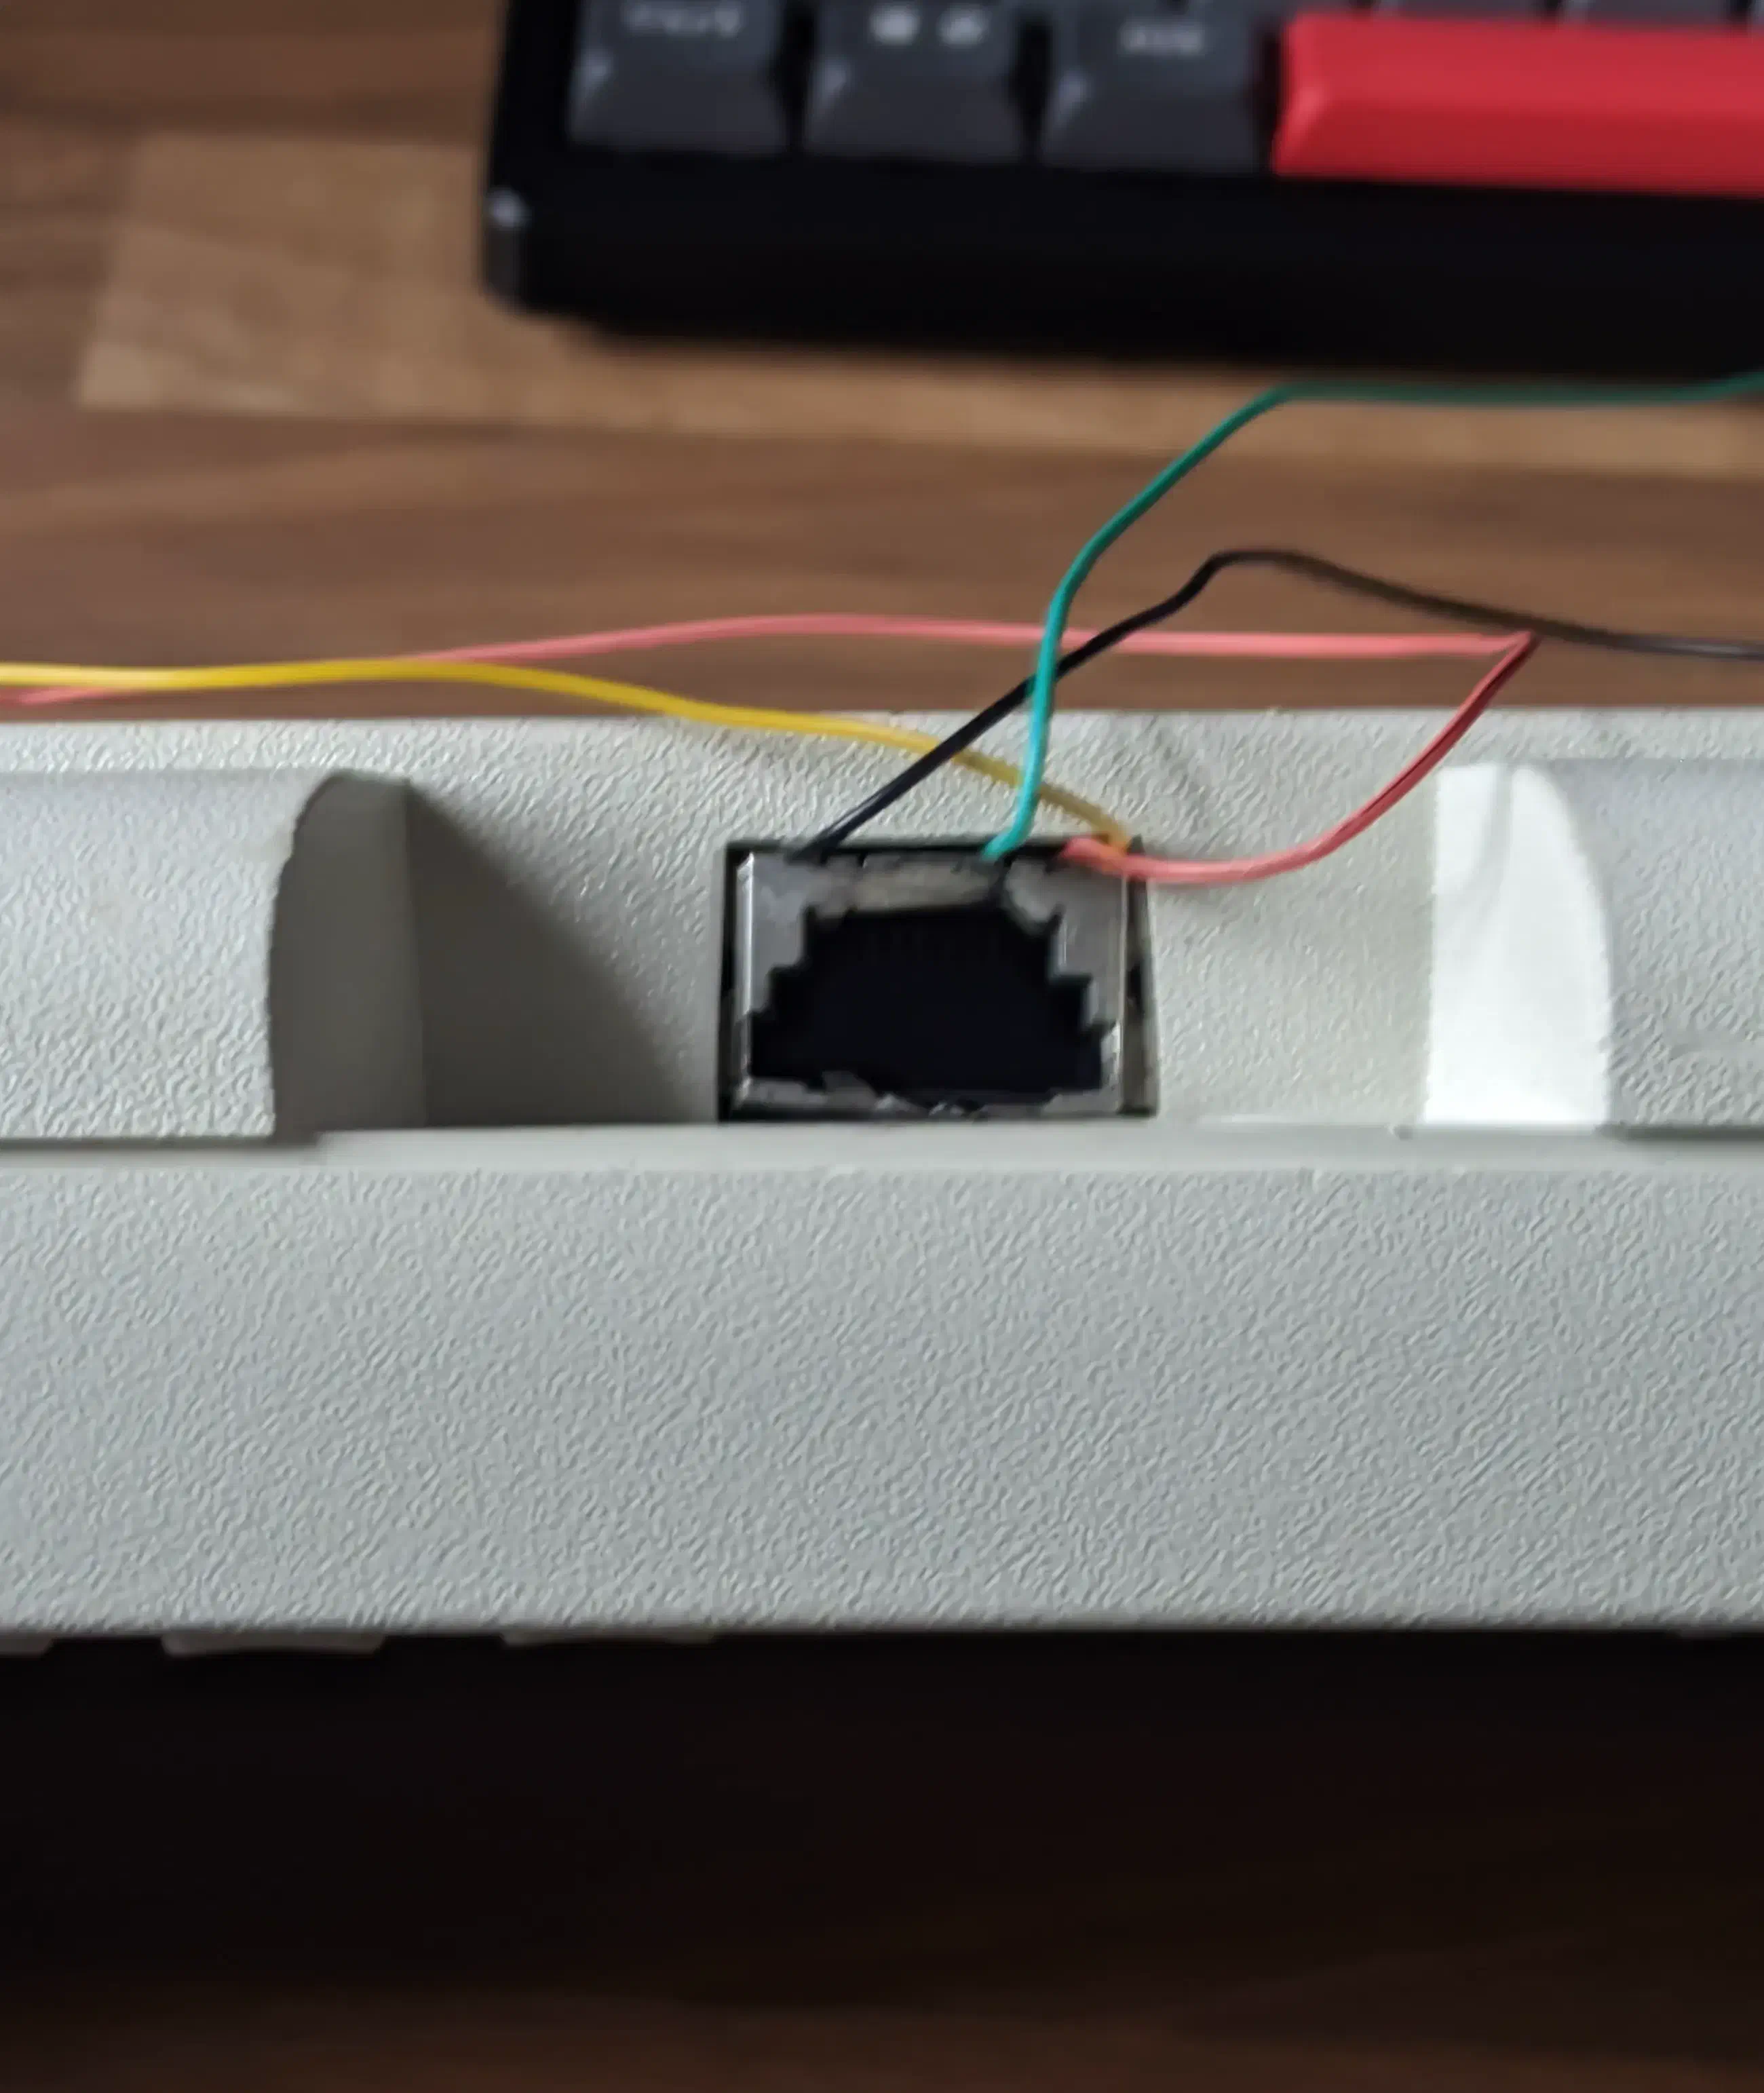
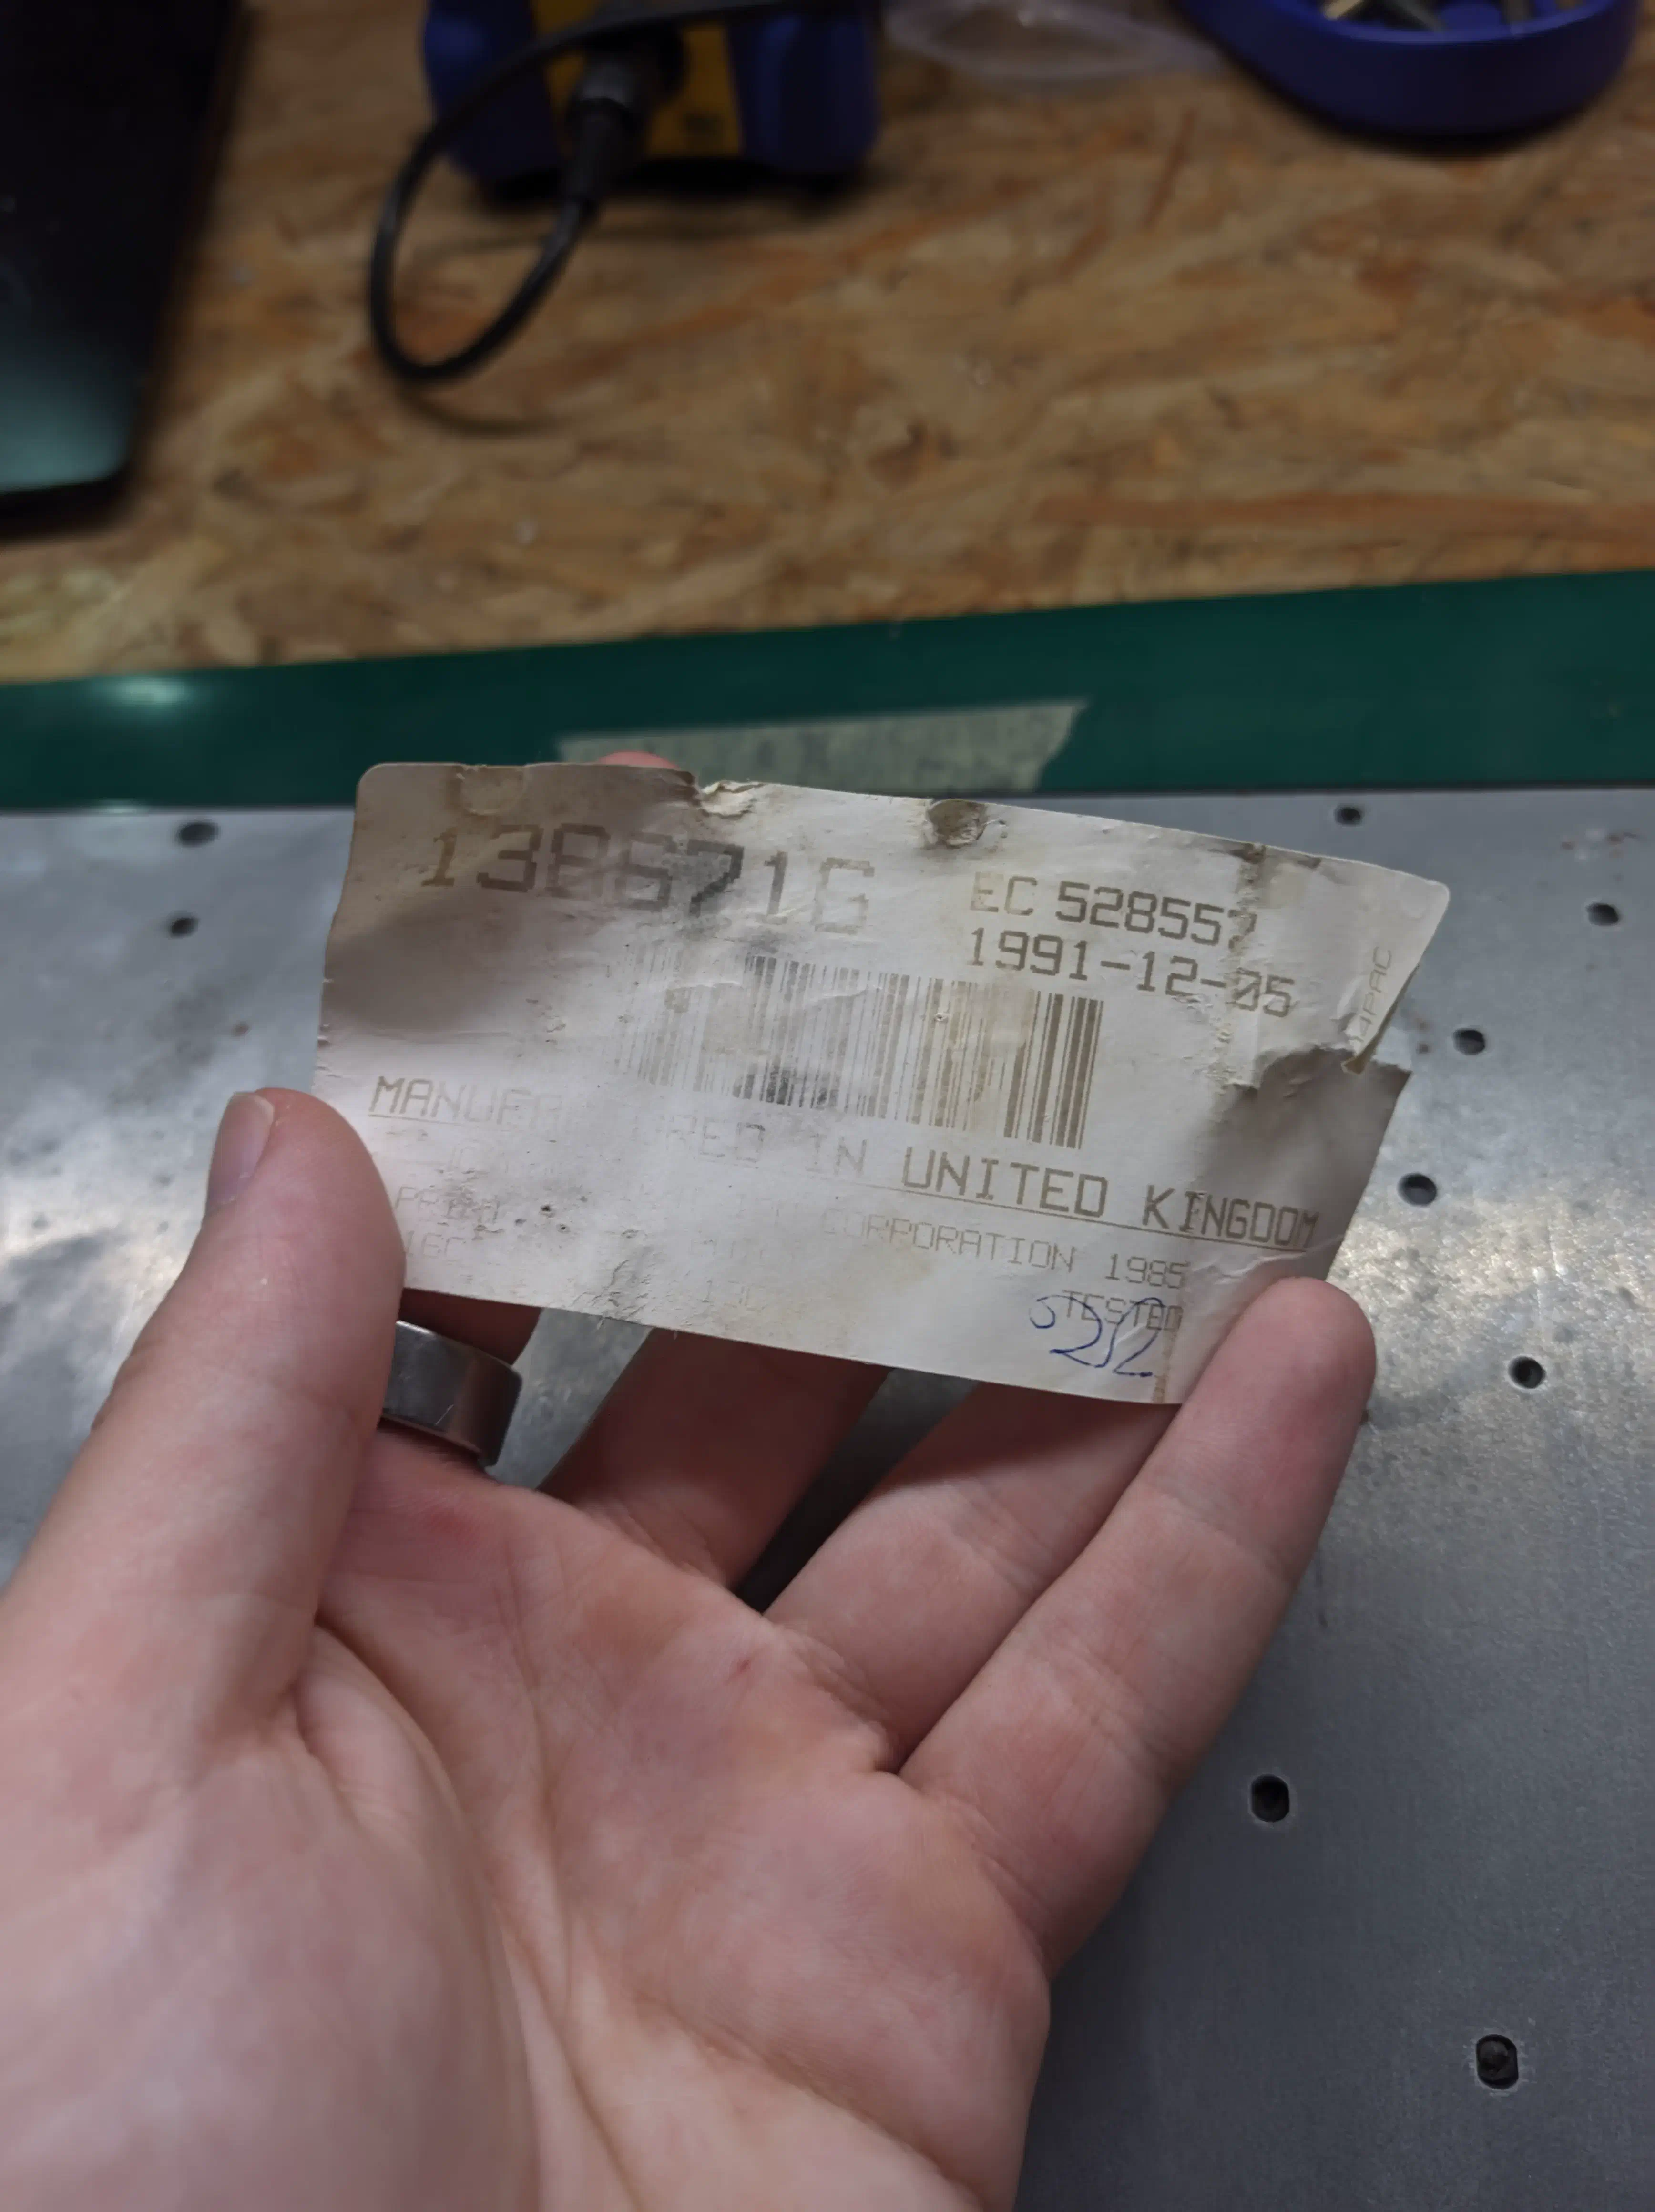
It didn’t have any serious issues. Sure, some keycaps were gone, not like you need them to type. The space bar stabilizer was gone and pressing space was difficult1, later I managed to source one. The original connector was beyond saving and ‘‘‘repaired’’’ by the previous owner. The listing included a picture of this, probably why it was so cheap.
 view full res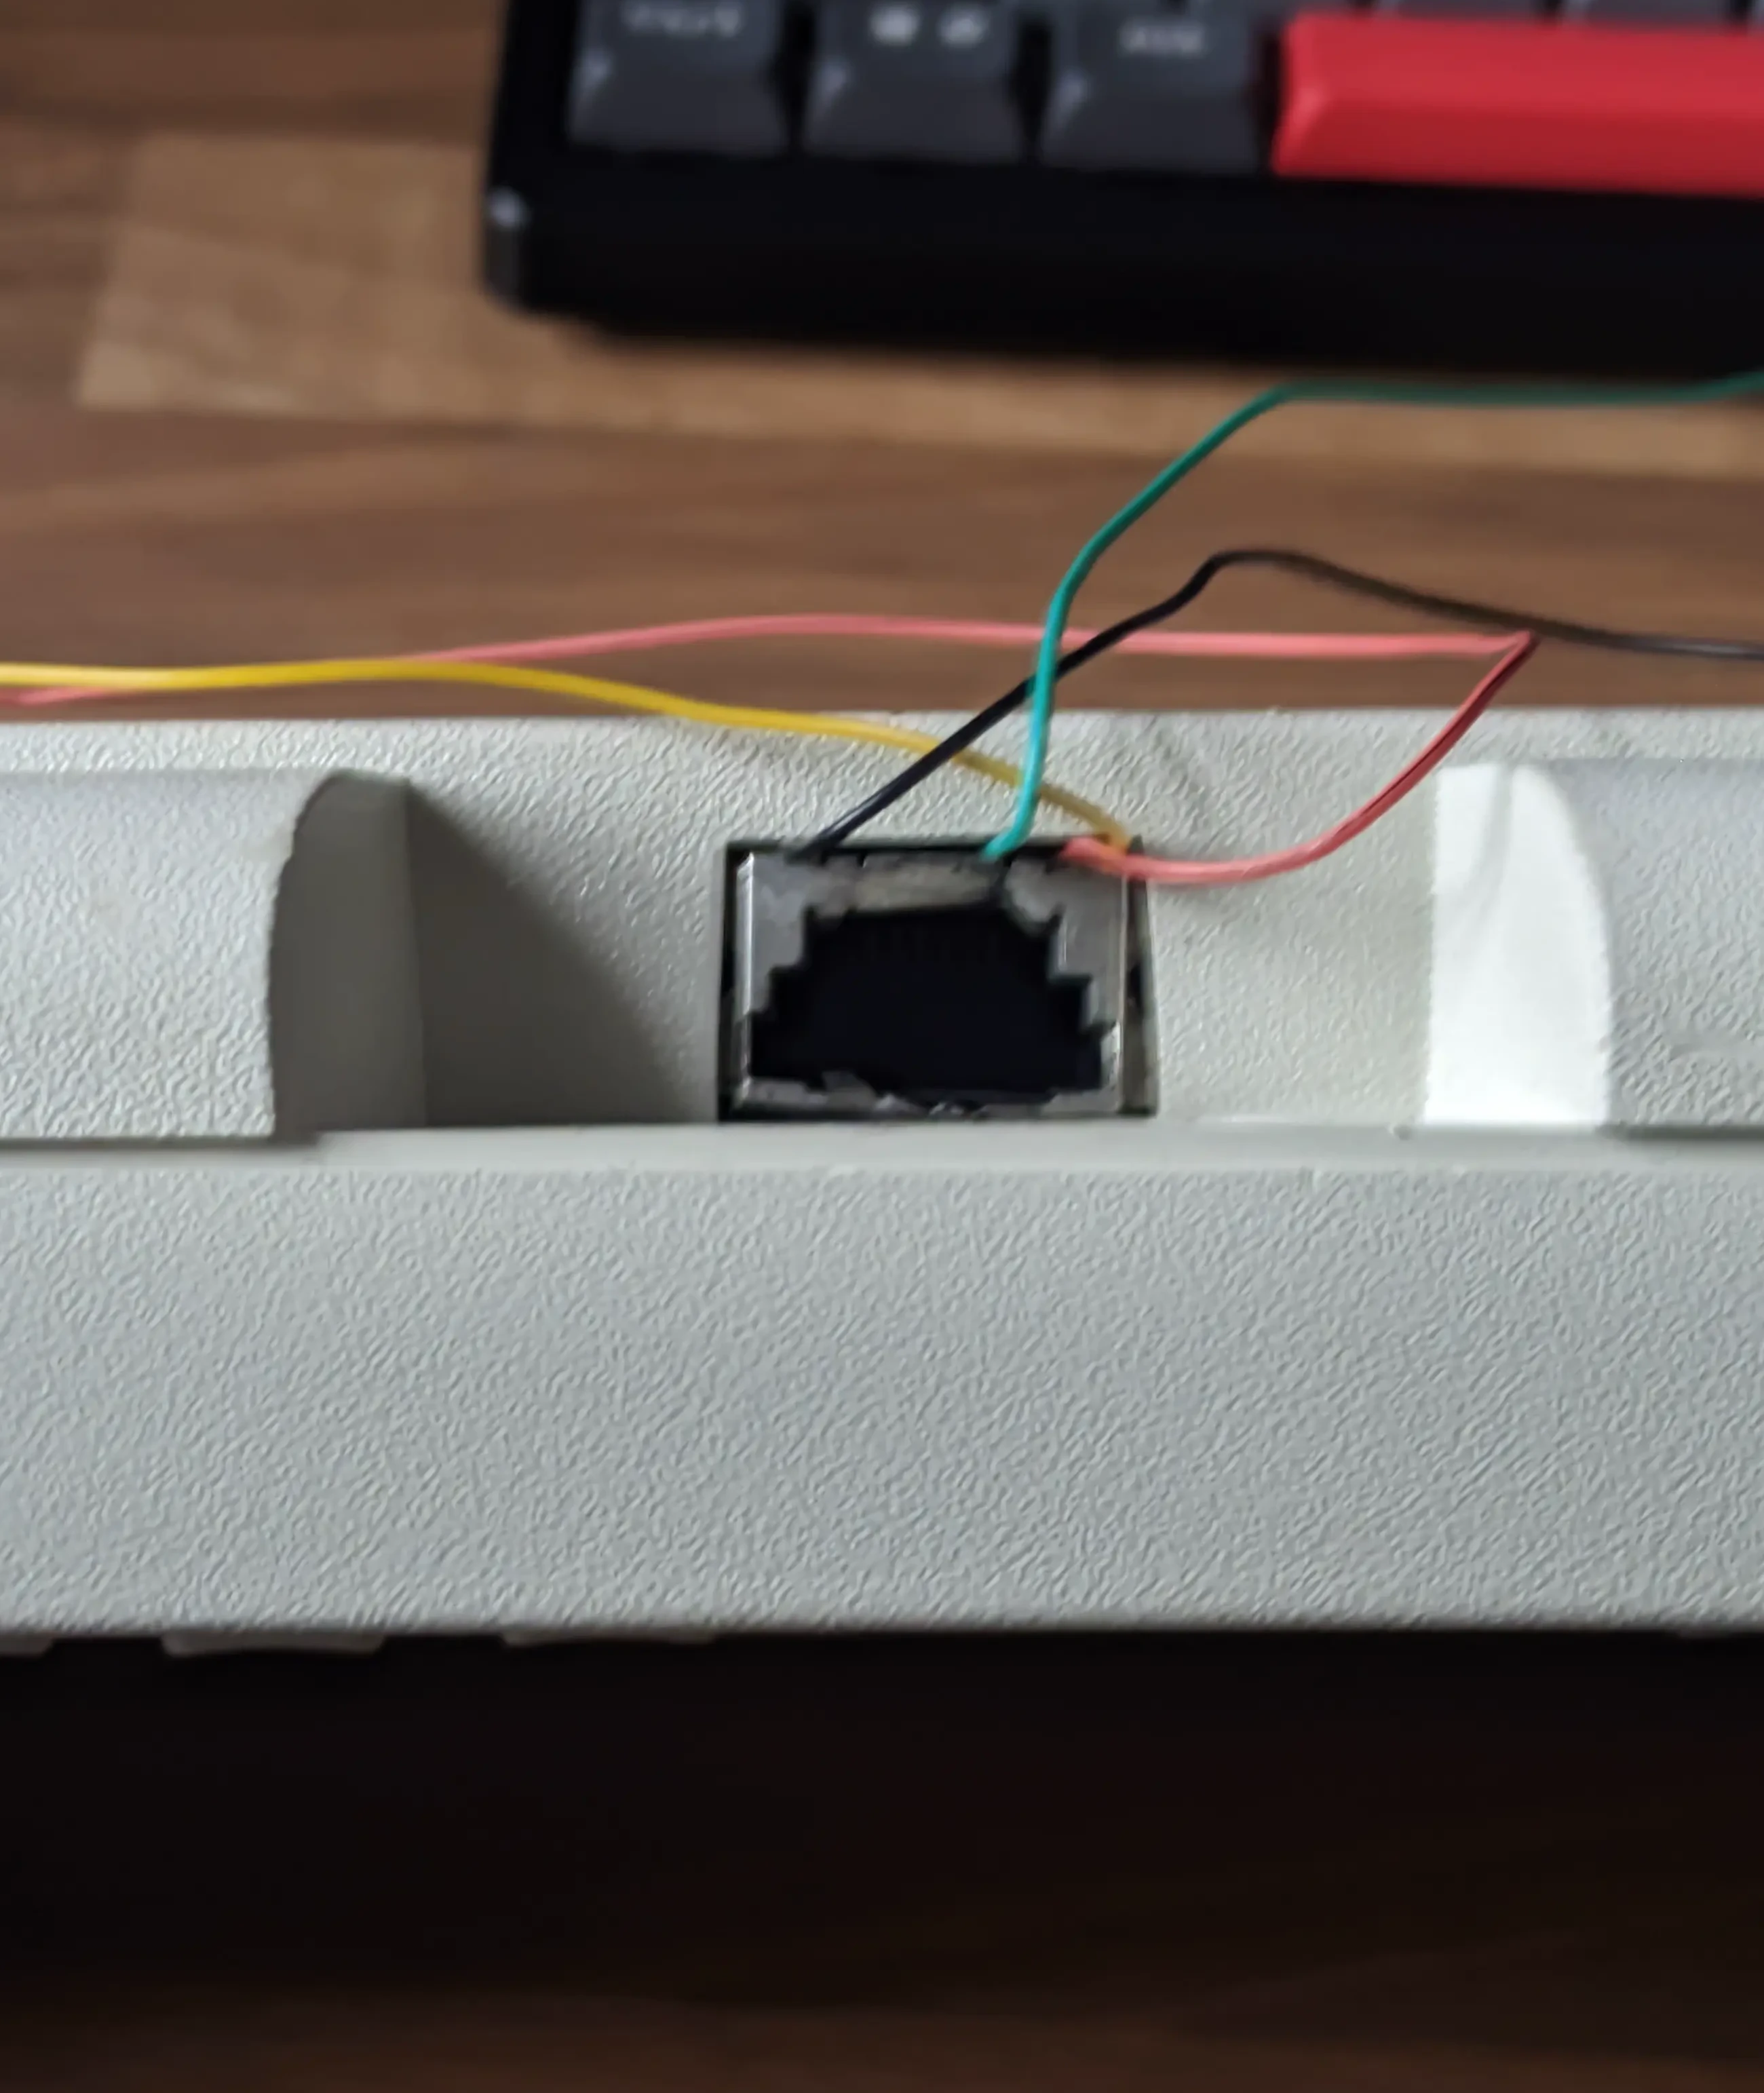
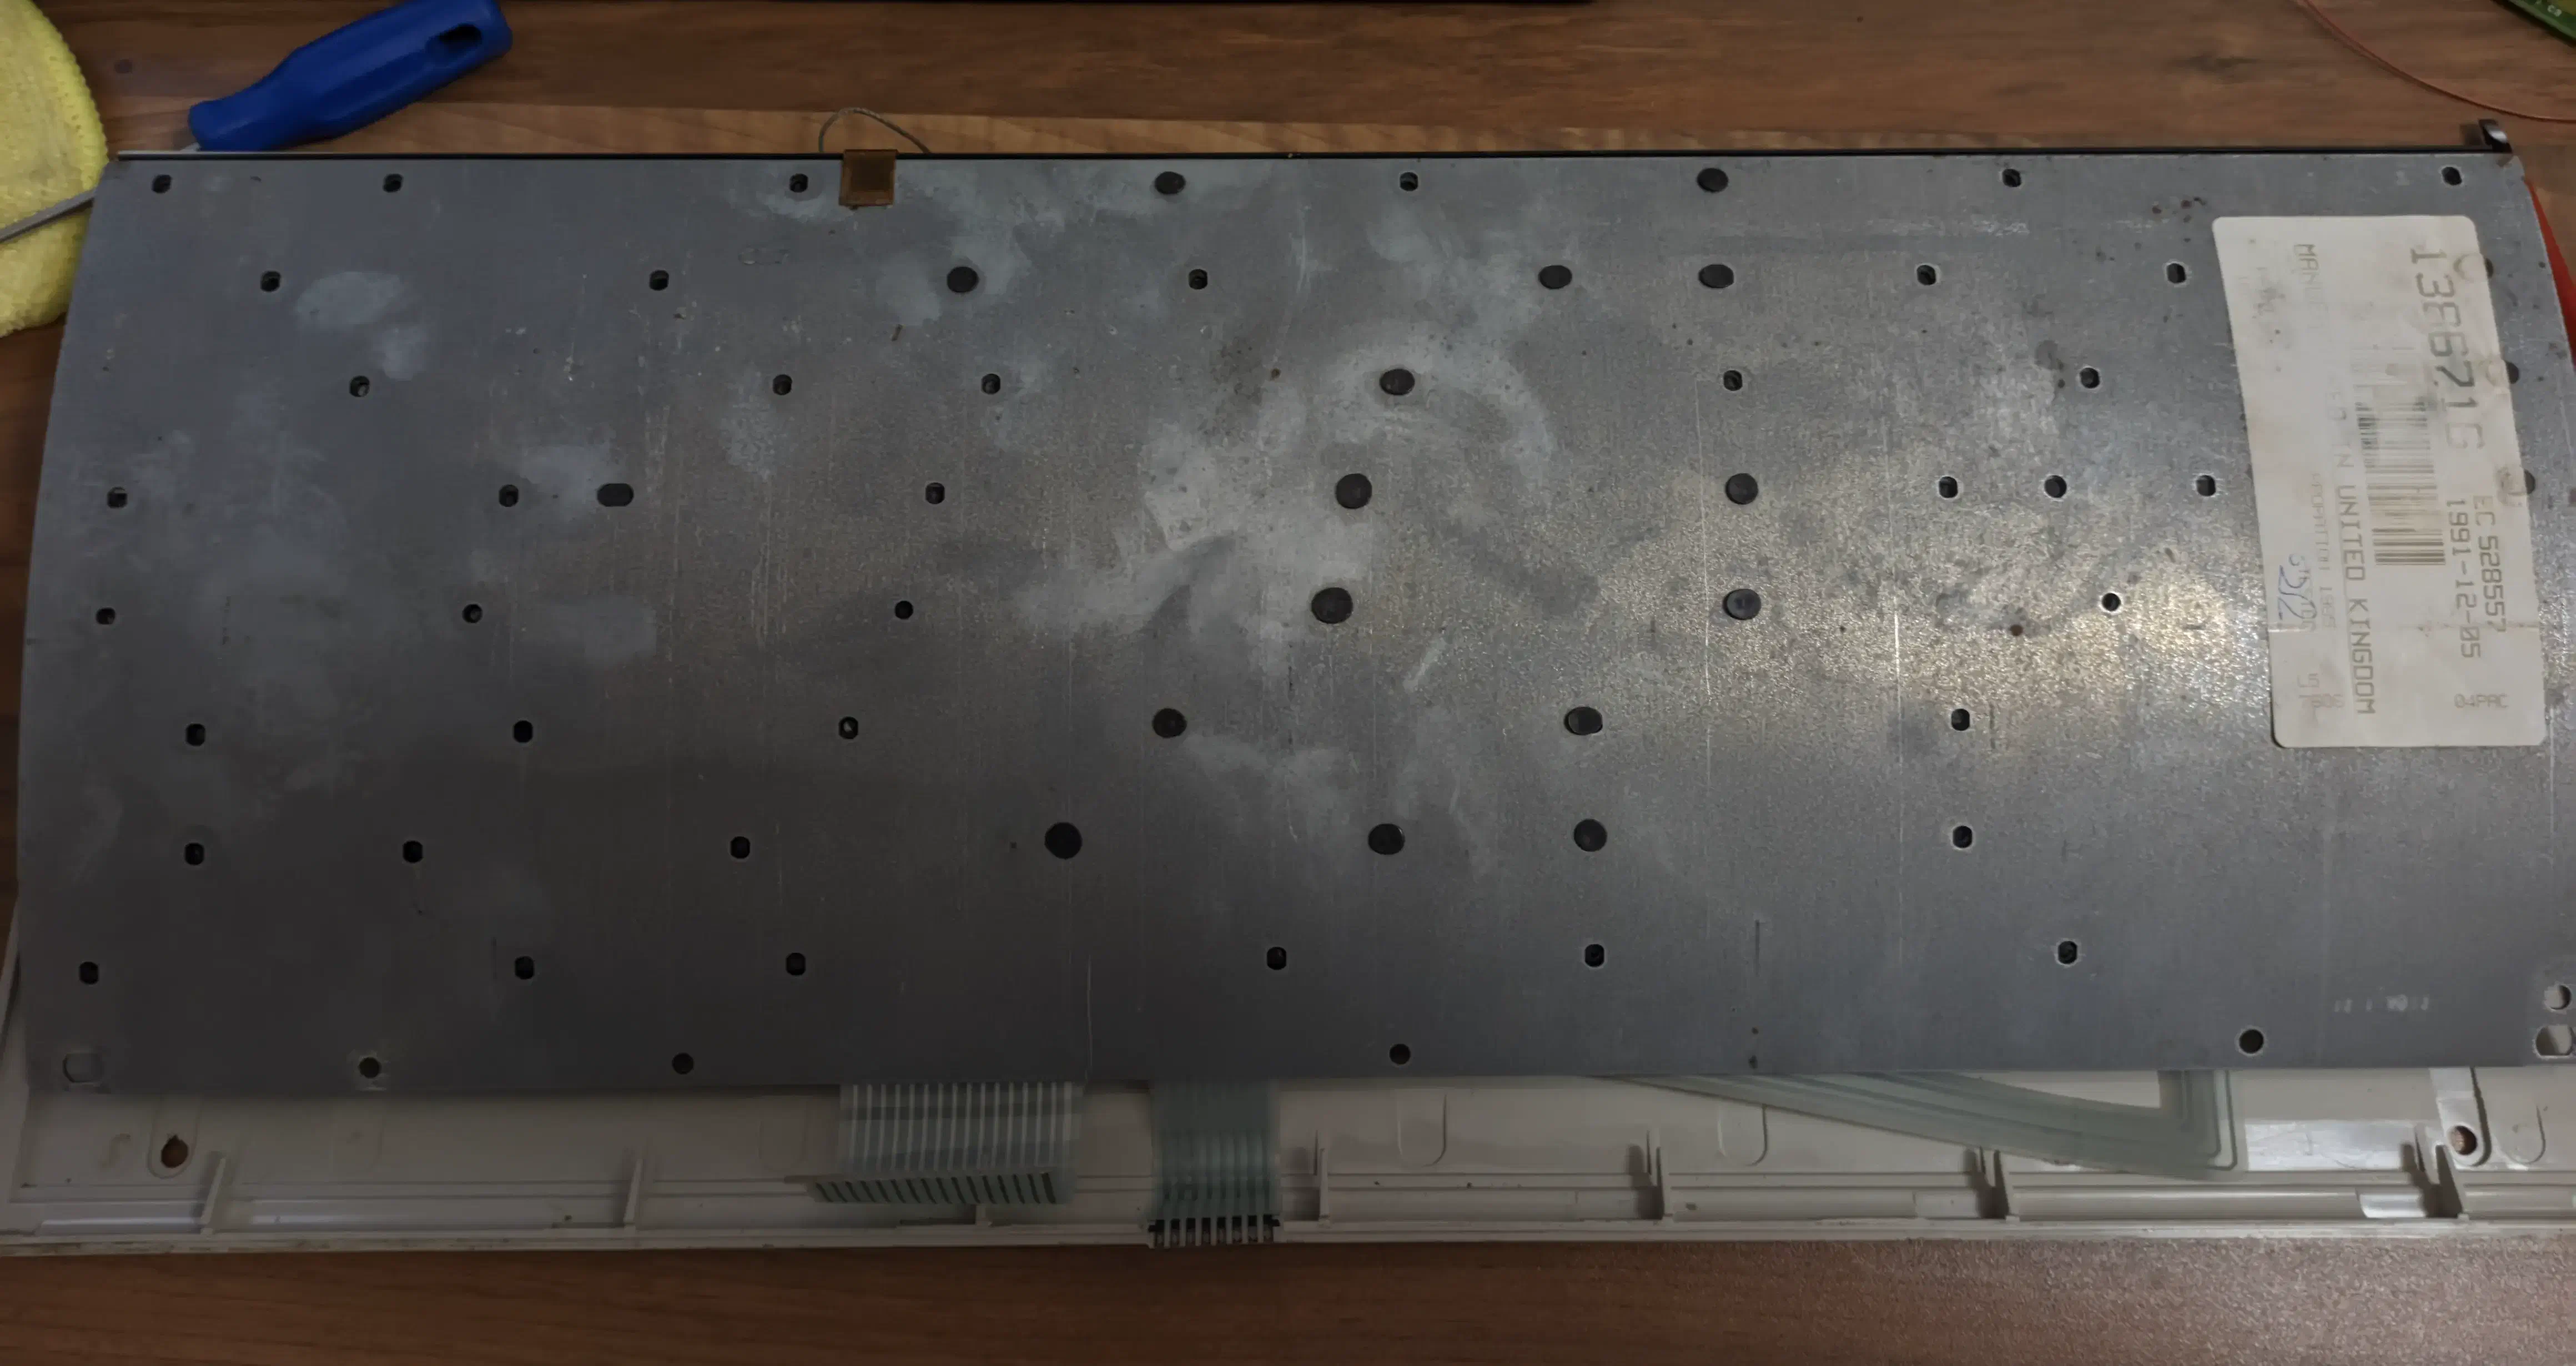
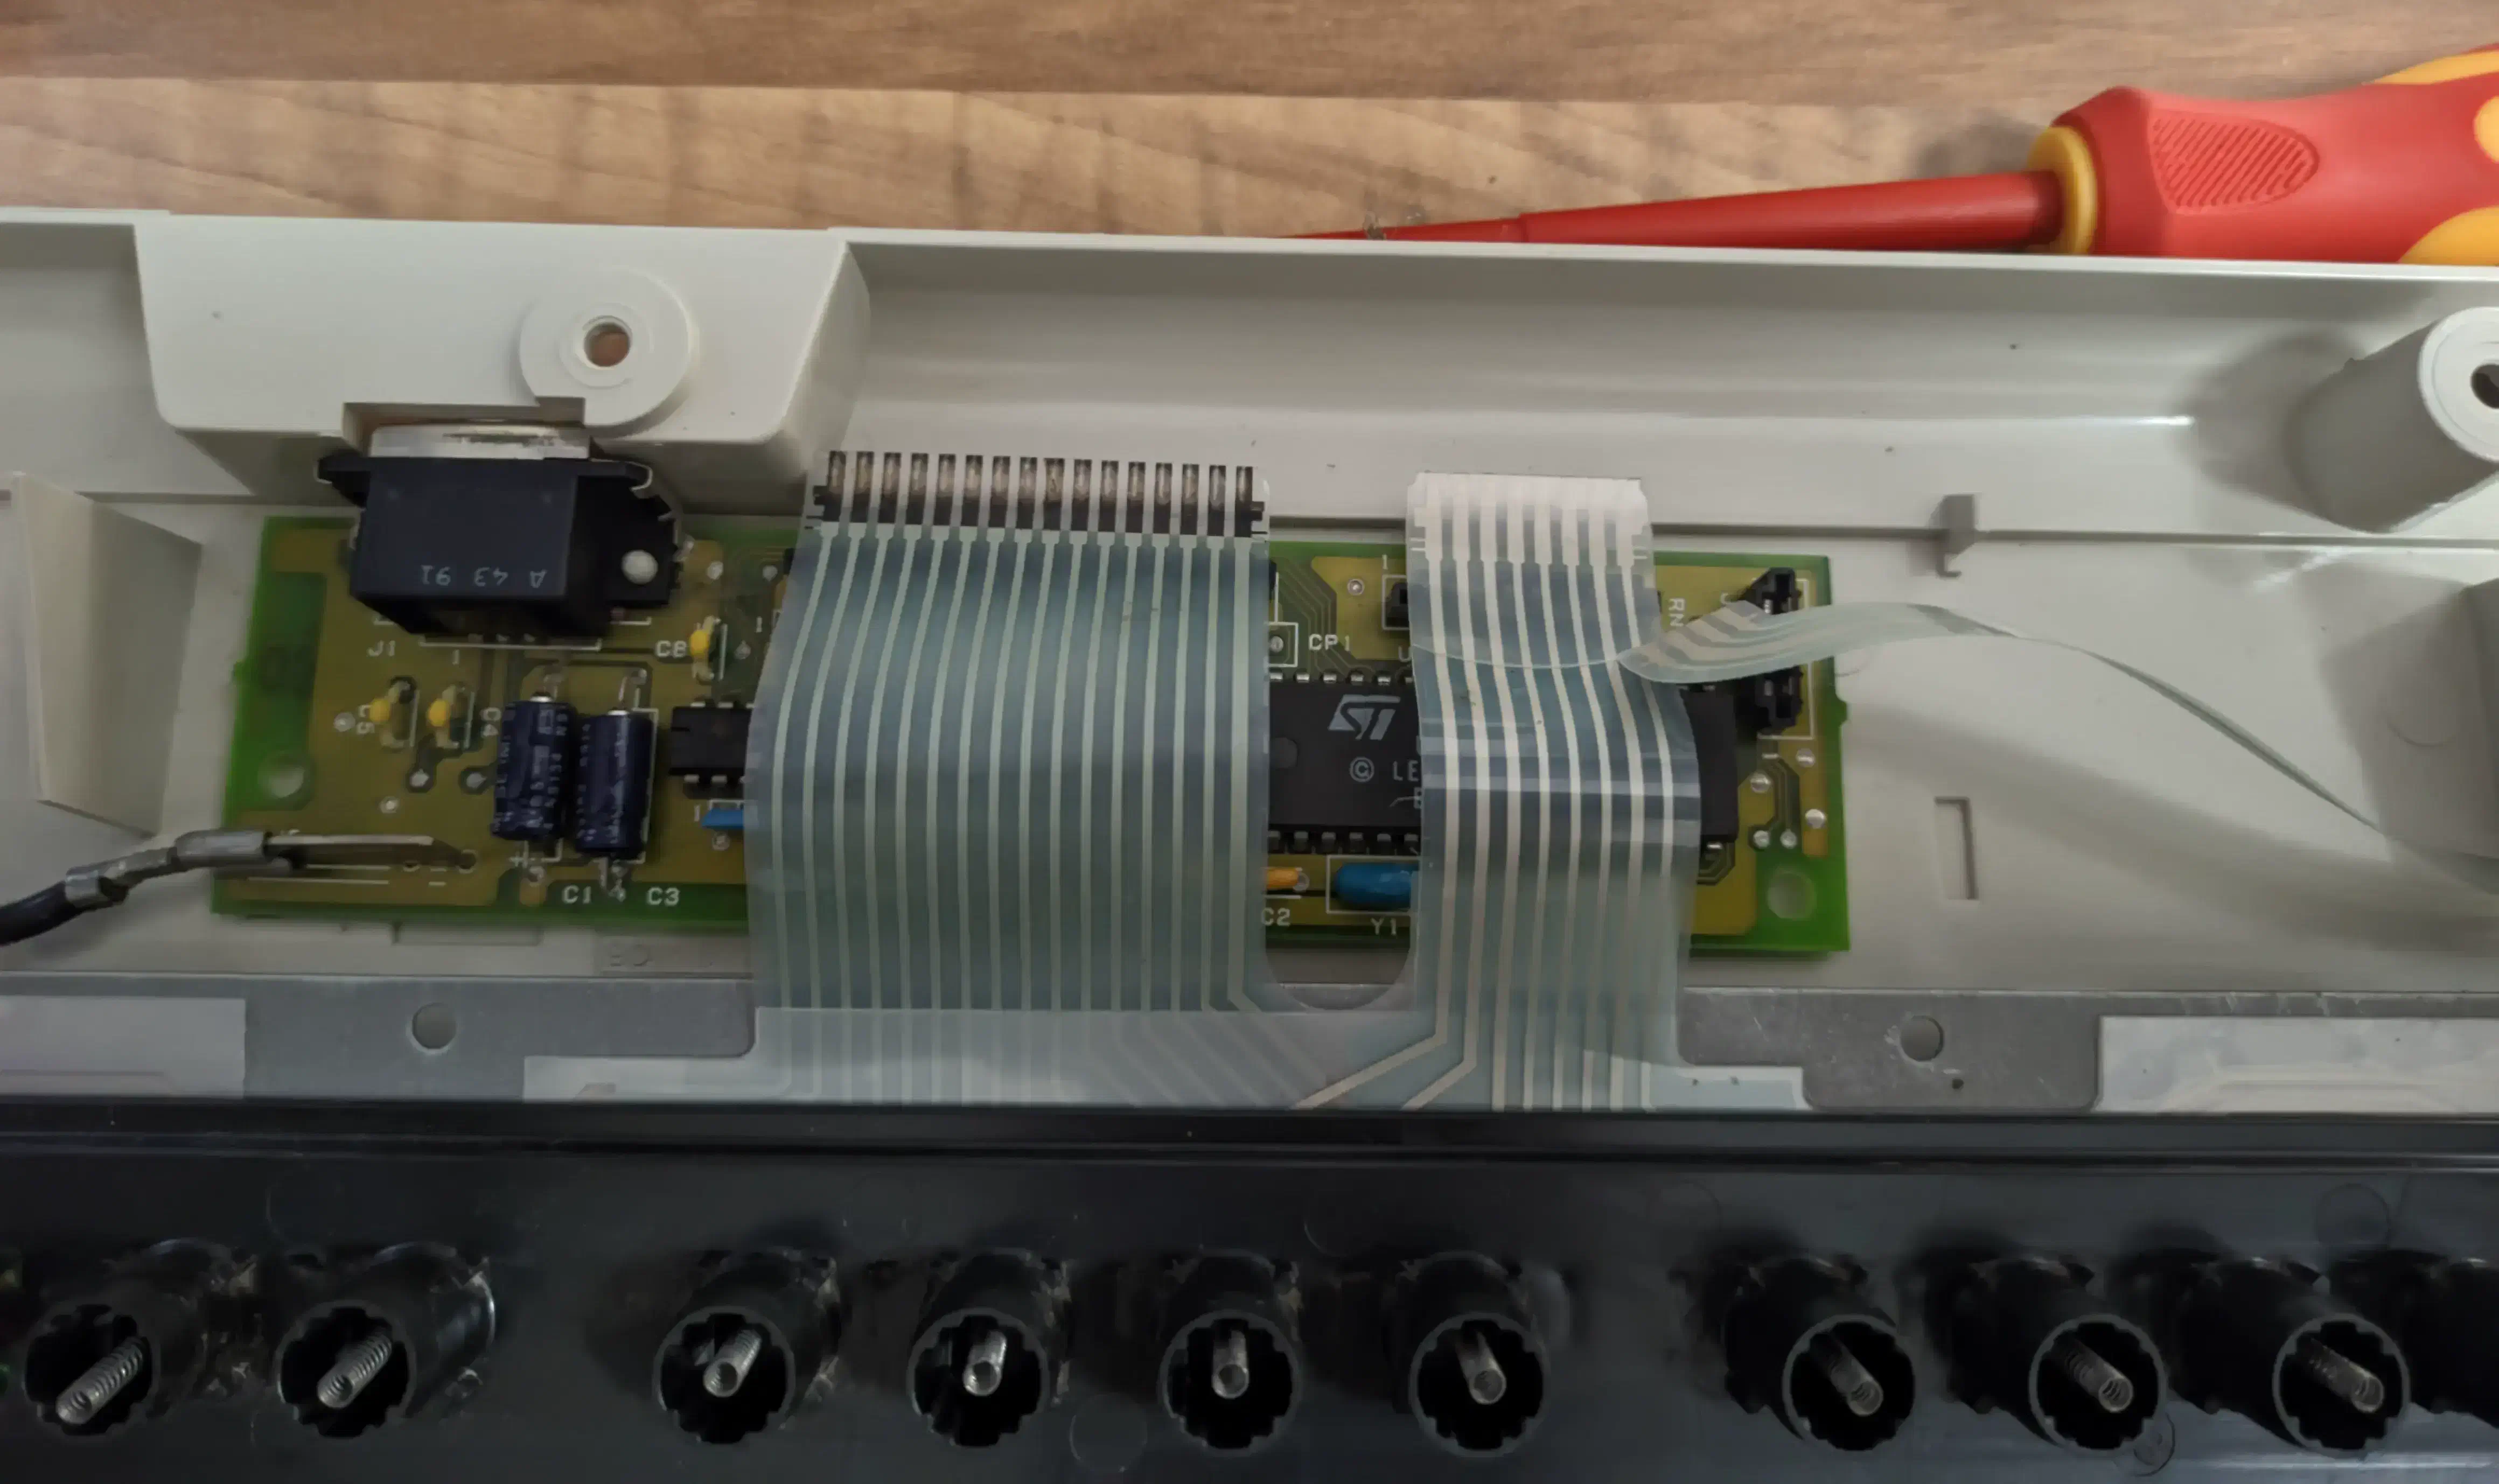
The construction of a Model M is straightforward. A controller in the back and a stack making up the actual keyboard, consisting of a front plastic baseplate, the flappers, foam, plastic membrane, and metal backplate.
This stack is held together not with screws, instead with plastic rivets molded into the plastic baseplate. I’m sure this was a carefully considered design decision.
 view full res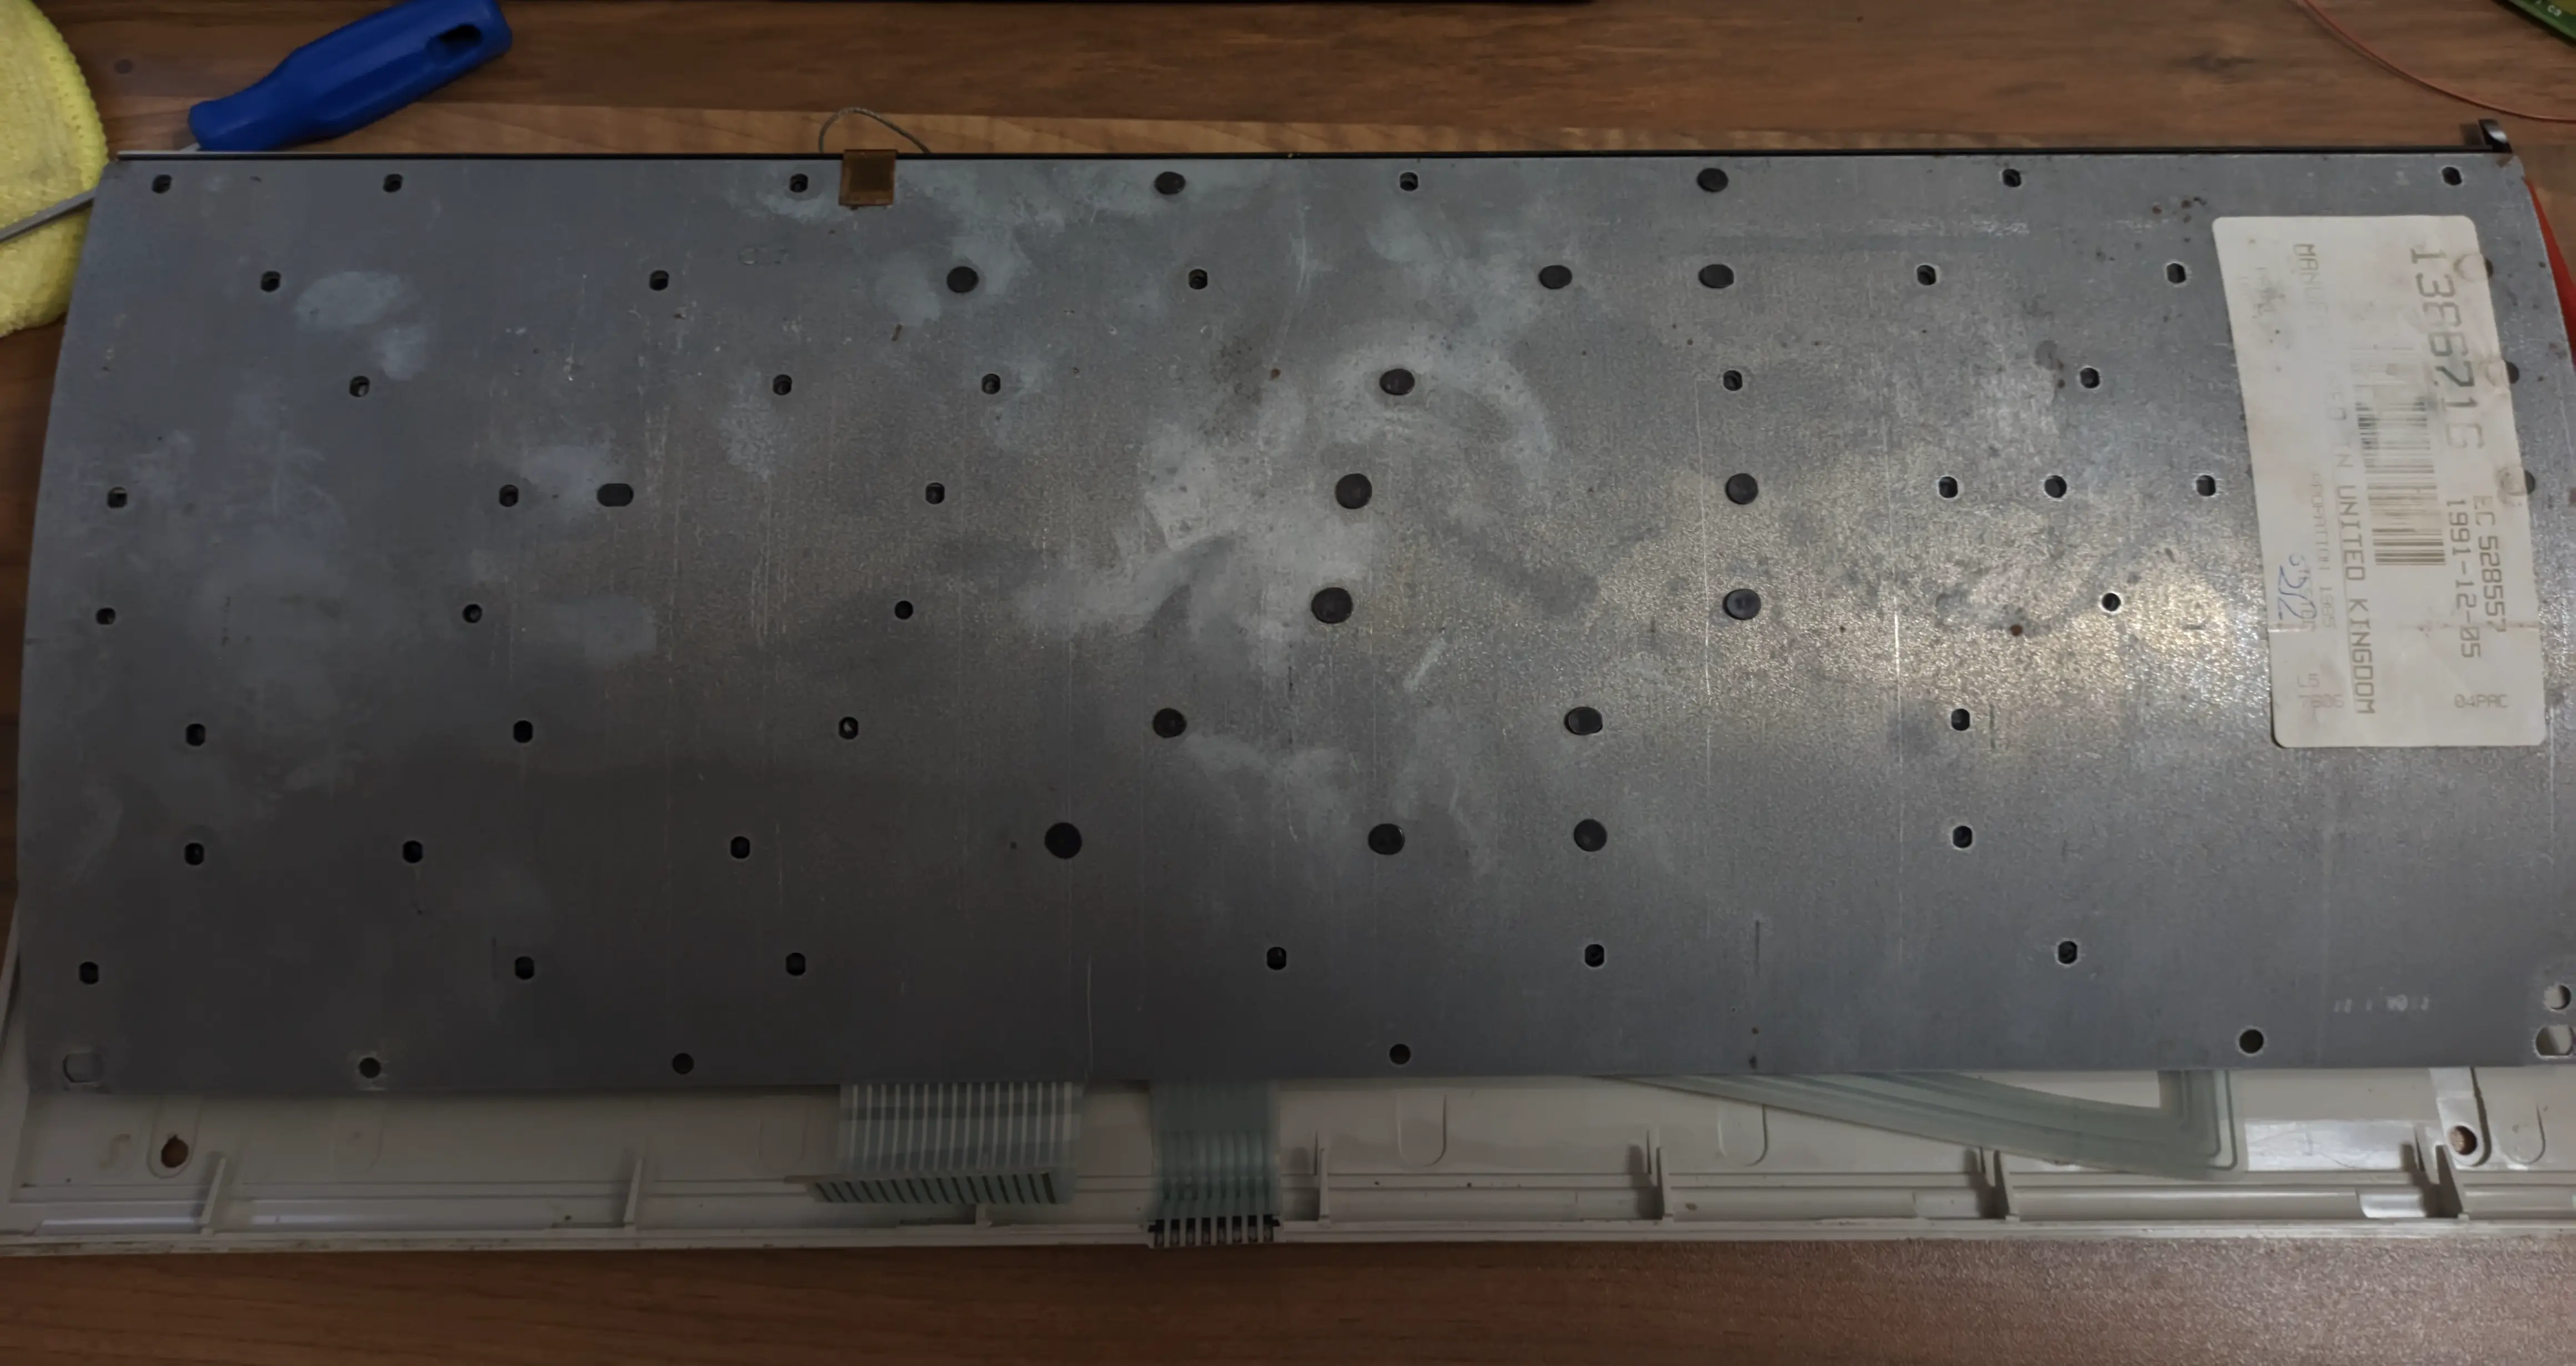
 view full res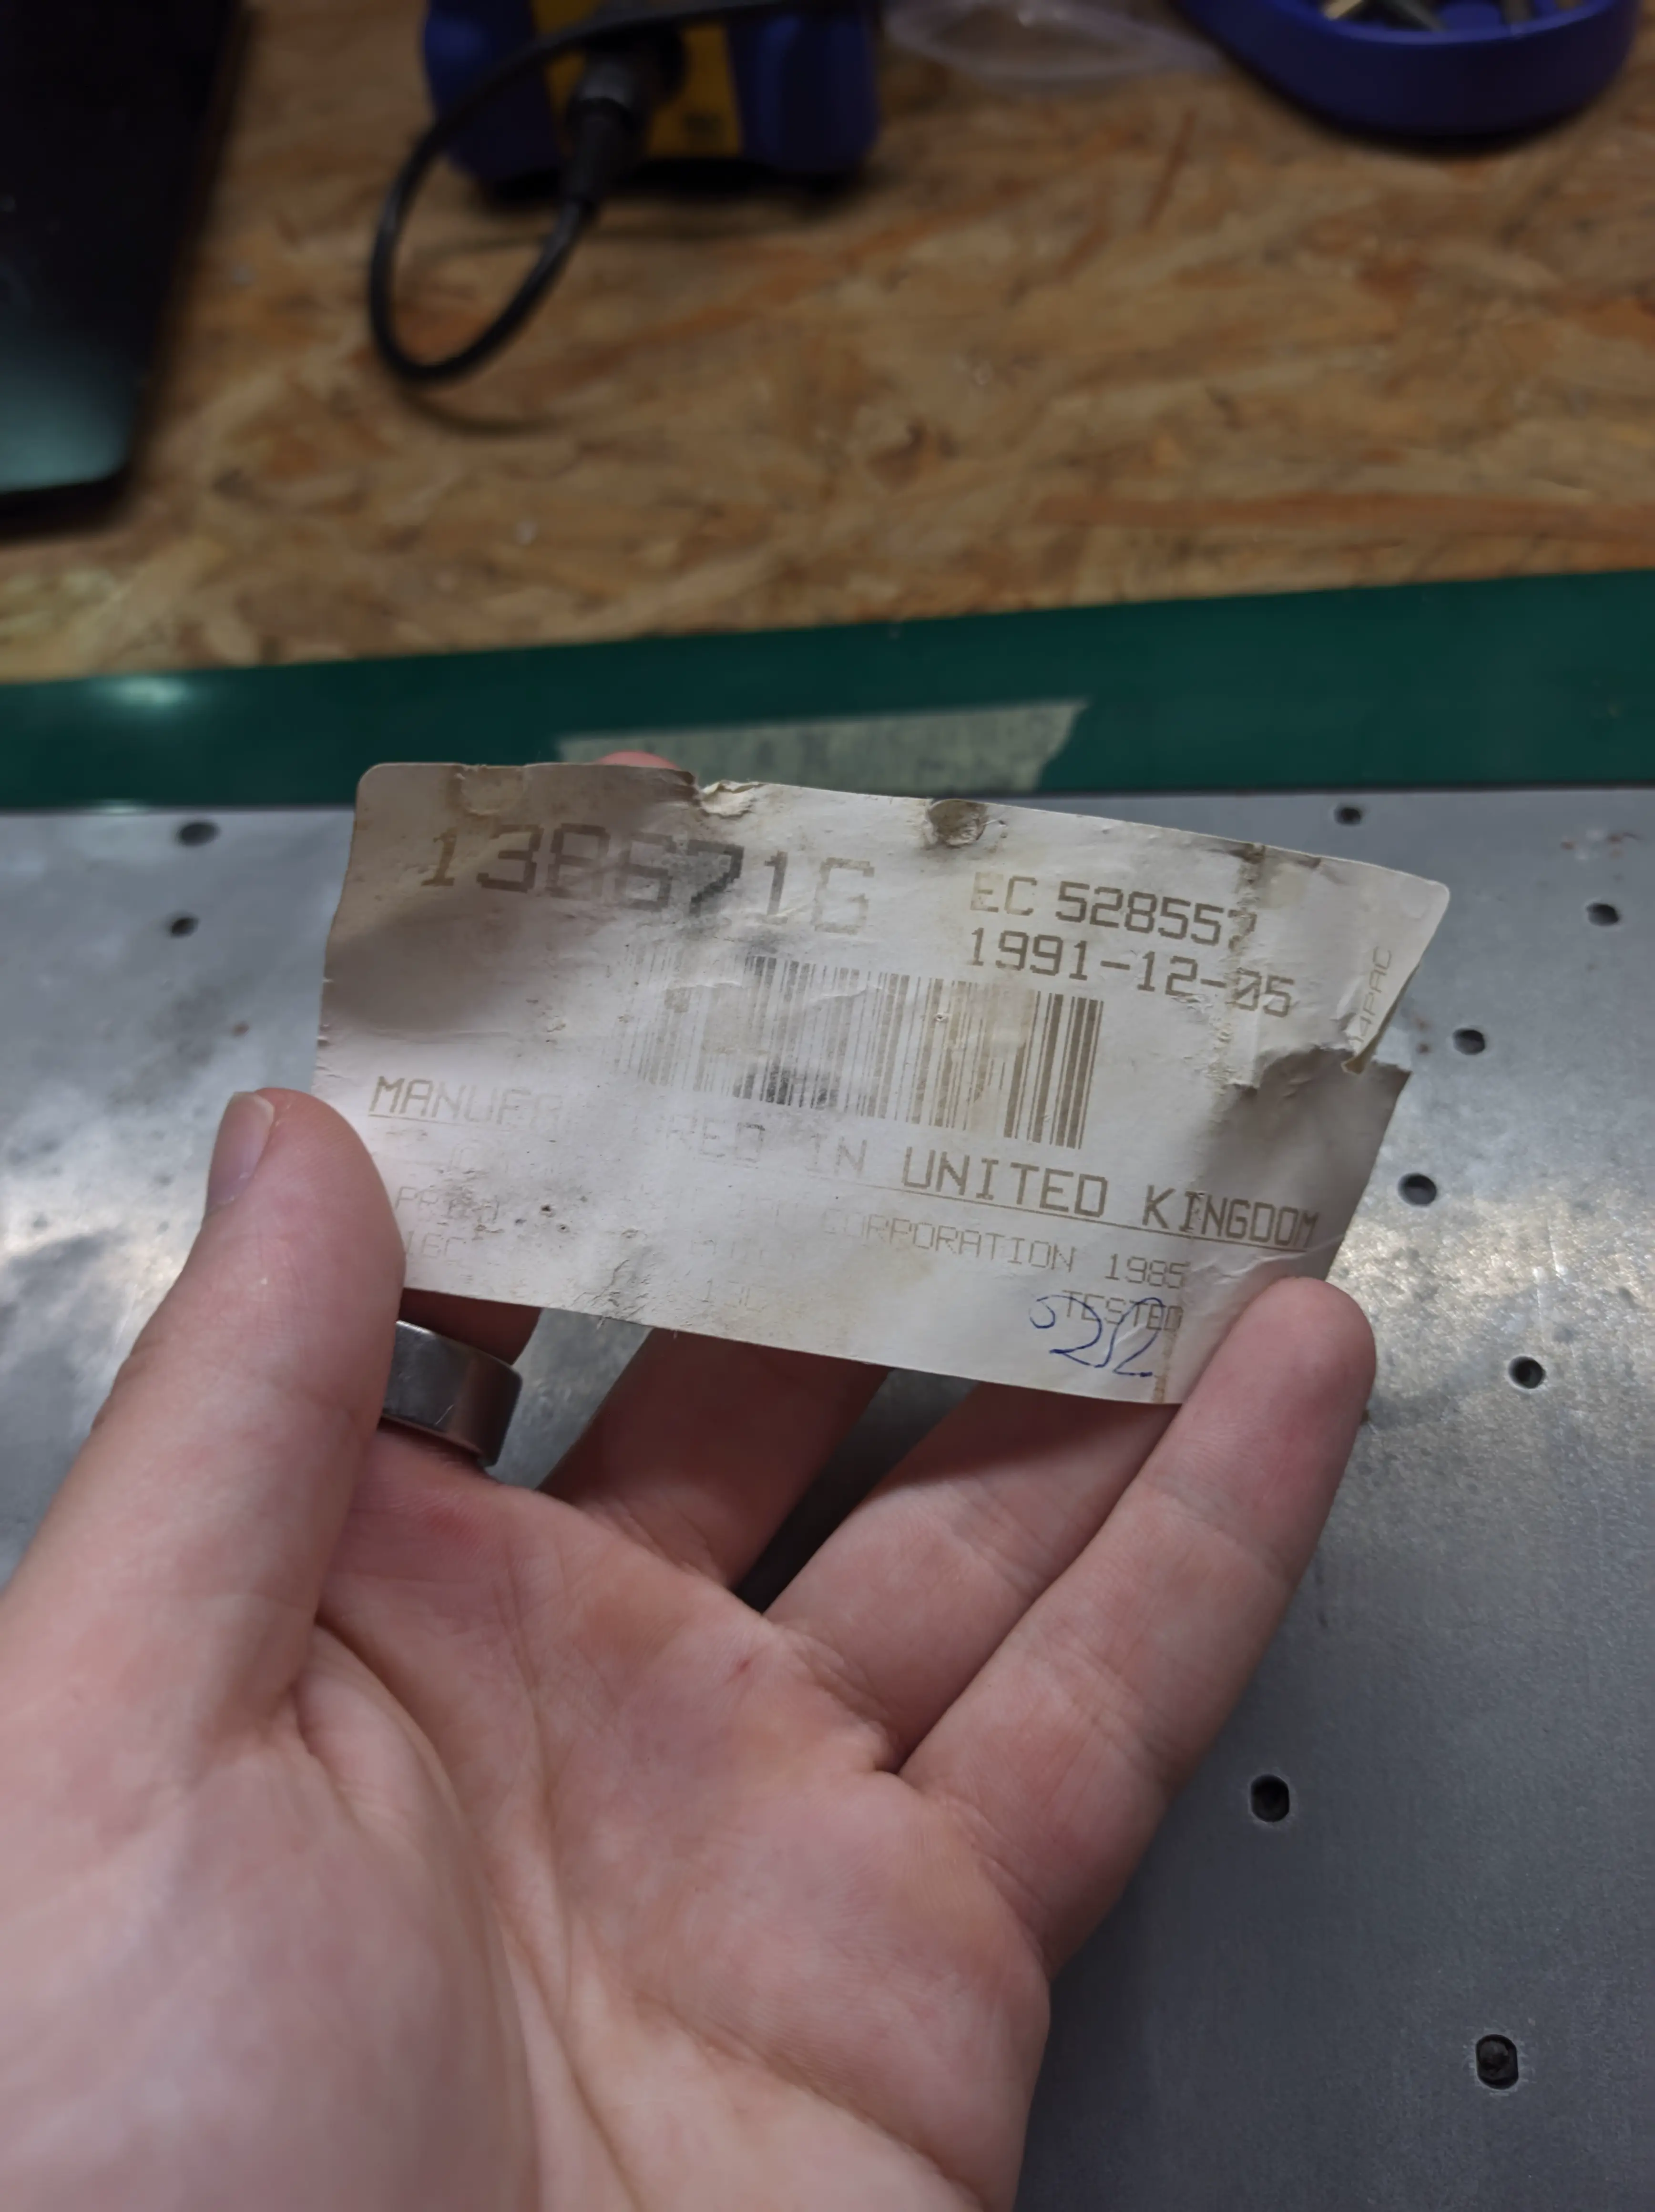
Old plastic is brittle. Who knew. Due to its age, most of the rivets peaced out, making some keys not click and the keyboard feel unstable. It’s not comfortable to type on a keyboard when every key press bends the whole assembly.
This is common, only a few Model Ms have intact rivets. The only solution, called Bolt Modding, is to drill holes in the frame and replace the plastic rivets with metal nuts and bolts.
Designing the Wireless Controller
##Now that my keyboard was in a stable condition, it was time to mod the electronics.
 view full res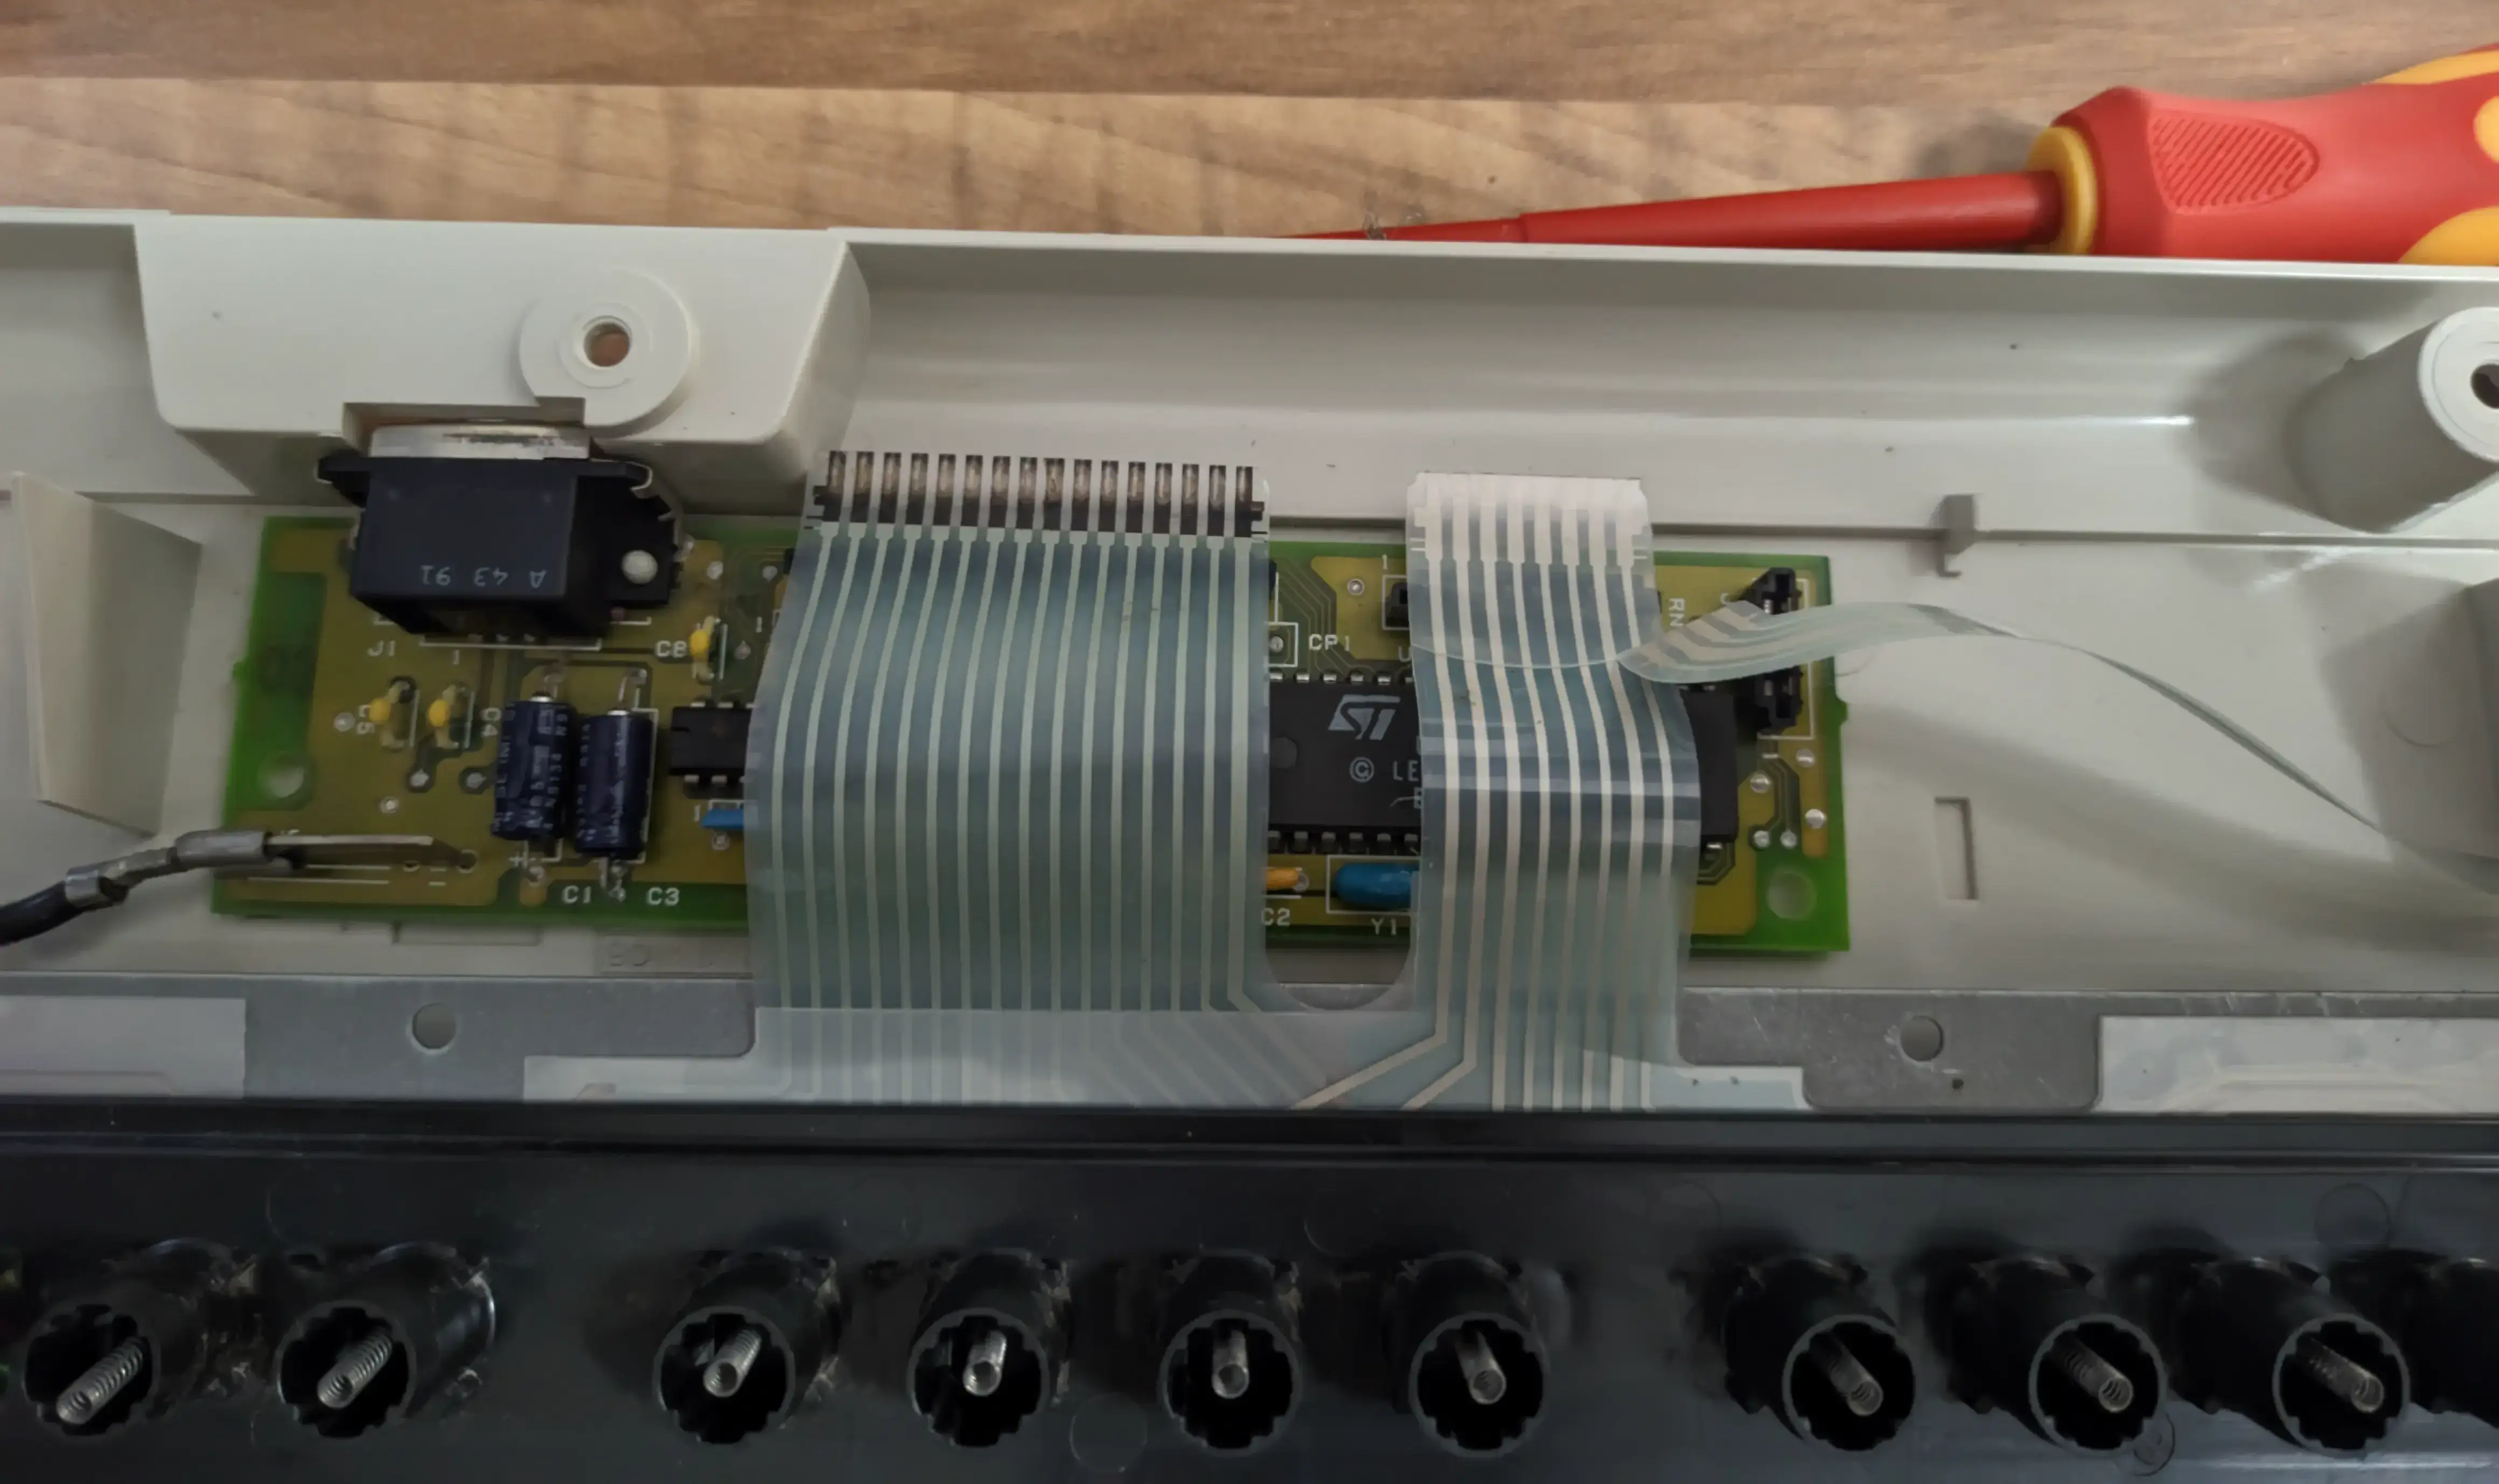
All keys are on a 16x8 matrix, connected with a membrane. This means there’s no diode on every key and doesn’t have N-key rollover, so it’s kinda piss poor for gaming. The controller drives one column at a time, reads every row, and when a key’s state changes, fires an interrupt. Modern keyboards work the same way, matrices are really pin efficient.
My plan was simple (most plans are, before reality hits): Design a custom PCB with a wireless microcontroller that would scan for key presses like the old one, but with Blackjack and hoo^W^W^W USB-C and Bluetooth.
I’m not the first to attempt this. One of the more popular modded controllers is the wired USB-B Model H by John Hawthorn. Since I did not have the keyboard when I started designing the board (lol), I forked the Model H and used his design as a starting point for mine. I started with a blank schematic but kept the board outline and connector placement of the PCB, surely there was no need to measure the distances against the real chassis.
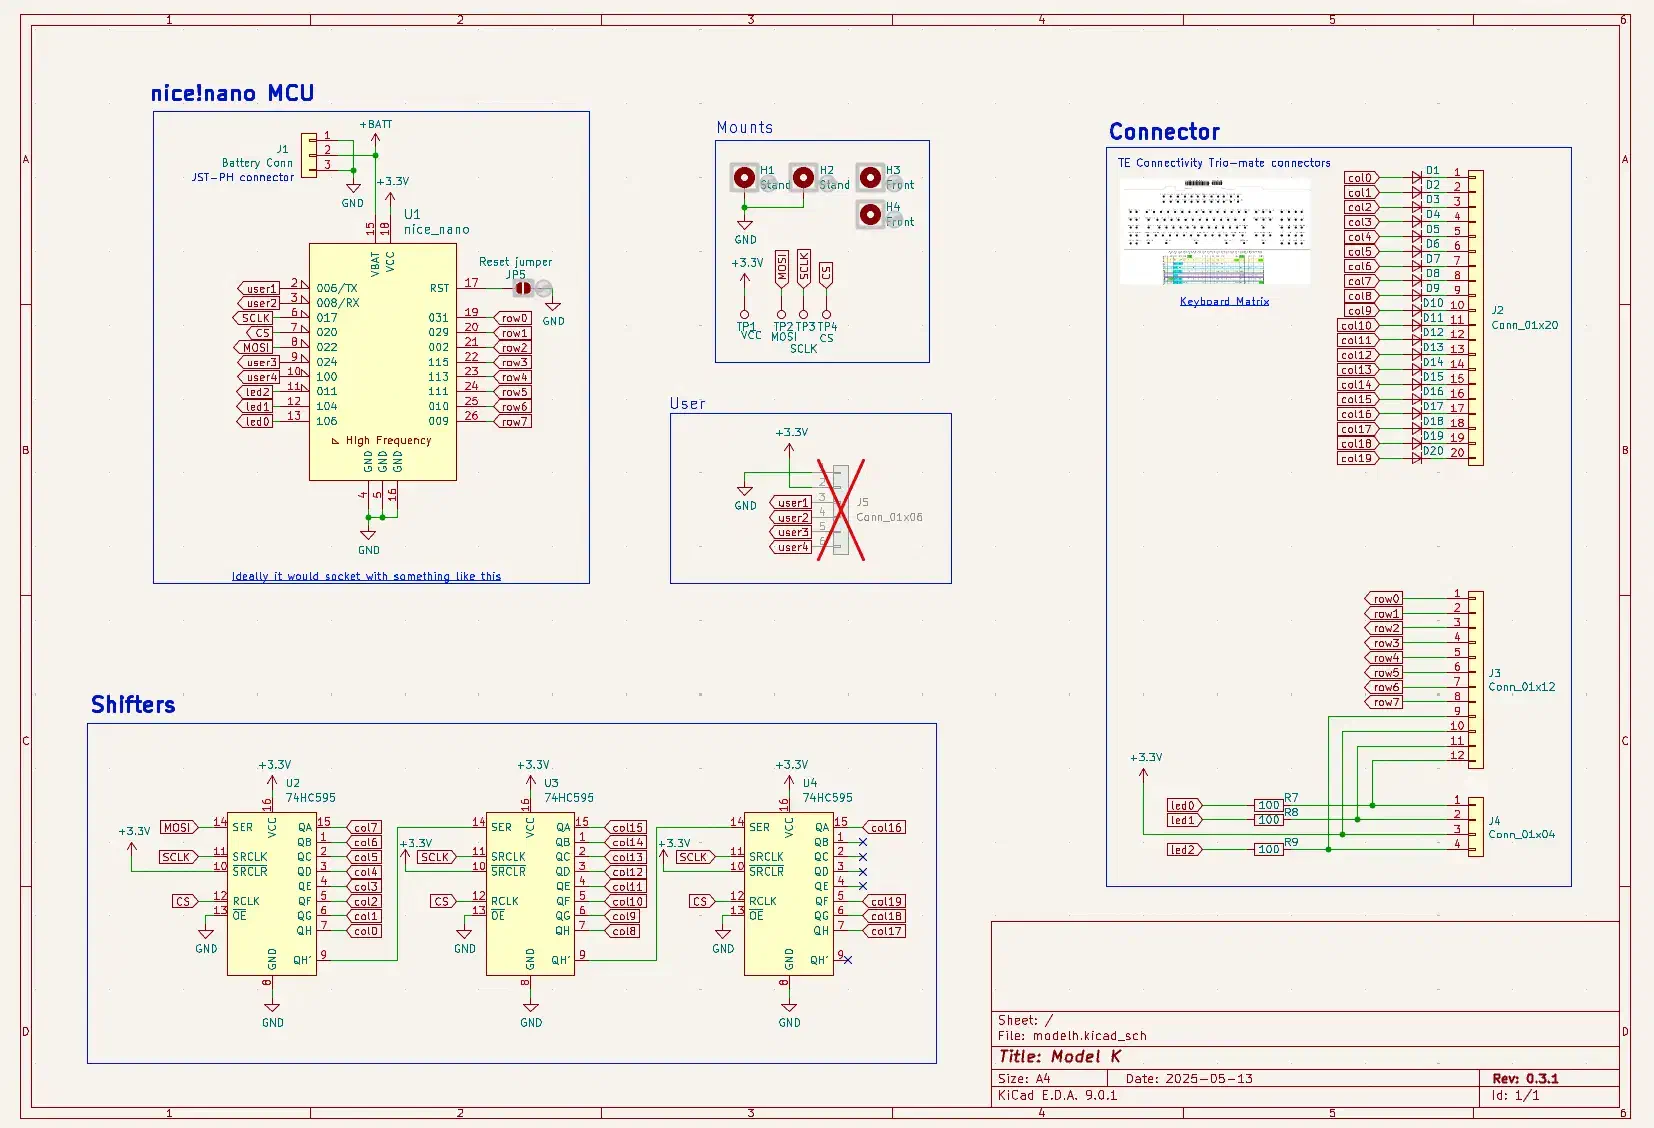 view full res
The schematic is mostly wiring, the microcontroller does the complicated work. I used the nice!nano which has the nRF52840 chip, USB-C, an integrated charging controller, and supports Bluetooth Low Energy. All I really had to do was connect the original membrane and add a battery.
Since the microcontroller has fewer pins than the connectors, I added two shift registers2 to drive all 16 columns with only three pins. Left with a few unused pins, I exposed them as user pins, in case some of you freaks want to add a solenoid to make it even louder. I added a bunch of test points, and made the reset switch two exposed pads, which was a bitch to use.
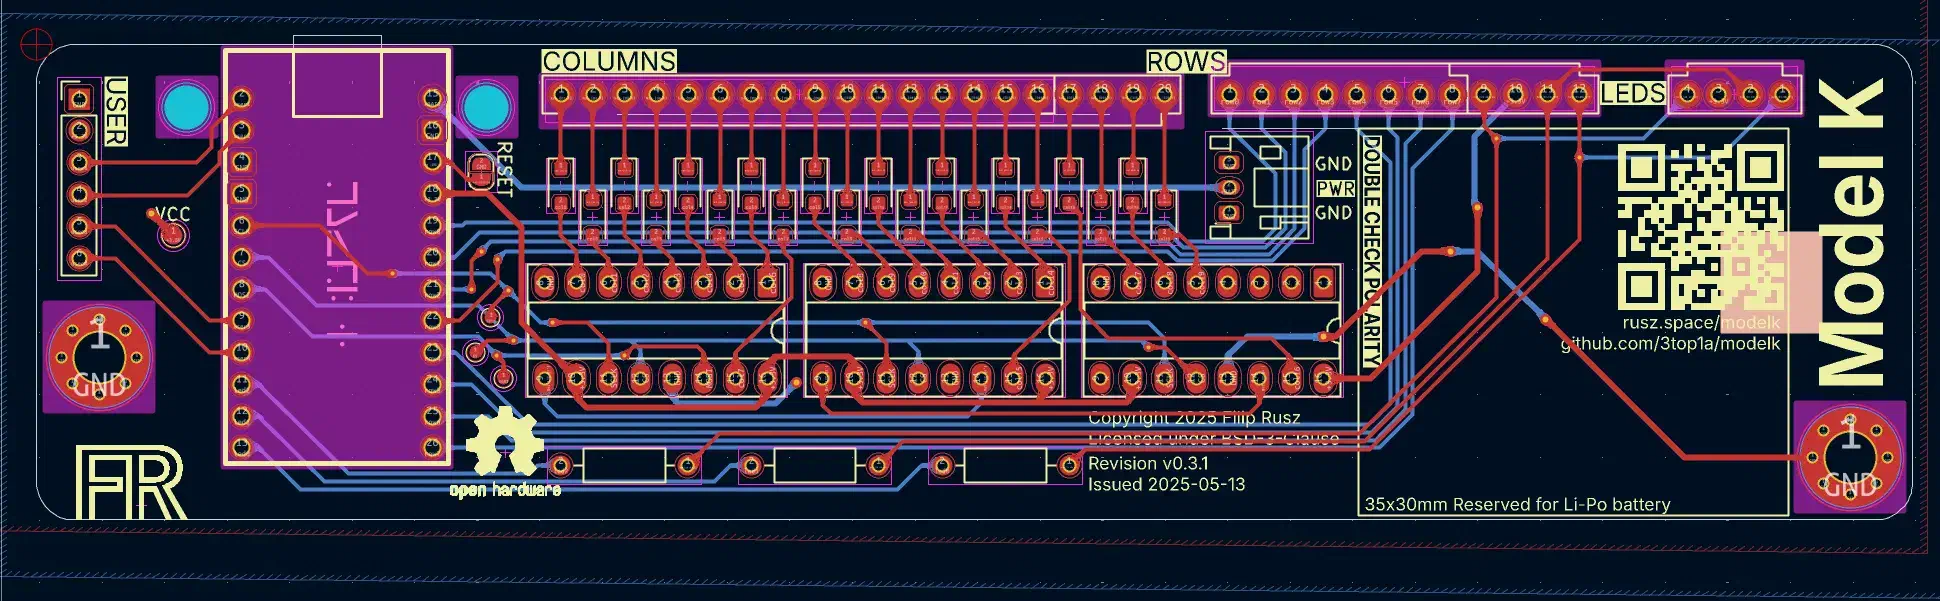 view full res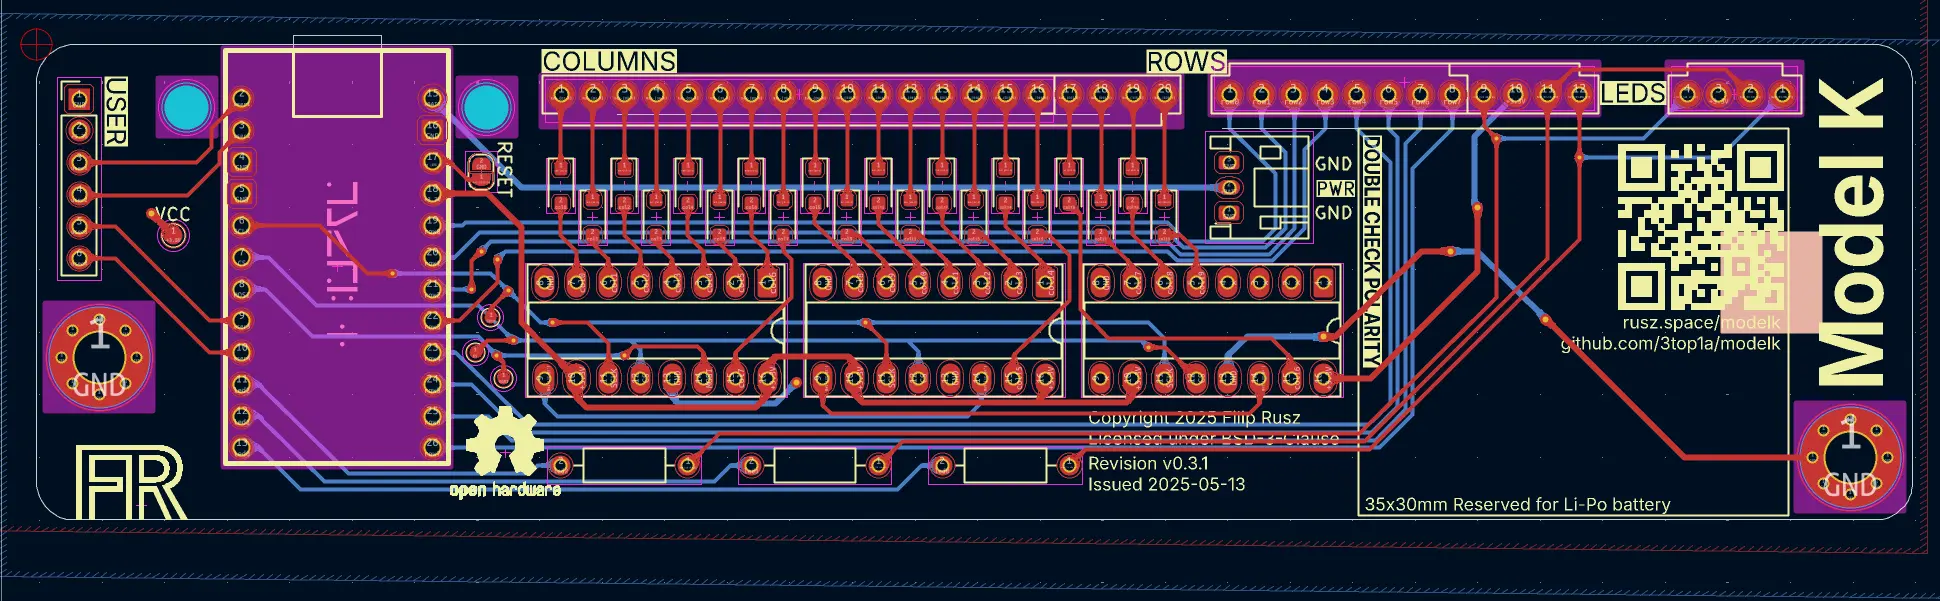
I intentionally made the battery connector a three pin, if you need to solder the connector in some other orientation, you can. Who knows what it might be powered with. I’d love to see a Model M powered by a Betavoltaic cell, make the indestructible keyboard last forever. But if I ever get my hands on a good betavoltaic cell, it’s going inside me, not some keyboard.
I got bored of rerouting and redesigning over and over again, so I ordered 10 PCBs from JLCPCB and waited a few weeks for my boards to arrive from China.
It’s Got Issues
##The design had flaws, and big ones. Space reserved for the battery just wasted it, connecting the battery was a long trace (a big signal integrity no-no), and surface-mount diodes that were a pain to solder.
Even worse, it turned out to be unusable, because when making it, I must have moved the connectors a bit, and that caused the microcontroller’s USB port to not align with the connector hole in the chassis. Would be fine for wireless, but I needed to program it first. And who wants to open the chassis just to charge it? If only there was like an age old adage about measuring stuff.
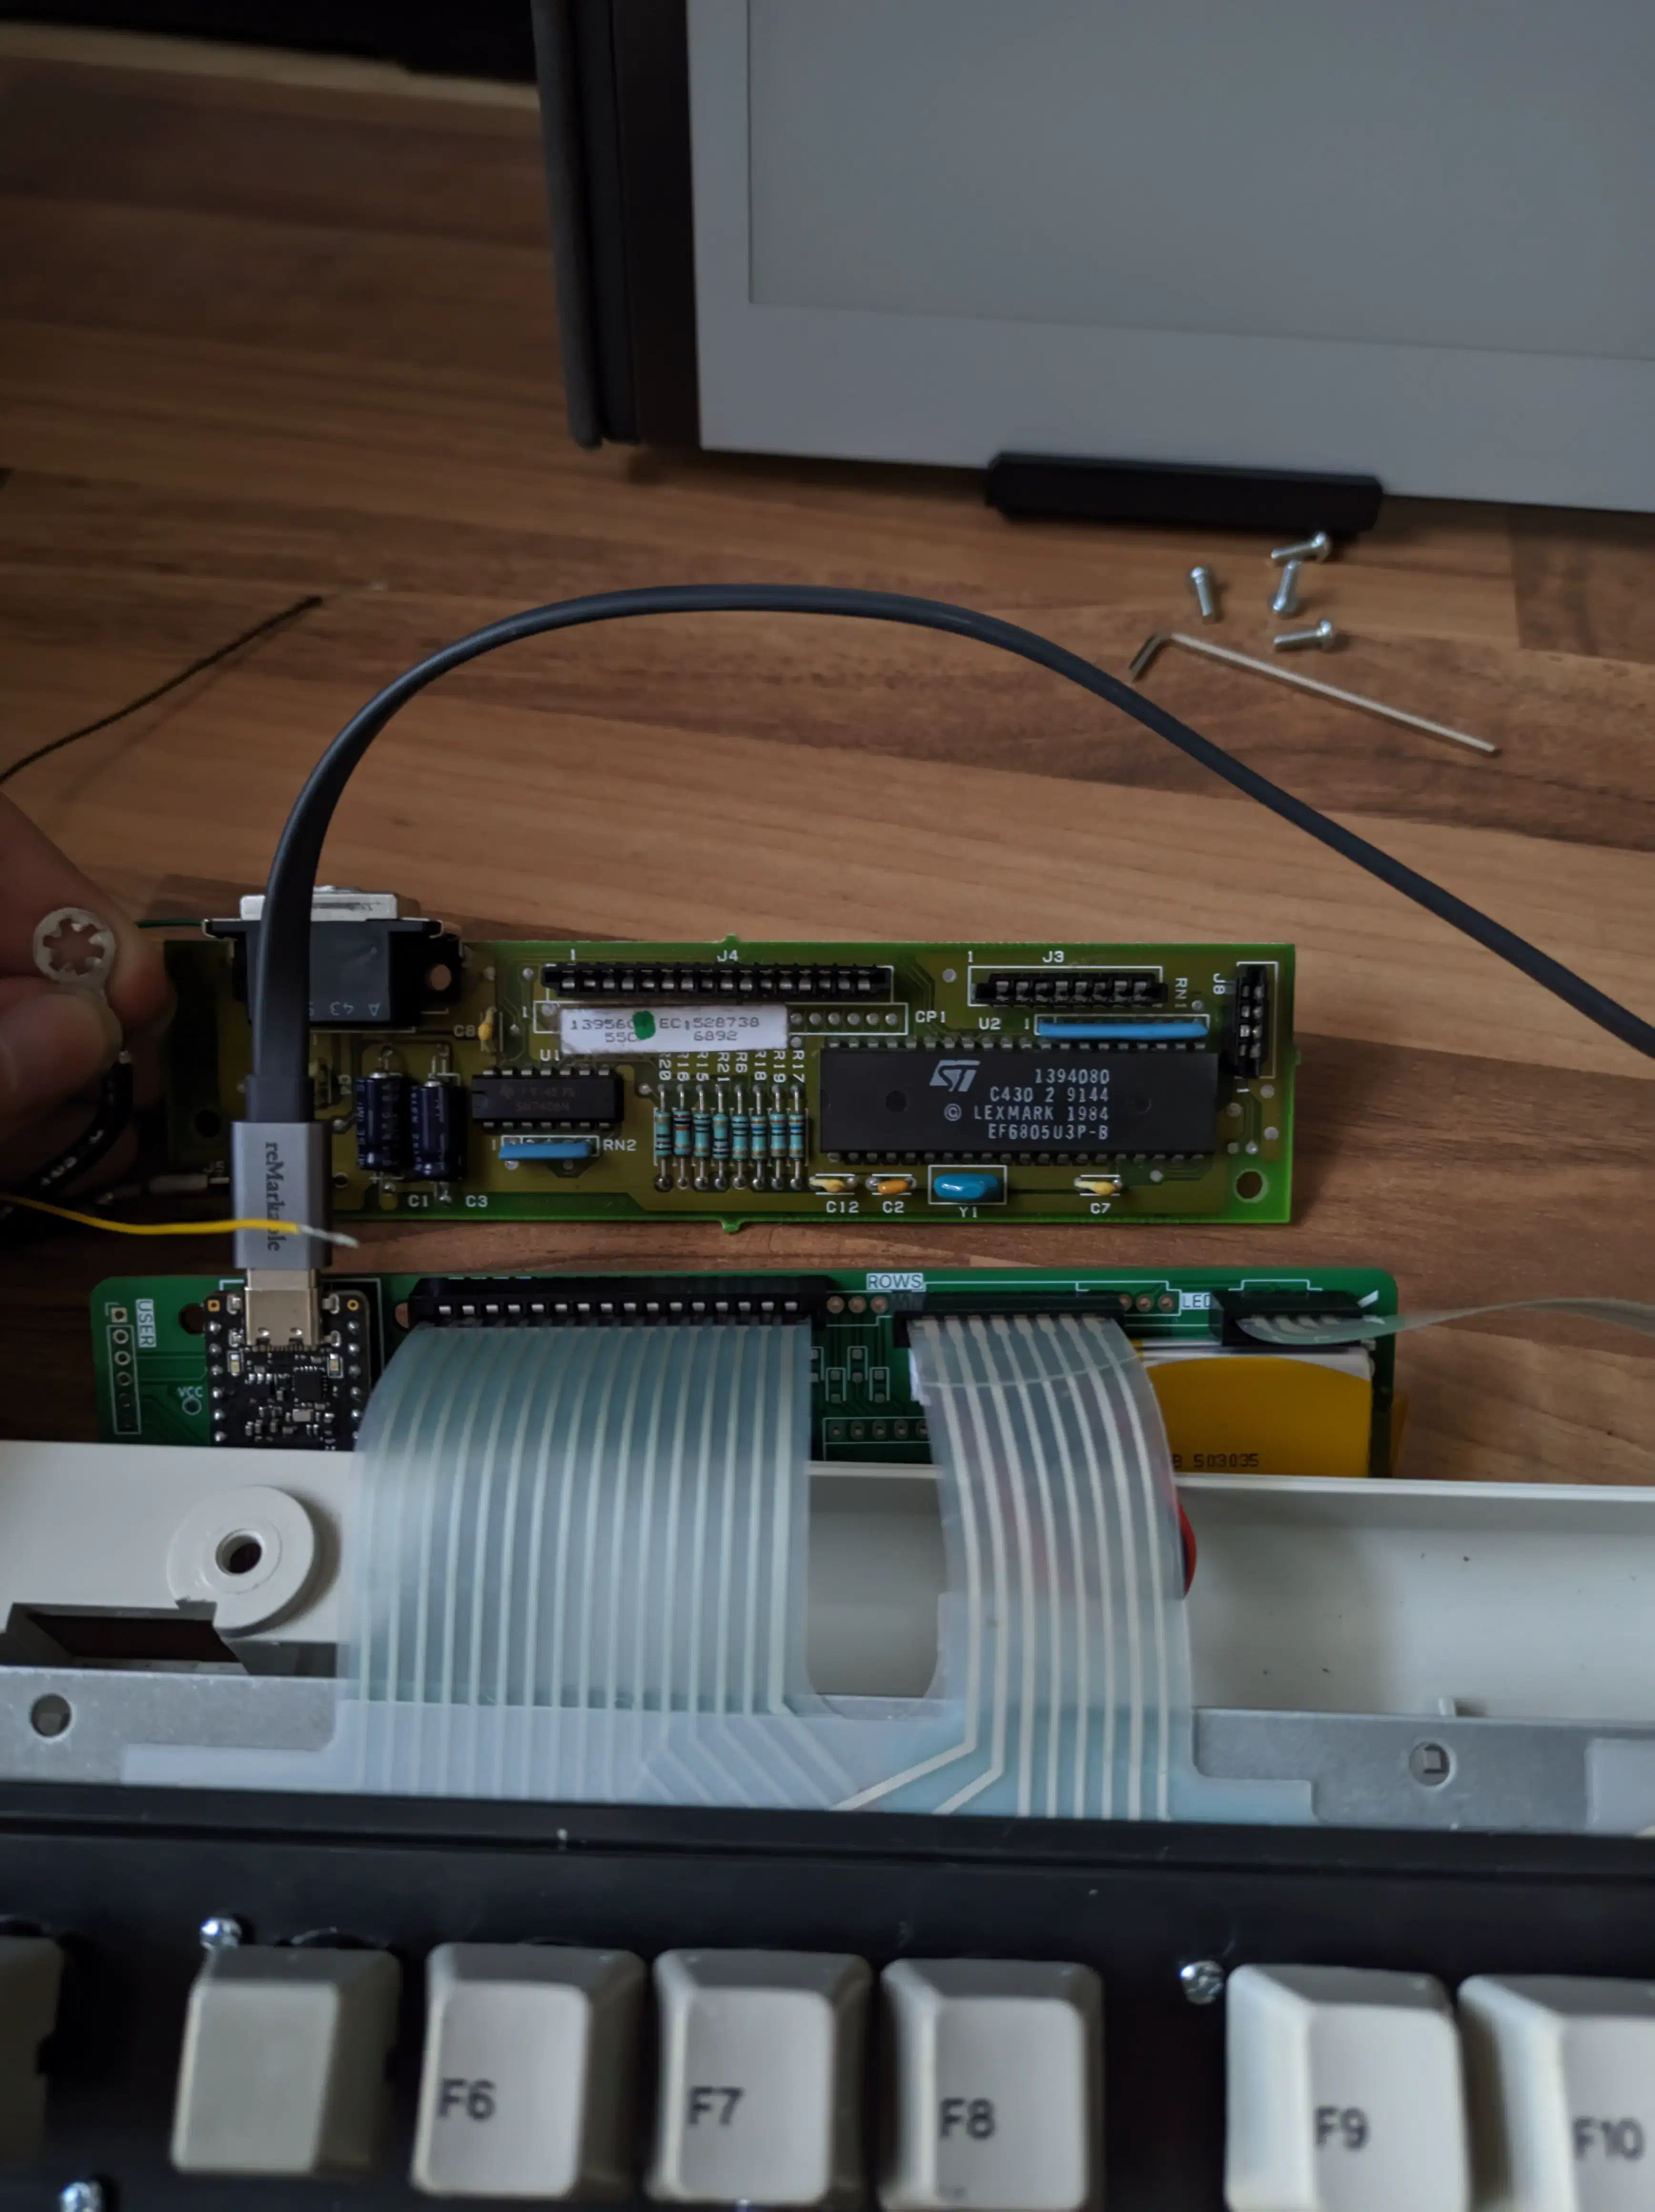 view full res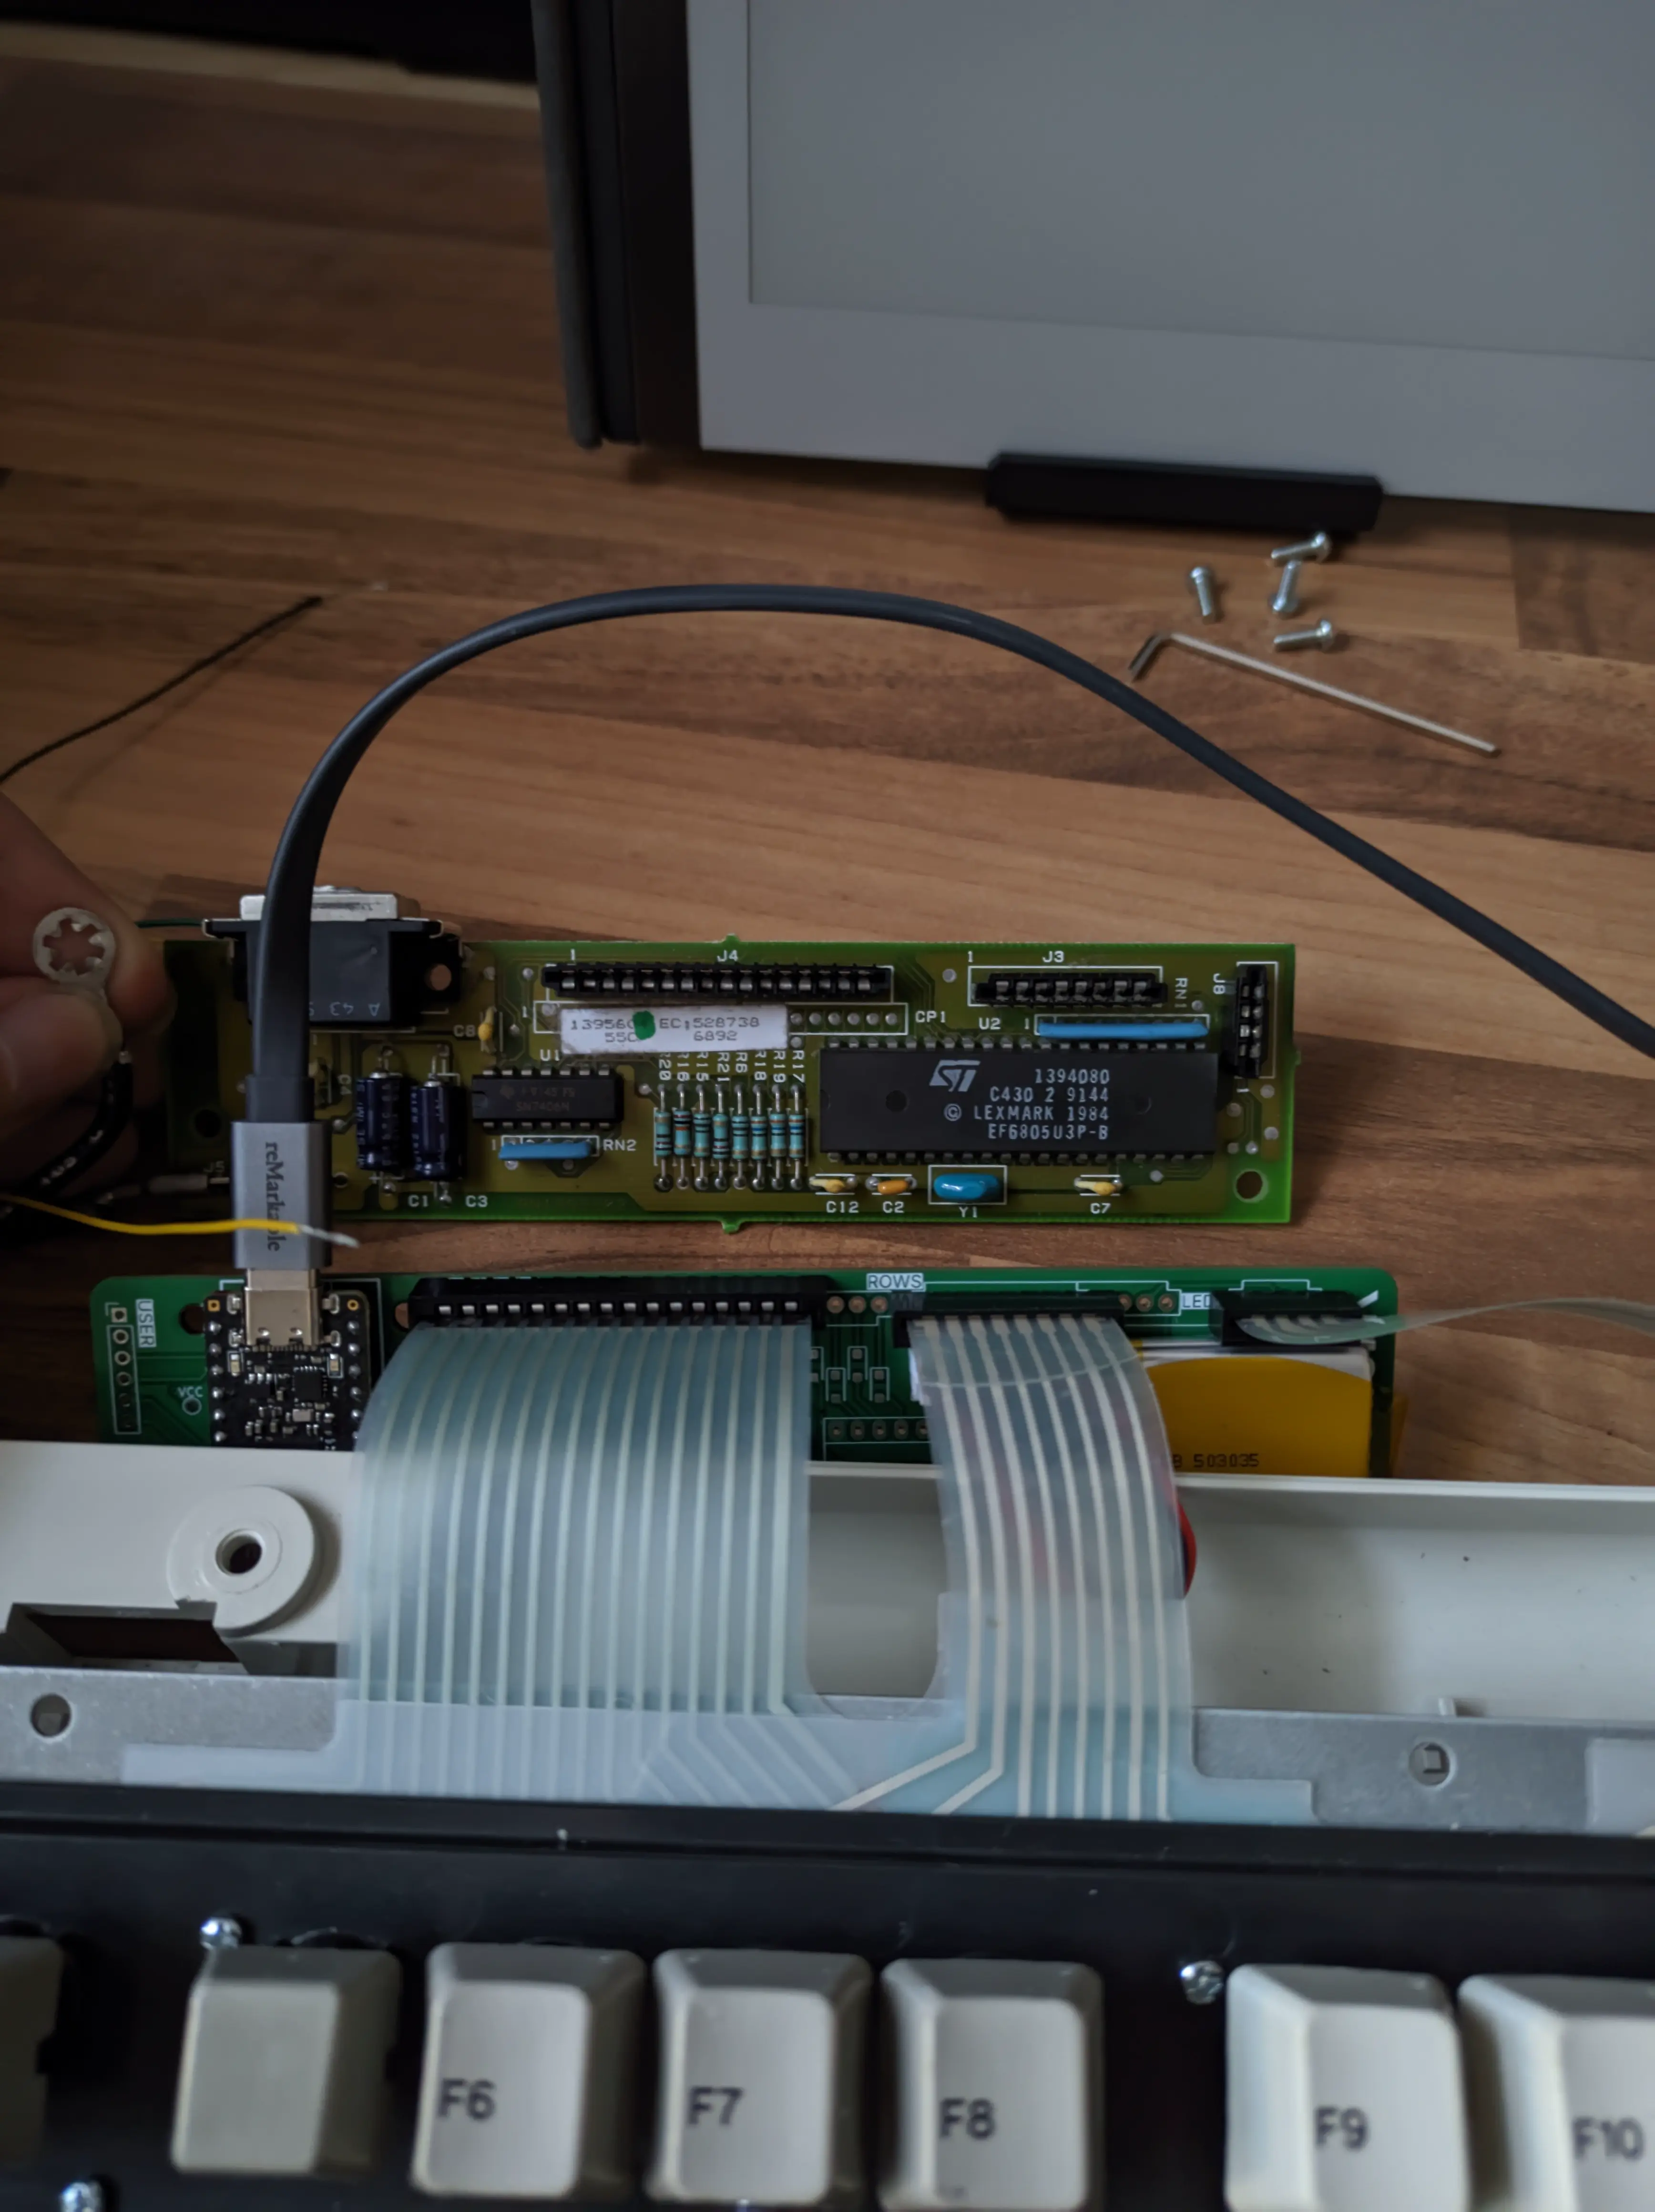
But even then, it was acting strange. Half of the keys didn’t register. I tried cleaning the matrix contacts, checking the traces again and again, shorting the traces manually, everything. No matter what I tried, I couldn’t fix it… Long story short, I soldered the Connfly connectors exactly like the original connectors, not realizing Connfly ones have their pins on the opposite side. Half the connections didn’t make any contact.
 view full res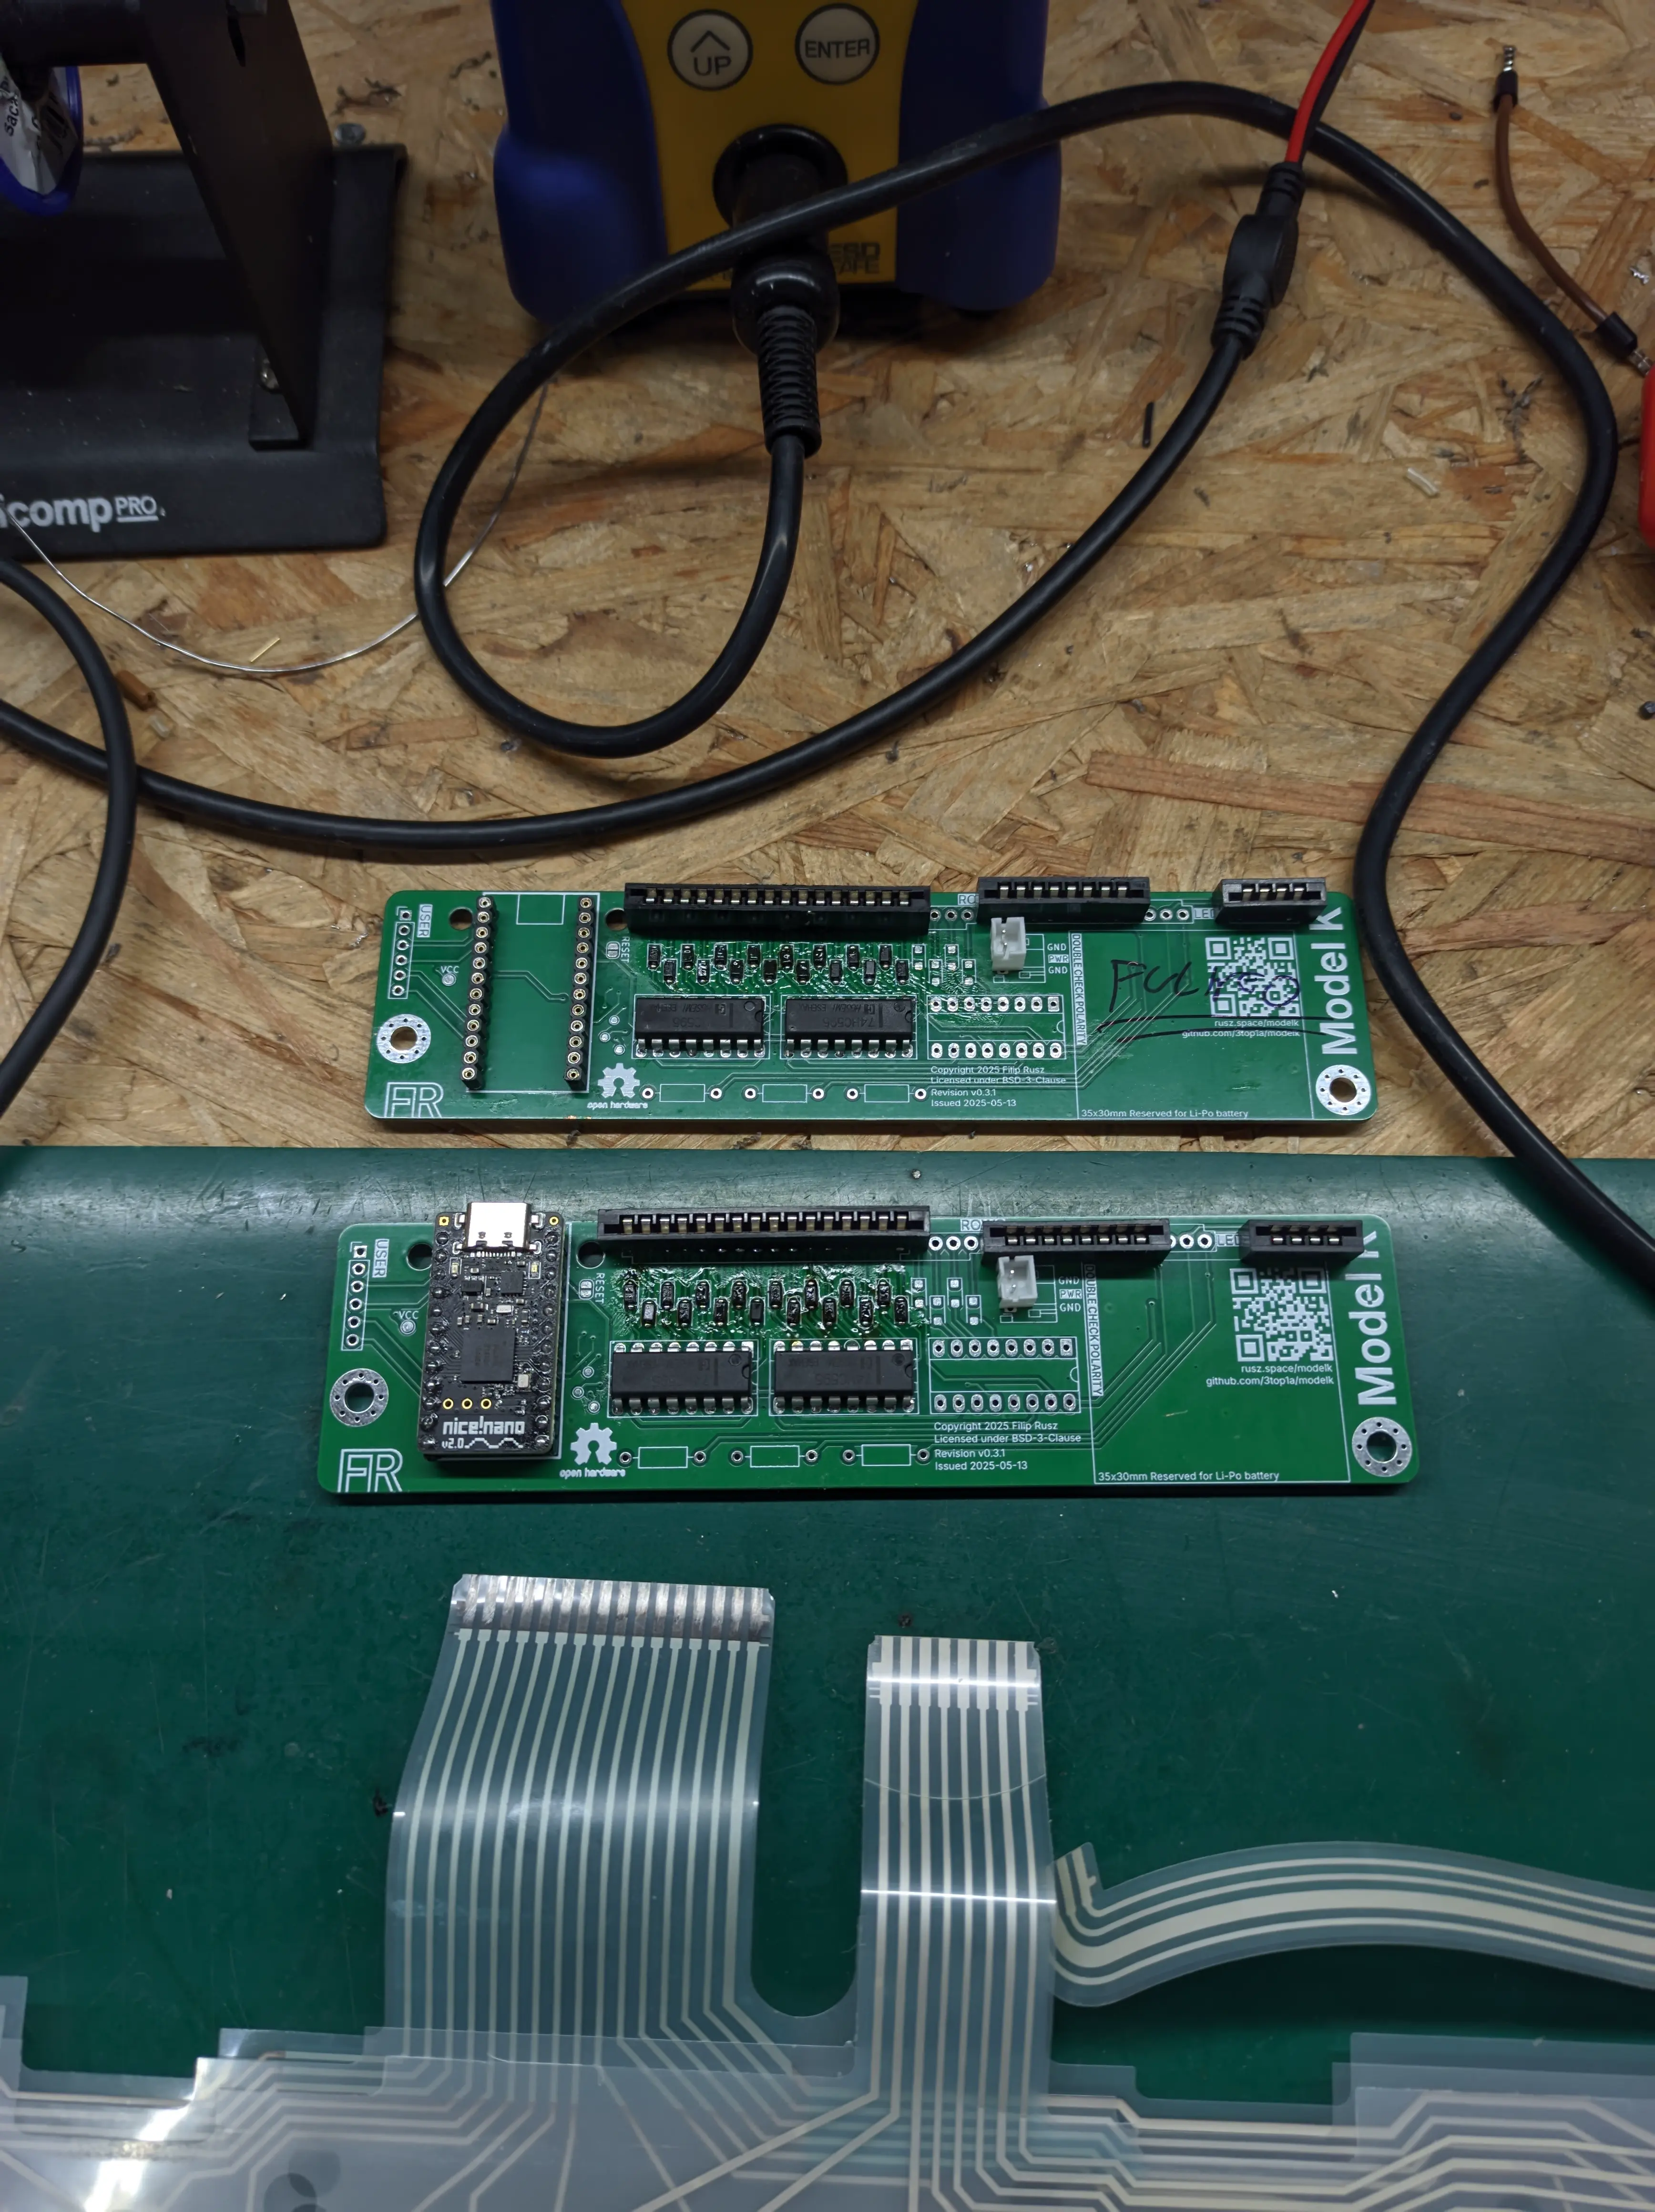
However, after all that, it worked! After some lengthy programming, figuring out which keys were where on the matrix and mapping them correctly, it typed like a normal keyboard!
I started daily driving it, which was possible despite the unreachable USB-C because it was wireless from day one. And it was perfect. Other than, you know, its flaws.
Getting It Right
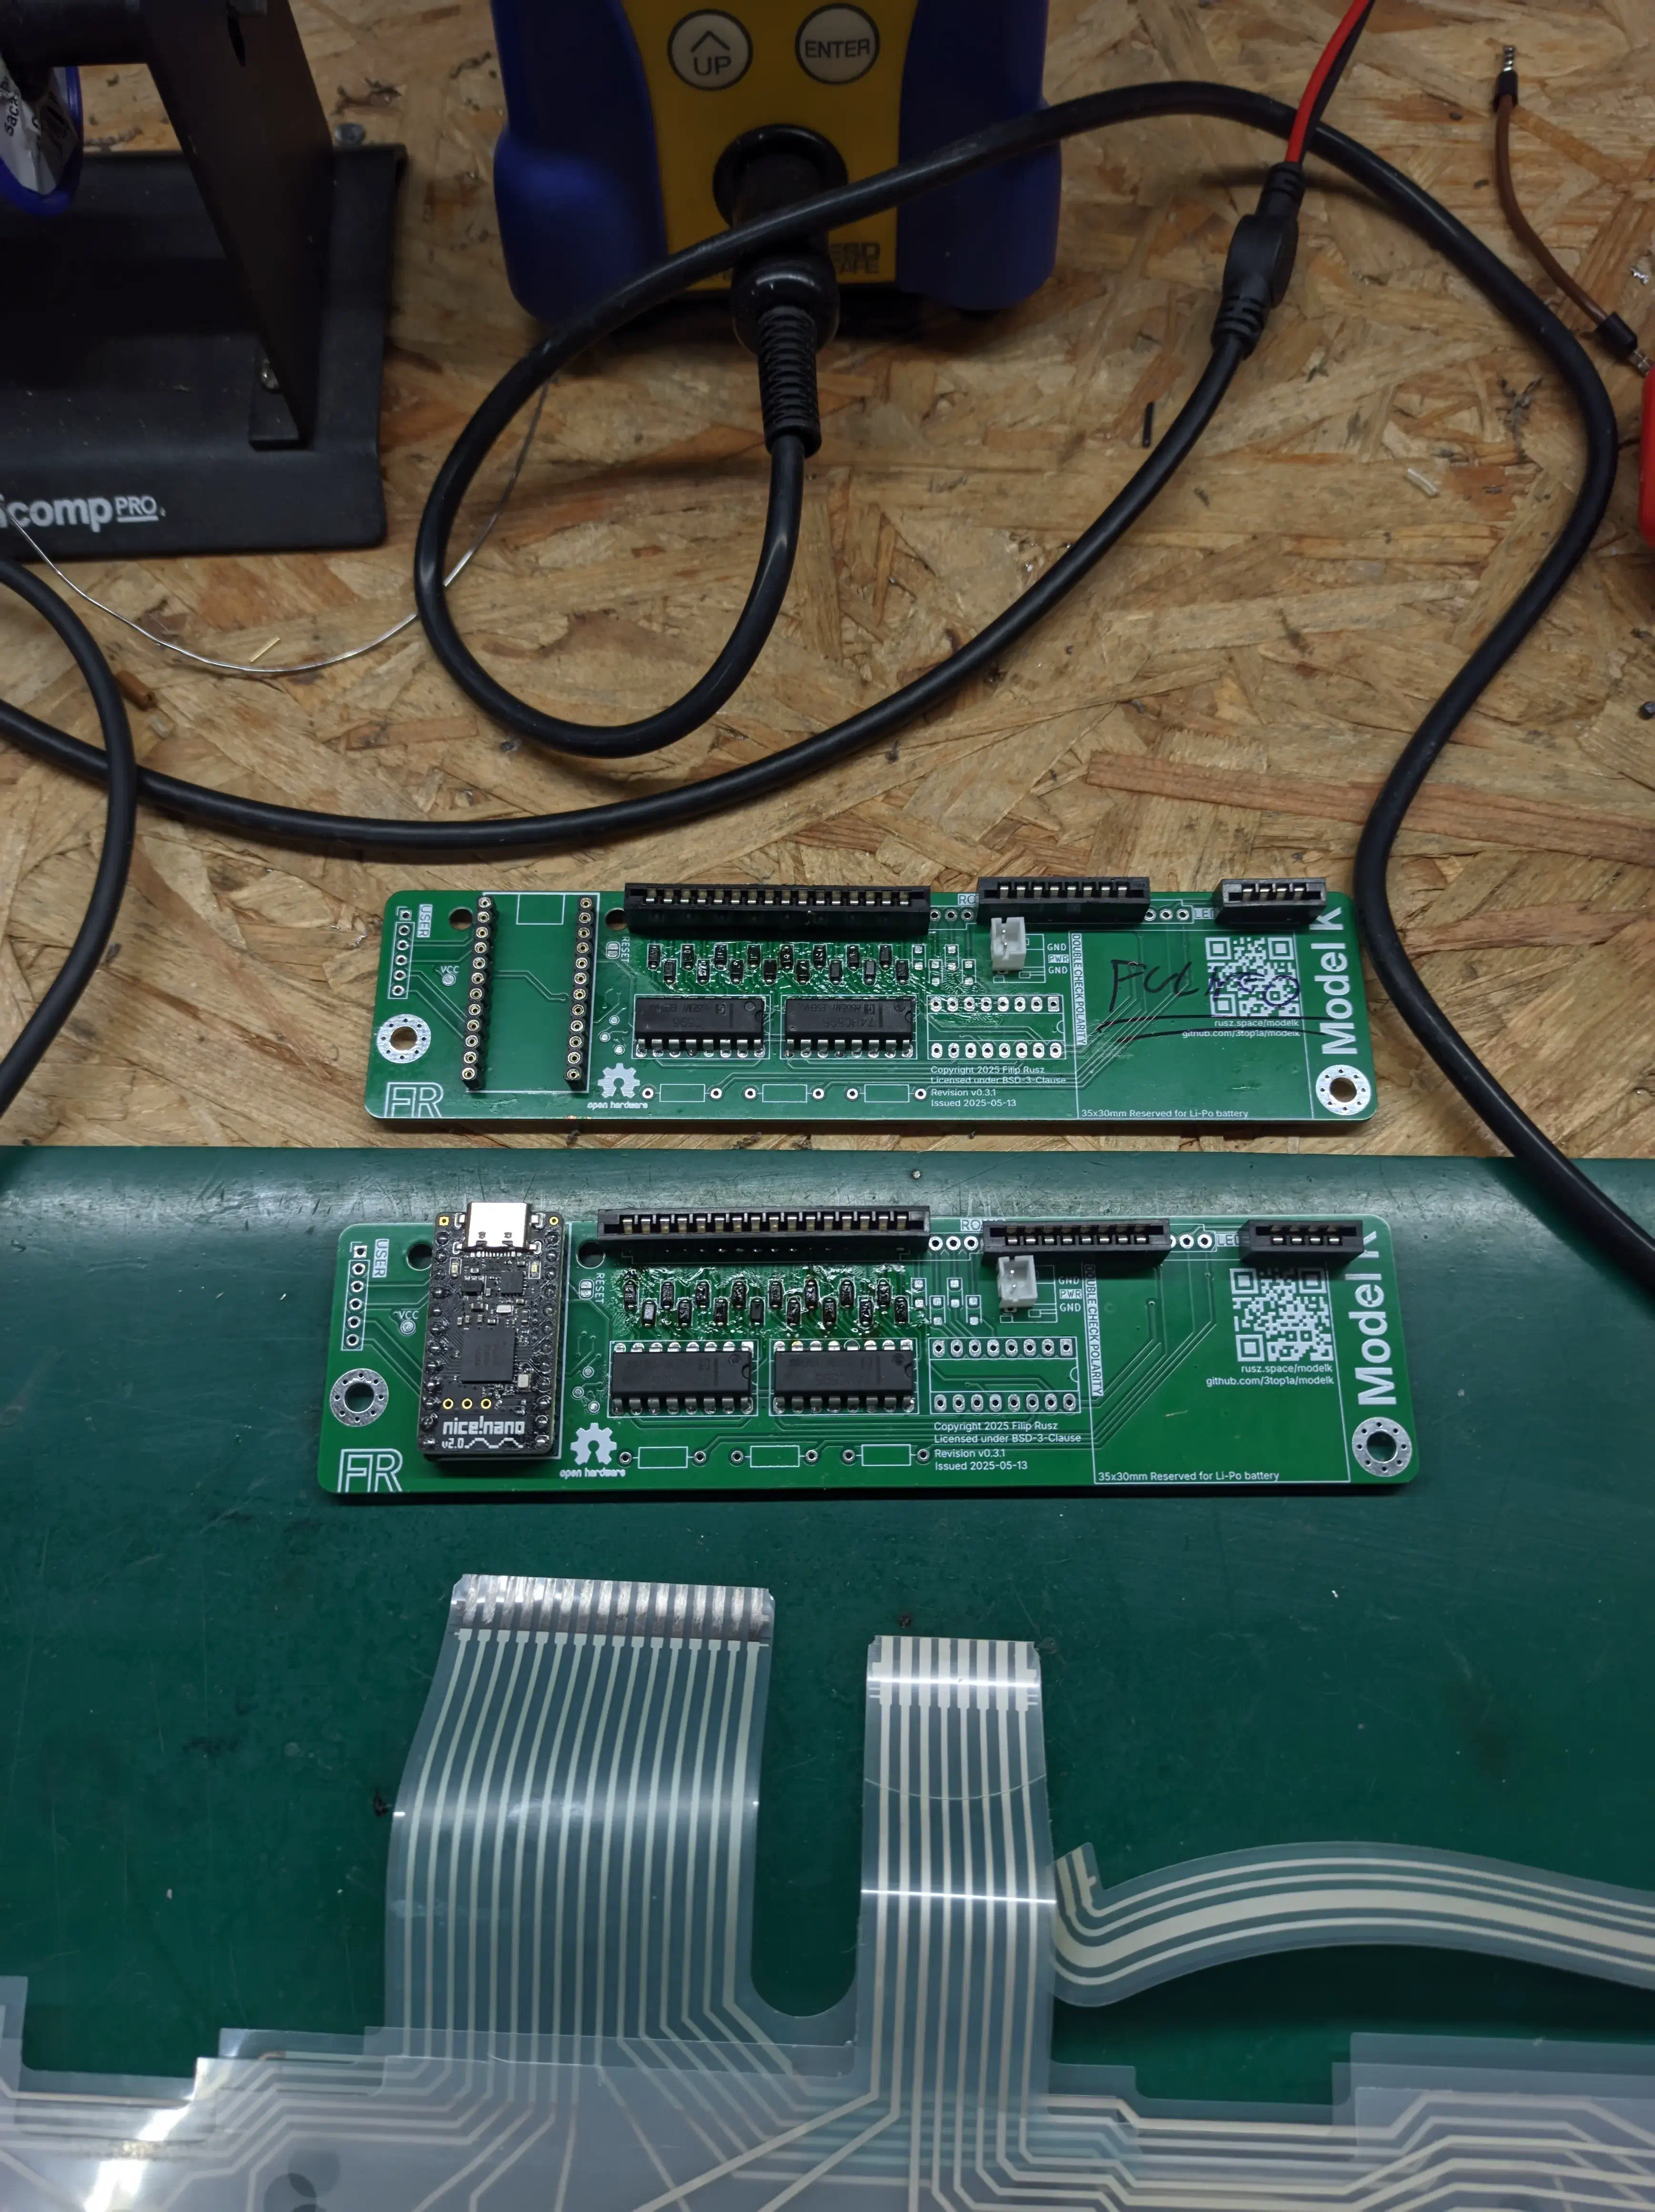
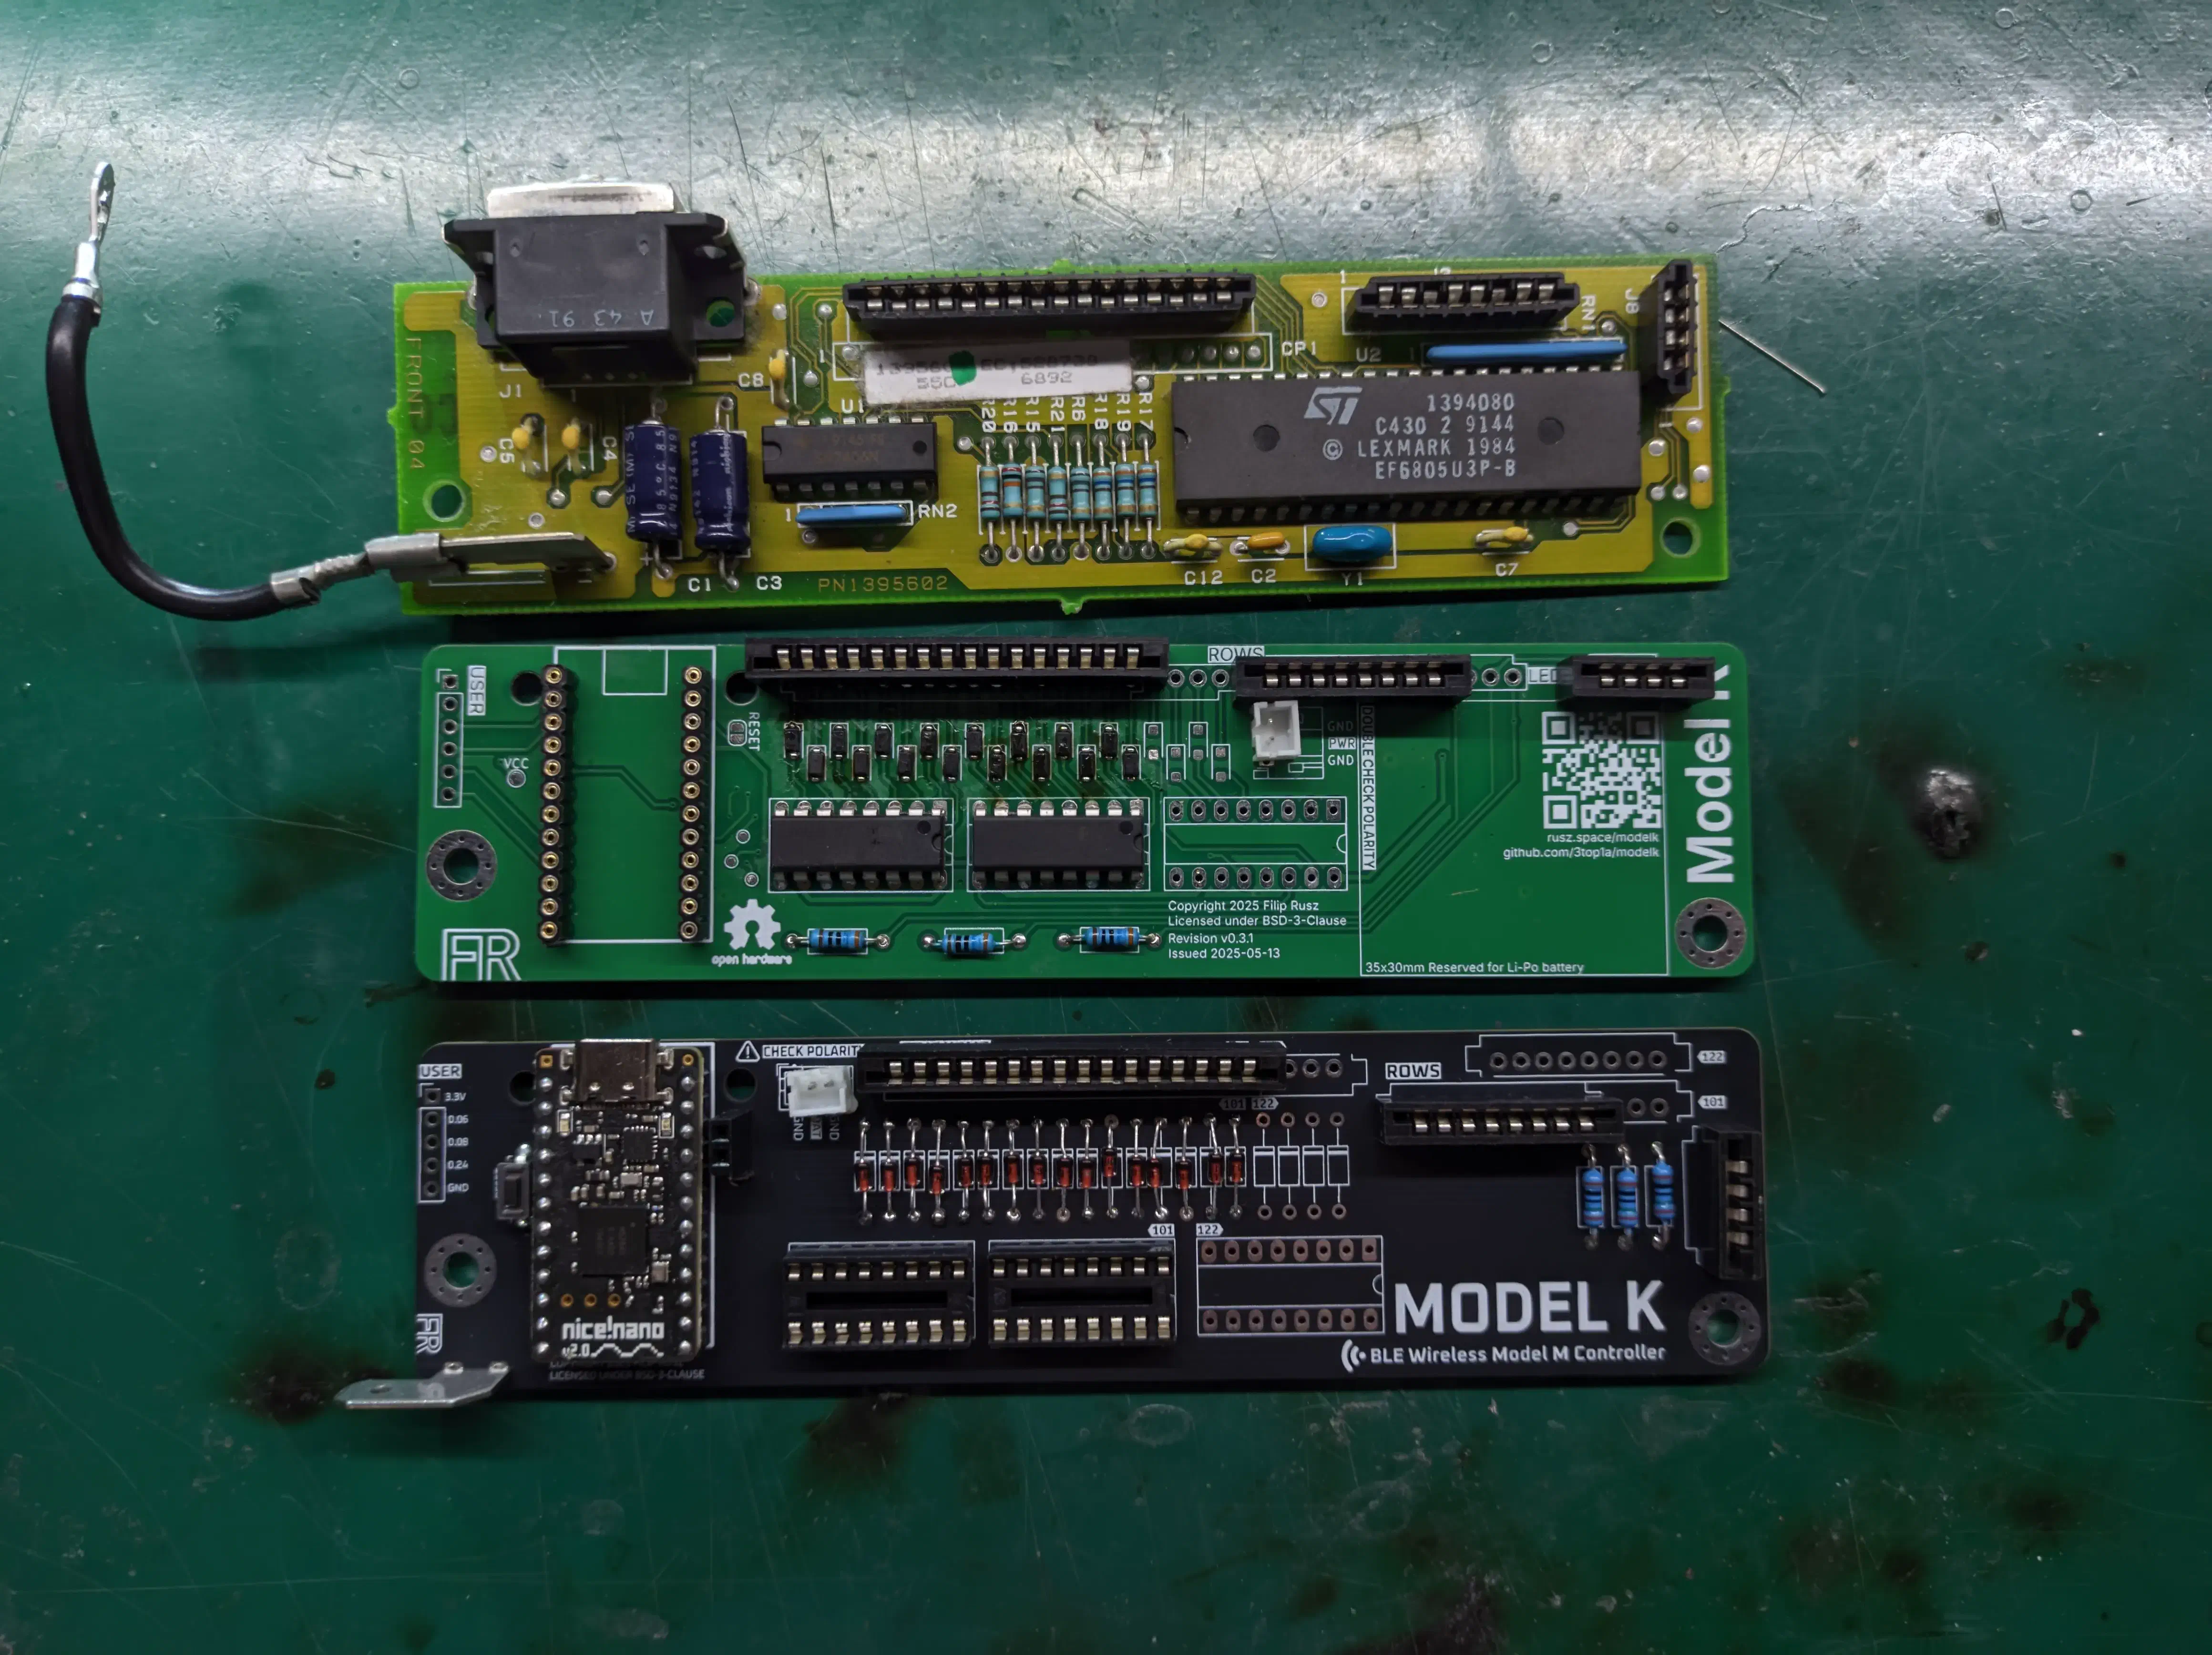
##It took me a month or so to design a new board3, and I improved on everything. Connectors in the correct place, battery connector close to the microcontroller, a tab for grounding the metal backplate, and proper spacing for every component. Who knew having the keyboard would be useful.
 view full res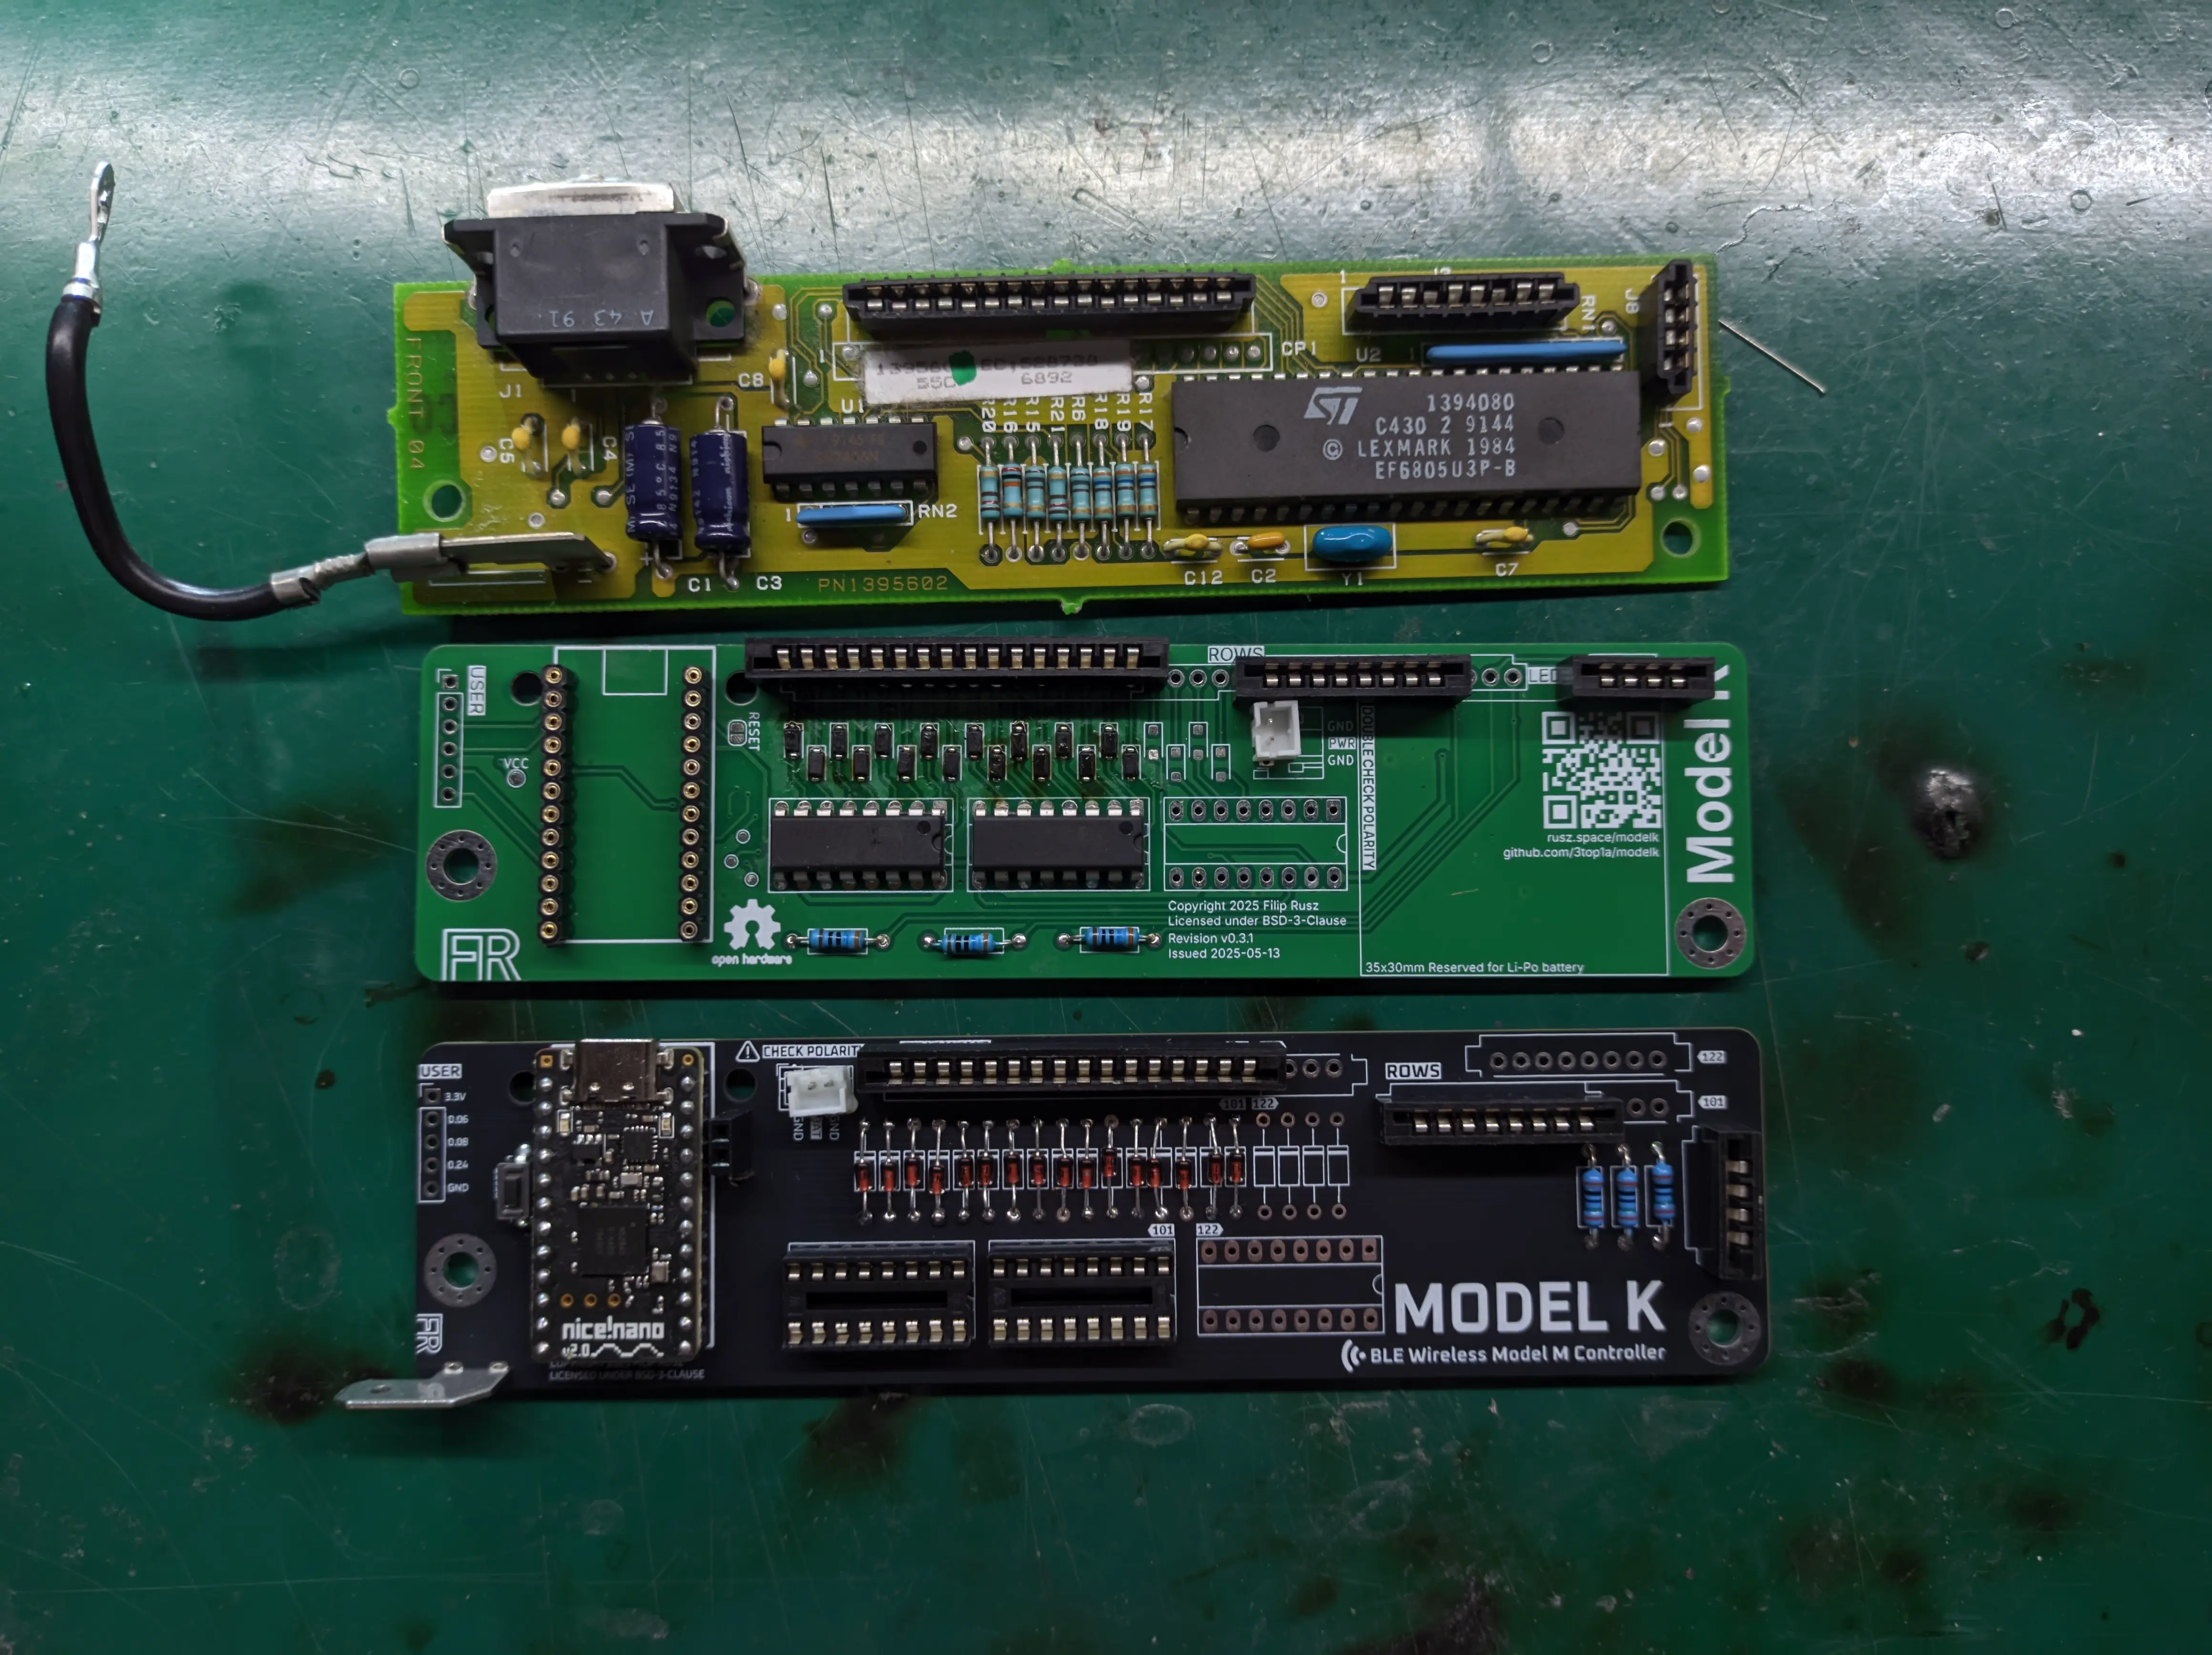
Soldering the through hole diodes was a bit less painful, and I could reuse the socketed microcontroller. I didn’t even have to reprogram it, it somehow just worked once I plugged it in.
After taping a small 400mAh battery to the bottom case and connecting everything up, I finally had a perfectly functioning wireless Model M. I haven’t tested the battery life on newer versions of the firmware, last time I did, it lasted about three weeks. It should last much longer now.
Being able to modify the firmware is great. It means I can do a lot of cool stuff like rebind caps lock to control or escape, add custom macros, or cram autocorrect inside the keyboard. Turns out I wasn’t the last to have this idea. Shout out to Model-X, which I learned about only after designing mine. I ended up using its antighosting script, which queues keypresses when ghosting could occur. Not true N-key rollover, but good enough.
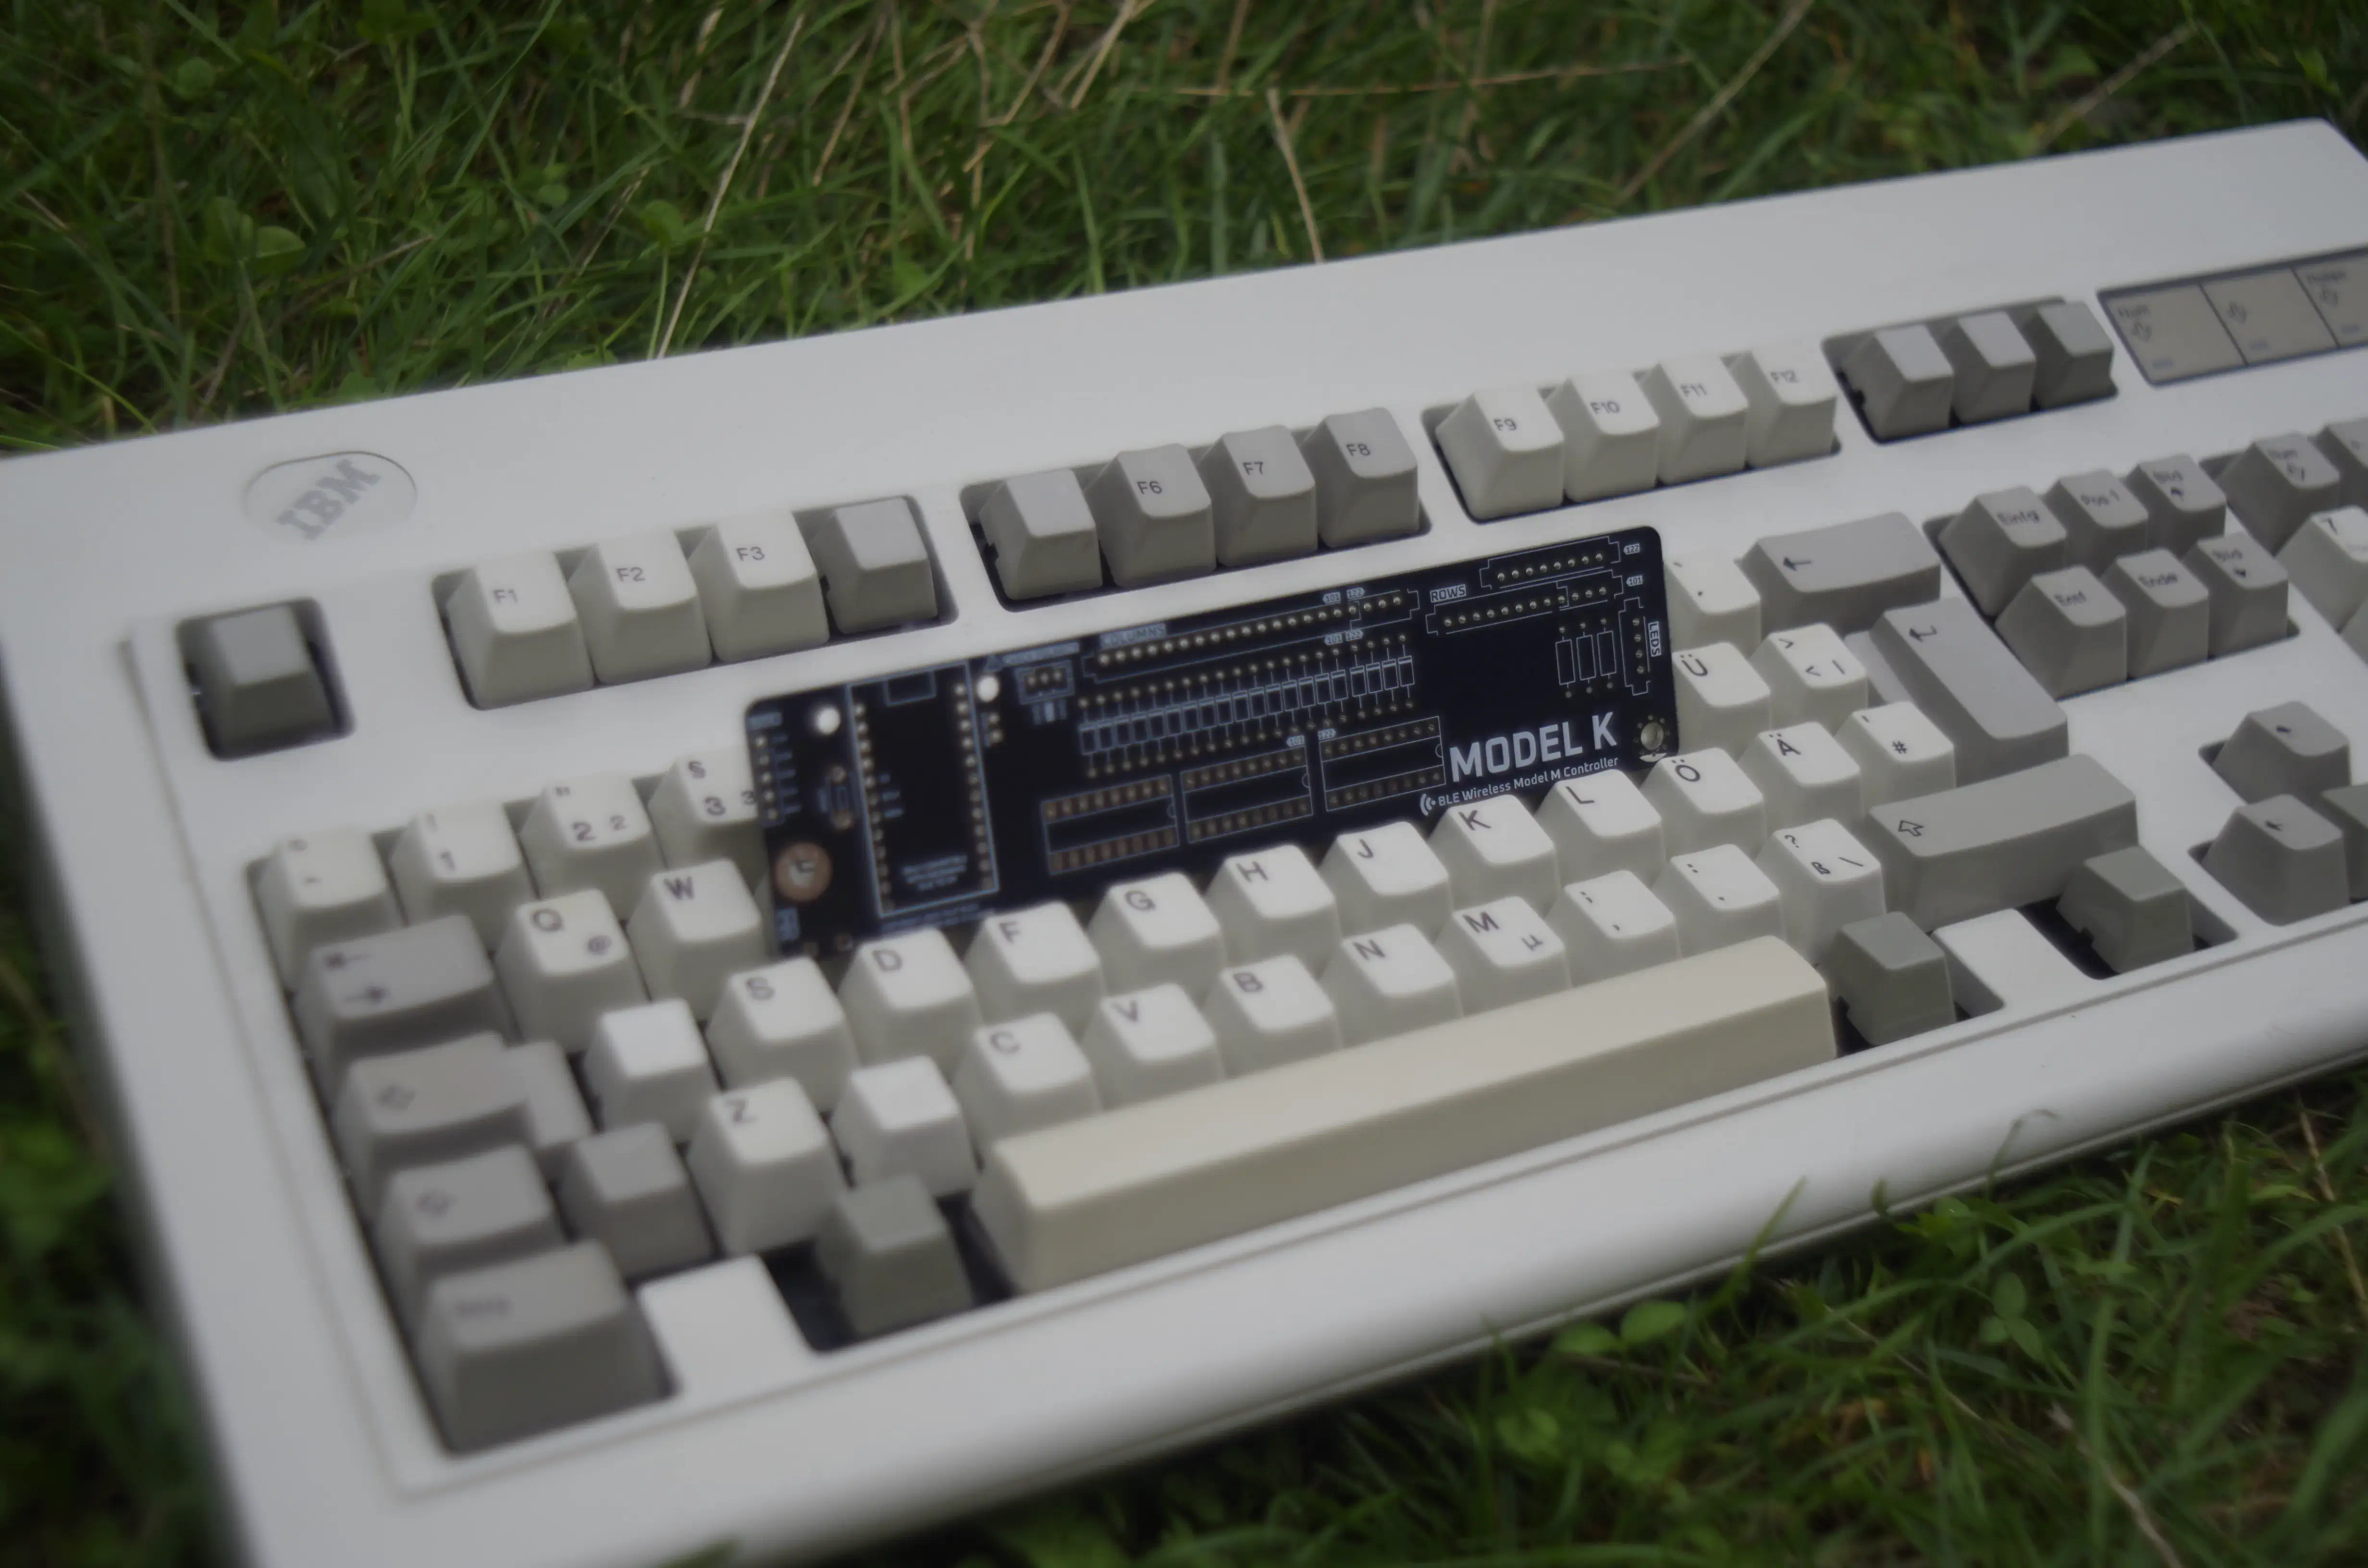
If you want one for yourself, it’s on GitHub, both the PCB design files and ZMK firmware. It’s still working, and I wrote the majority of this article on it.
So yeah, that’s how I ended up with a keyboard about 14 years older than me, and I wouldn’t have it any other way.
 view full res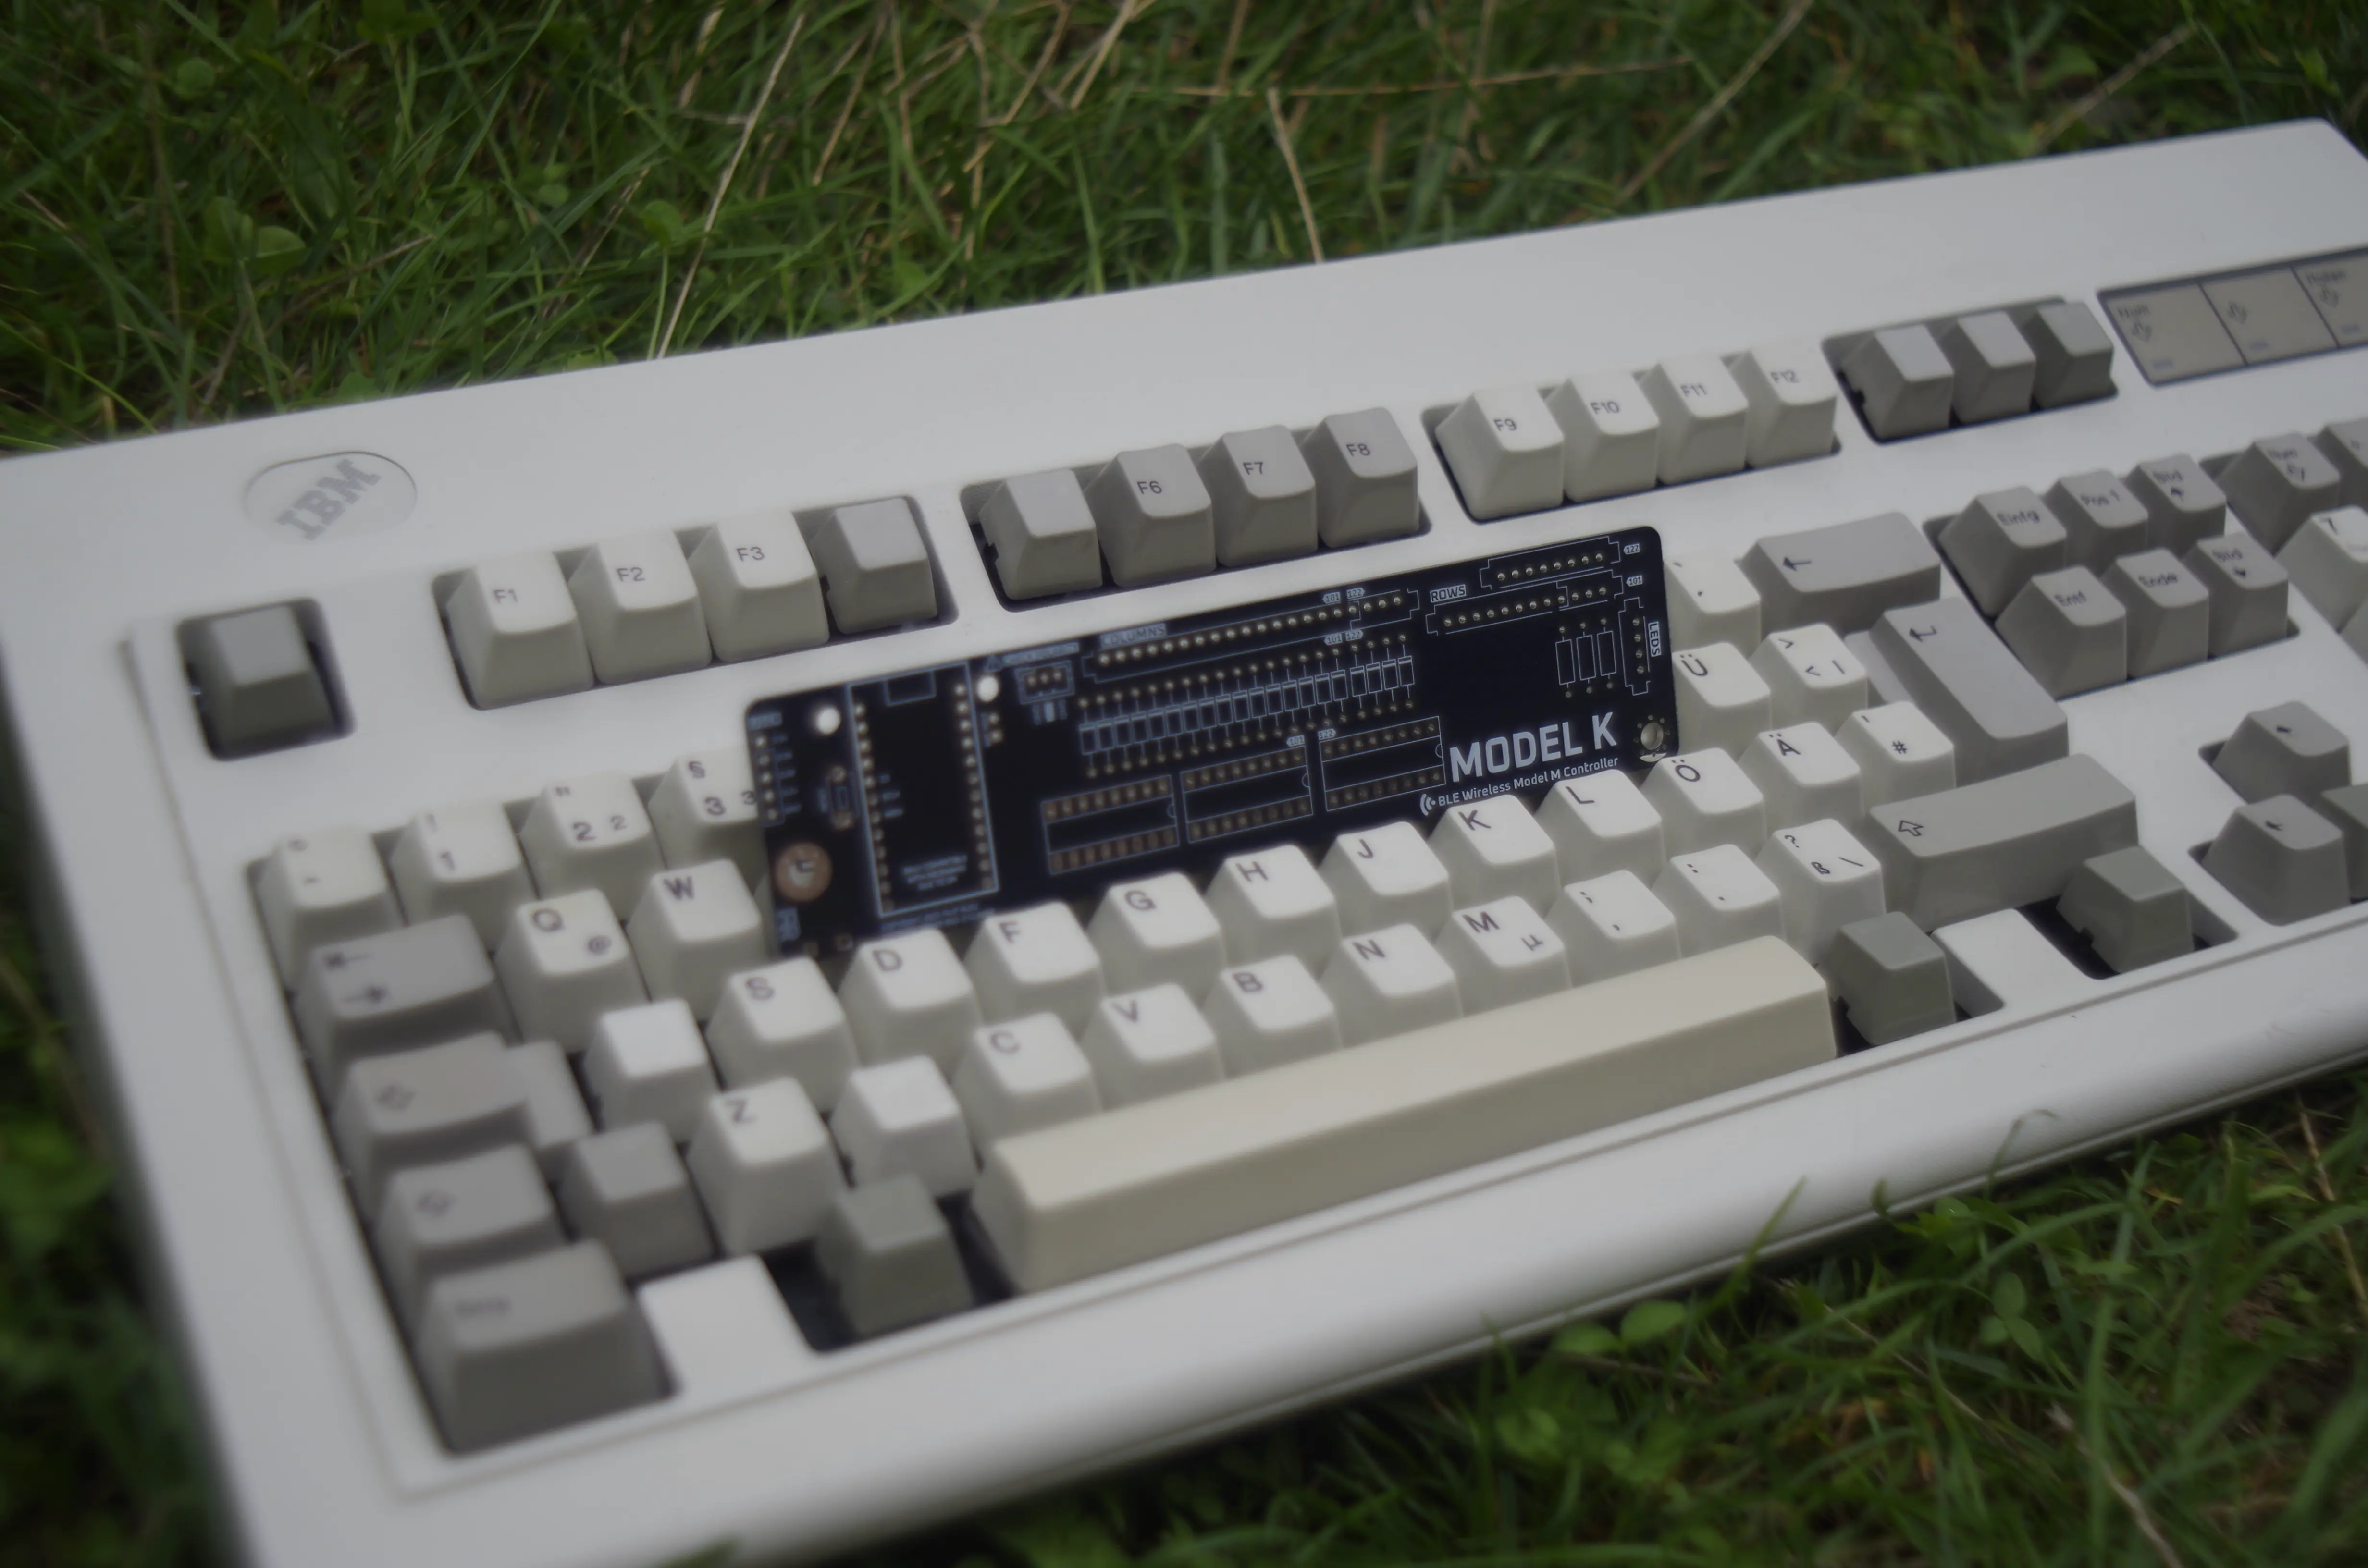
Difficult is an understatement. I press the edge of the space key with my left thumb, but this was practically impossible, I had to press the absolute center where the switch is. ↩︎
You can see three DIP sockets, I wanted to future-proof it so it would work on the 122 key Model M as well. Unfortunately during the last year I only found one on the market, and didn’t want to divert my small disposable income towards another keyboard. ↩︎
And obviously a day after ordering I routed a much better version that didn’t use any vias. Oh well. ↩︎